English

Recording AM Station to Tape———————————————

When recording an AM broadcast, beats may be produced which are not heard when listening to the broadcast. In this case, press the CONTINUE button on the CD Player to eliminate the beats.

1. Set to AM station and start recording.

CONTINUE

2. Press the CONTINUE button repeatedly until the beats are eliminated.

Each time you press the button, the display changes as follows:

=CUT 2 = CUT 3 = CUT 4 = CUT 1 =(back to the beginning)

CD Direct Recording

Everything on the CD goes onto the tape in the order it is on the CD, or according to the order you have set in a program.

1.Press the CD £/8 button, then the 7 STOP button.

2.Prepare CDs. (See page 17.)

Check that source is the CD Player and be not playing a CD.

3.Insert a cassette in Deck B to record on.

When you want to record on both sides of a tape, press the REVERSE MODE button to turn on the auto reverse mode. Check that the recording direction for the tape and the Tape Direction indicator are correct. (See page 25 “Notes for using Reverse Mode for recording”.)

4. Press the CD REC START button.

The REC indicator lights up and the System begins recording.

If you make a recording with the auto reverse mode on, the Unit will record the last song at the end of the first side at the beginning of the next side.

To stop at any time during the recording process, press the 7 STOP button.

Note: When making Sleep Timer settings while doing CD Direct recording, set the time so that there is enough leeway to finish the recording before the power goes off. If the time is set to about the length of the CD, the power may go off before recording finishes.

For CD Direct Recording using more than one disc, use a blank tape, If you use a prerecorded tape, prerecorded material may not be erased between newly-recorded tracks.

Tape to Tape Recording (Dubbing)

Recording from one tape to another is called dubbing. You can dub tapes simply, with just a single button.

o When dubbing tapes, make sure that the playback direction of Deck A and Deck B are the same.

oWhen you record both sides of a tape, press the REVERSE MODE button to turn on the auto reverse mode.

oIt is preferable that the type of tape (Type I or Type II) you record from be the same as the type you record onto.

How to Use the DUBBING Button —————————————

1.Press the TAPE ª £ button, then the 7 STOP button.

2.Insert the source cassette you want to copy from into Deck A for playback.

Insert the cassette so that it will be played in the forward (3) direction.

3.Insert the blank or erasable cassette you want to copy onto into Deck B for recording.

Insert the cassette so that it will be recorded in the forward (3) direction.

DUBBING

4.Press the DUBBING button.

Deck A and Deck B will start simultaneously.

To stop dubbing, press the 7STOP button.

oWhen dubbing with the DUBBING button, you can hear Sound Mode effects through the speakers or headphones. However, the sound is dubbed without Sound Mode effects.

26

Page 30
Image 30
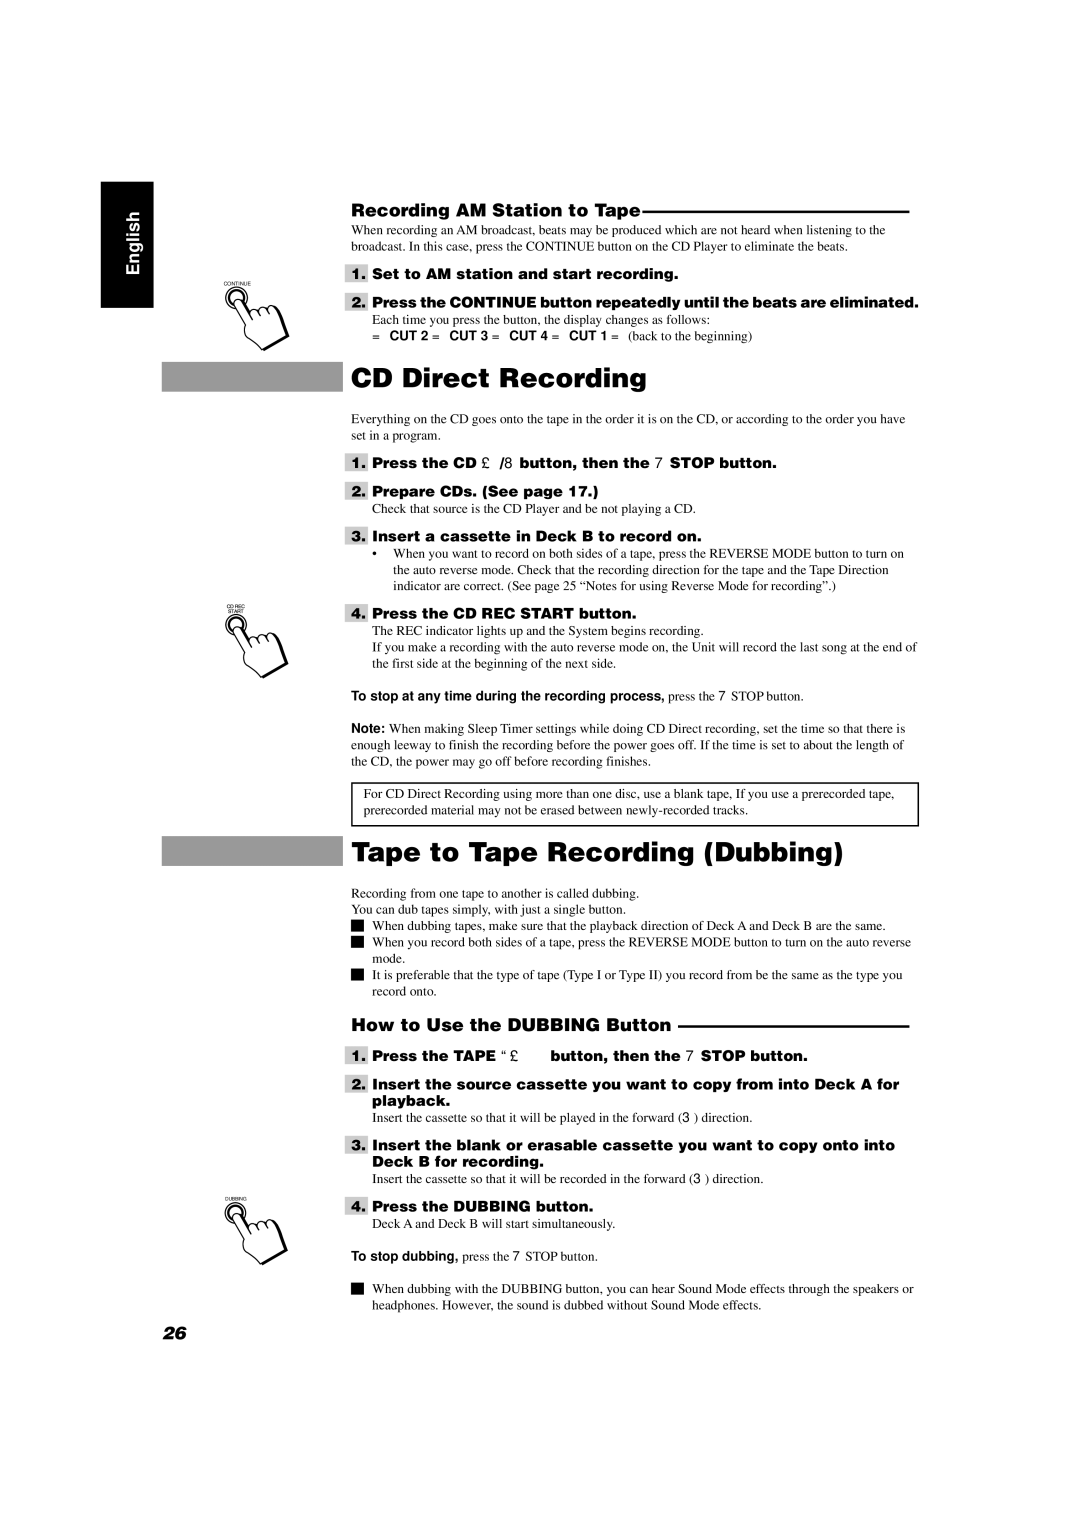
JVC CA-D352TR, CA-D302T manual CD Direct Recording, Tape to Tape Recording Dubbing, Recording AM Station to Tape

CA-D302T, CA-D352TR specifications

The JVC CA-D352TR and CA-D302T are two impressive audio systems that are designed to elevate your listening experience. These compact stereo systems embody modern technology while delivering quality sound, making them a great choice for music enthusiasts and casual listeners alike.

Both models are built with versatility in mind. The JVC CA-D352TR features a powerful dual cassette deck, a CD player, and an FM/AM tuner, enabling users to enjoy a wide range of music formats. The CA-D302T, on the other hand, emphasizes simplicity and ease of use with a CD player and FM/AM tuner combined with a USB port for direct digital playback. This enables users to easily connect their devices and enjoy their favorite playlists without hassle.

One of the standout features of these systems is the incorporation of JVC's advanced sound technologies. The CA-D352TR utilizes a powerful audio output delivering robust sound that fills the room. This system also comes equipped with a built-in equalizer, allowing users to adjust sound settings to suit their preferences or the specifics of the music being played, enhancing both high and low frequencies for a richer audio experience.

The design of both models is sleek and modern, ensuring they fit seamlessly into any home or office space. With easy-to-navigate controls, they provide user-friendly operation, making it simple for anyone to enjoy quality audio without needing extensive technical knowledge.

Another notable characteristic of these systems is their portability. The compact size makes them ideal for small spaces, and they can easily be moved from one room to another, or even taken to outdoor gatherings. Their durability adds to their appeal, ensuring long-lasting performance even in various environments.

In summary, the JVC CA-D352TR and CA-D302T audio systems are characterized by their robust sound capabilities, versatile playback options, and user-friendly design. With features tailored to enhance the listening experience, they offer a perfect blend of technology and convenience, making them an excellent addition for anyone looking to enjoy high-quality audio in a compact form. Whether you're a casual listener or a serious audiophile, these systems provide an impressive audio experience.