CA-FSB70 specifications
The JVC CA-FSB70 is a cutting-edge audio system that combines performance, convenience, and style, making it an ideal choice for music enthusiasts and casual listeners alike. This compact system is designed to deliver high-quality sound while offering a range of modern features that enhance the listening experience.One of the standout features of the JVC CA-FSB70 is its robust audio capabilities. It is equipped with a powerful amplifier that ensures crystal-clear audio across a wide range of frequencies. The system includes a full-range speaker setup, allowing for rich bass and clear treble, making it suitable for various genres of music. The bass boost feature further enhances low-frequency performance, making your music more immersive.
In terms of connectivity, the CA-FSB70 excels with its variety of input options. It supports Bluetooth technology, allowing users to stream music wirelessly from their smartphones, tablets, or other Bluetooth-enabled devices. This feature brings convenience and mobility, enabling you to play your favorite tracks without the hassle of tangled wires. Additionally, it includes auxiliary input and USB playback, giving you multiple ways to enjoy your music collection.
The design of the JVC CA-FSB70 is another impressive aspect. Its sleek and modern aesthetic allows it to fit seamlessly into any home decor. The compact size ensures it can be placed in smaller spaces without losing its visual appeal or audio performance. The intuitive control interface further enhances usability, with easy-to-navigate buttons and a clear display screen.
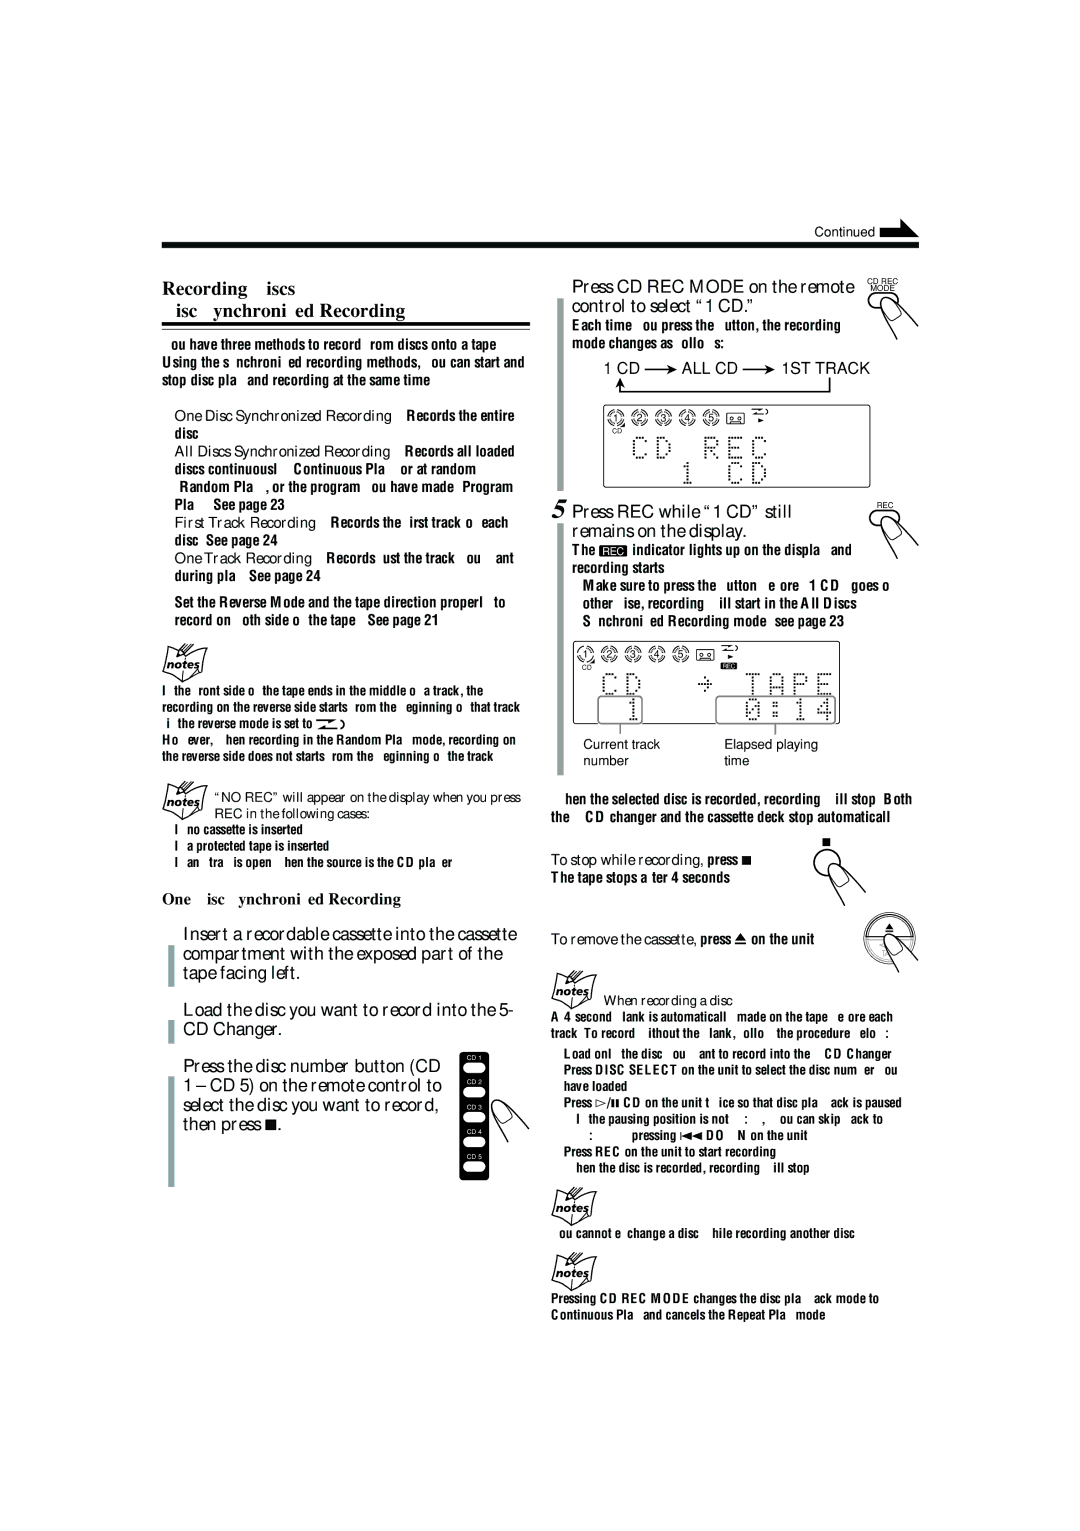
Furthermore, the JVC CA-FSB70 boasts a built-in CD player, providing a nostalgic touch for those who still enjoy physical media. It also features a radio tuner, allowing users to enjoy their favorite FM/AM stations. The programmable memory feature makes it easy to save your preferred channels for quick access.
In summary, the JVC CA-FSB70 is a multifunctional audio system that combines powerful sound performance with modern connectivity options. Its blend of features, user-friendly interface, and stylish design make it a standout choice for anyone looking to elevate their music listening experience at home. Whether you're hosting a party or enjoying a quiet evening, the CA-FSB70 delivers the quality and versatility needed for a great audio experience.

