Setting the Clock
You can set the clock whether the unit is on or off; however, if Ecology Mode is activated, you cannot set the clock while the unit is off (on standby).
If Ecology Mode is not in use while the unit is turned off (on standby), “0:00” flashes on the display until you set the clock.
On the unit ONLY:
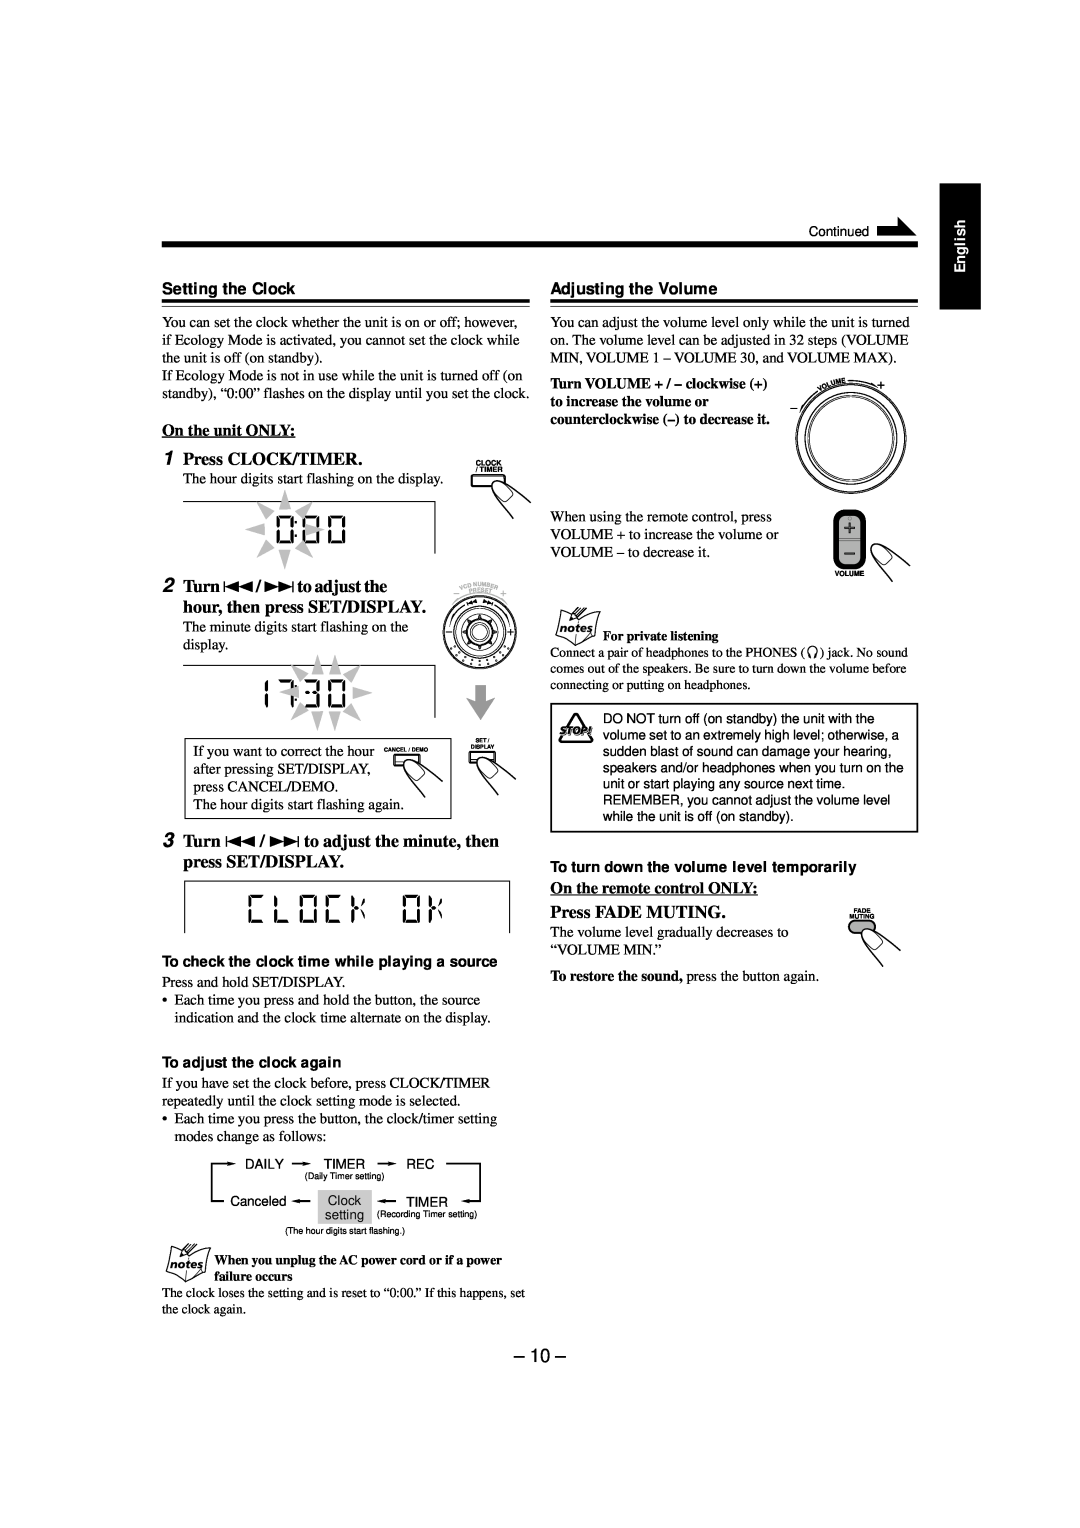
1 Press CLOCK/TIMER. | CLOCK |
| / TIMER |
The hour digits start flashing on the display.
2 Turn 4/ ¢to adjust the |
|
|
| PR SET | ||
|
|
|
| U | MB |
|
|
|
| D N | ER | ||
|
| C | E |
| ||
|
| V |
|
|
| |
hour, then press SET/DISPLAY.
The minute digits start flashing on the display.
If you want to correct the hour |
| SET / |
CANCEL / DEMO | DISPLAY | |
| ||
after pressing SET/DISPLAY, |
|
|
press CANCEL/DEMO. |
|
|
The hour digits start flashing again. |
| |
3 Turn 4 / ¢ to adjust the minute, then press SET/DISPLAY.
To check the clock time while playing a source
Press and hold SET/DISPLAY.
•Each time you press and hold the button, the source indication and the clock time alternate on the display.
To adjust the clock again
If you have set the clock before, press CLOCK/TIMER repeatedly until the clock setting mode is selected.
•Each time you press the button, the clock/timer setting modes change as follows:
DAILY ![]() TIMER
TIMER ![]() REC
REC
(Daily Timer setting)
Canceled |
|
| Clock |
|
| TIMER |
|
| |||||
|
|
| setting | (Recording Timer setting) | ||
|
|
|
|
|
|
|
(The hour digits start flashing.)
When you unplug the AC power cord or if a power failure occurs
The clock loses the setting and is reset to “0:00.” If this happens, set the clock again.
Continued
Adjusting the Volume
You can adjust the volume level only while the unit is turned on. The volume level can be adjusted in 32 steps (VOLUME MIN, VOLUME 1 – VOLUME 30, and VOLUME MAX).
| Turn VOLUME + / – clockwise (+) | V | ME |
| U | |
| L |
|
| O |
|
to increase the volume or counterclockwise
When using the remote control, press
VOLUME + to increase the volume or
VOLUME – to decrease it.
VOLUME
For private listening
Connect a pair of headphones to the PHONES ( ![]() ) jack. No sound comes out of the speakers. Be sure to turn down the volume before connecting or putting on headphones.
) jack. No sound comes out of the speakers. Be sure to turn down the volume before connecting or putting on headphones.
DO NOT turn off (on standby) the unit with the volume set to an extremely high level; otherwise, a sudden blast of sound can damage your hearing, speakers and/or headphones when you turn on the unit or start playing any source next time. REMEMBER, you cannot adjust the volume level while the unit is off (on standby).
To turn down the volume level temporarily
On the remote control ONLY:
Press FADE MUTING. | MUTING |
| FADE |
The volume level gradually decreases to “VOLUME MIN.”
To restore the sound, press the button again.
English