English

RECPAUSE

TAPE

CAUTION: If recordings you have made have excessive noise or static, the Unit may be too close to a TV which was on during recording. Either turn off the TV or increase the distance between the TV and the System.

Standard Recording

This is the basic method for recording any source. The System also has special ways for recording CD to tape, and tape to tape, which save your time and effort, as well as give you some special effects. However, when you need to add a selection to a tape you have made, or are combining selections from several sources on one tape, use the method described below; just substitute the source you want into this procedure, such as a CD or the Tuner. You can also record from an auxiliary source with this procedure.

Using the Unit

1.Insert a blank or erasable tape into Deck B.

2.Press REVERSE MODE if you want to record on both sides of the tape.

Reverse Mode comes on.

• When using Reverse Mode, insert the tape so that it will be recorded in the forward (3) direction.

3.Check the recording direction for the tape.

Check that the Tape Direction indicator is the same as that for the tape in the tape deck. If the directions are different, press 7STOP after pressing TAPE ª £to set the tape direction.

When using the Reverse Mode to record both sides of a tape, check that the Tape Direction

indicator is in the forward (3) direction. If the direction indicator is not in the forward (3) direction, press TAPE ª £then press 7STOP.

4.Start playing the source — tuner, CD Player, Deck A, or connected auxiliary equipment.

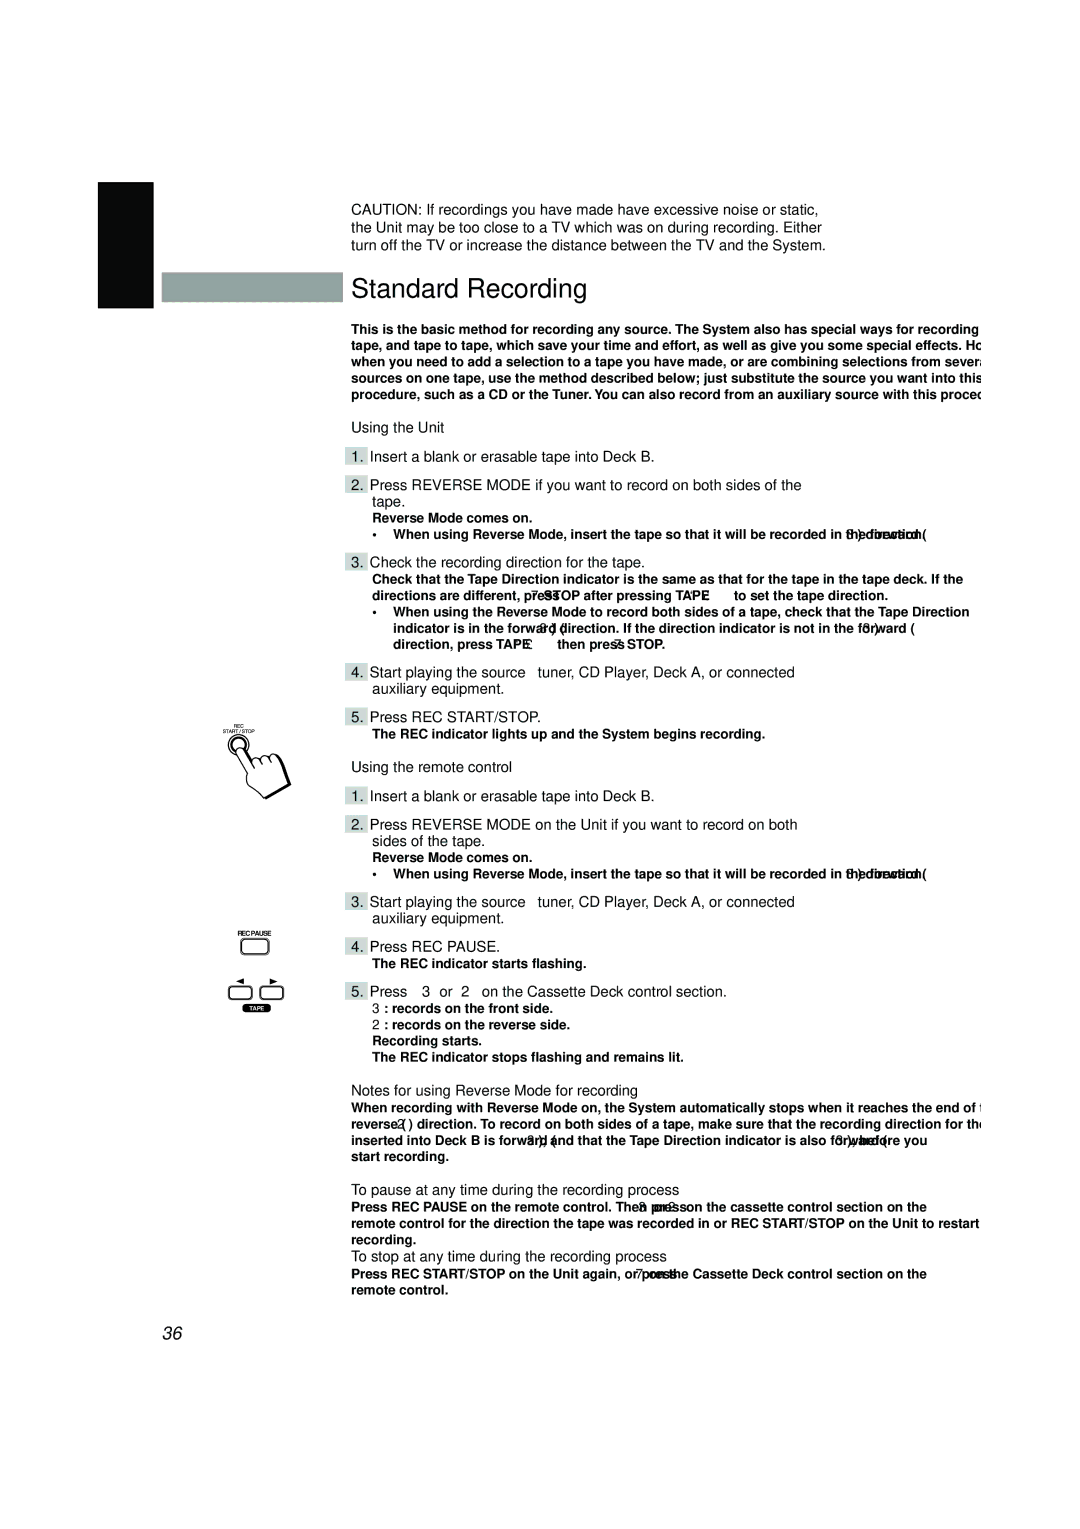
5.Press REC START/STOP.

The REC indicator lights up and the System begins recording.

Using the remote control

1.Insert a blank or erasable tape into Deck B.

2.Press REVERSE MODE on the Unit if you want to record on both sides of the tape.

Reverse Mode comes on.

• When using Reverse Mode, insert the tape so that it will be recorded in the forward (3) direction.

3.Start playing the source — tuner, CD Player, Deck A, or connected auxiliary equipment.

4.Press REC PAUSE.

The REC indicator starts flashing.

5.Press 3 or 2 on the Cassette Deck control section.

3: records on the front side.

2: records on the reverse side. Recording starts.

The REC indicator stops flashing and remains lit.

Notes for using Reverse Mode for recording

When recording with Reverse Mode on, the System automatically stops when it reaches the end of the reverse (2) direction. To record on both sides of a tape, make sure that the recording direction for the tape inserted into Deck B is forward (3), and that the Tape Direction indicator is also forward (3), before you start recording.

To pause at any time during the recording process

Press REC PAUSE on the remote control. Then press 3or 2 on the cassette control section on the remote control for the direction the tape was recorded in or REC START/STOP on the Unit to restart recording.

To stop at any time during the recording process

Press REC START/STOP on the Unit again, or press 7on the Cassette Deck control section on the remote control.

36

Page 40
Image 40
JVC SP-V608, CA-V688T, CA-V908T, CA-V608T, MX-V688T, MX-V608T Standard Recording, Check the recording direction for the tape

CA-V908T, SP-V608, CA-V688T, SP-V688, MX-V608T specifications

The JVC CA-V608T, MX-V688T, MX-V608T, SP-V688, and CA-V688T represent a collection of compact audio systems and components designed to elevate your listening experience. Tailored for both casual listeners and audiophiles, these products incorporate advanced technologies and premium features that ensure high-fidelity sound reproduction.

The JVC CA-V608T is a versatile component that serves as the main unit in this series. It boasts a built-in CD player, AM/FM tuner, and can support various audio formats, including MP3 and WMA, ensuring playback versatility. The digital amplifier technology incorporated into this model delivers impressive sound clarity and power, allowing users to enjoy their favorite tracks with exceptional quality.

Moving on to the MX-V688T, this component is marked by its robust performance and stylish design. It features a dual cassette deck for those who prefer the nostalgia of tape playback. Its user-friendly interface with a remote control allows for seamless navigation through playlists, making it easy to enjoy music from different sources. The MX-V688T also supports high-output power, which ensures rich sound even at high volumes without distortion.

The MX-V608T is similar but slightly more simplified, designed for users who don't need all the extra features of the MX-V688T. However, it still maintains high-quality audio output, ensuring an enjoyable listening experience. The addition of a programmable timer, allows users to schedule their music playback for added convenience, making it ideal for both home and office environments.

The SP-V688 is designed as a high-efficiency speaker that complements the sound systems perfectly. Boasting wide frequency response and powerful woofers, it creates a rich audio experience. The design incorporates advanced materials, which contribute to its ability to handle various genres of music with ease and clarity.

Lastly, the CA-V688T round out this impressive lineup. This model focuses on providing an integrated solution with its all-in-one features, combining powerful amplification and a range of inputs. It is particularly appealing for users looking for simplicity without sacrificing sound quality.

Together, these JVC models seamlessly blend advanced technology, user-friendly design, and an aesthetic appeal that caters to various audio needs, making them a popular choice among music enthusiasts. Their collective capabilities and sophisticated audio engineering provide a comprehensive solution for anyone looking to enhance their audio setup.