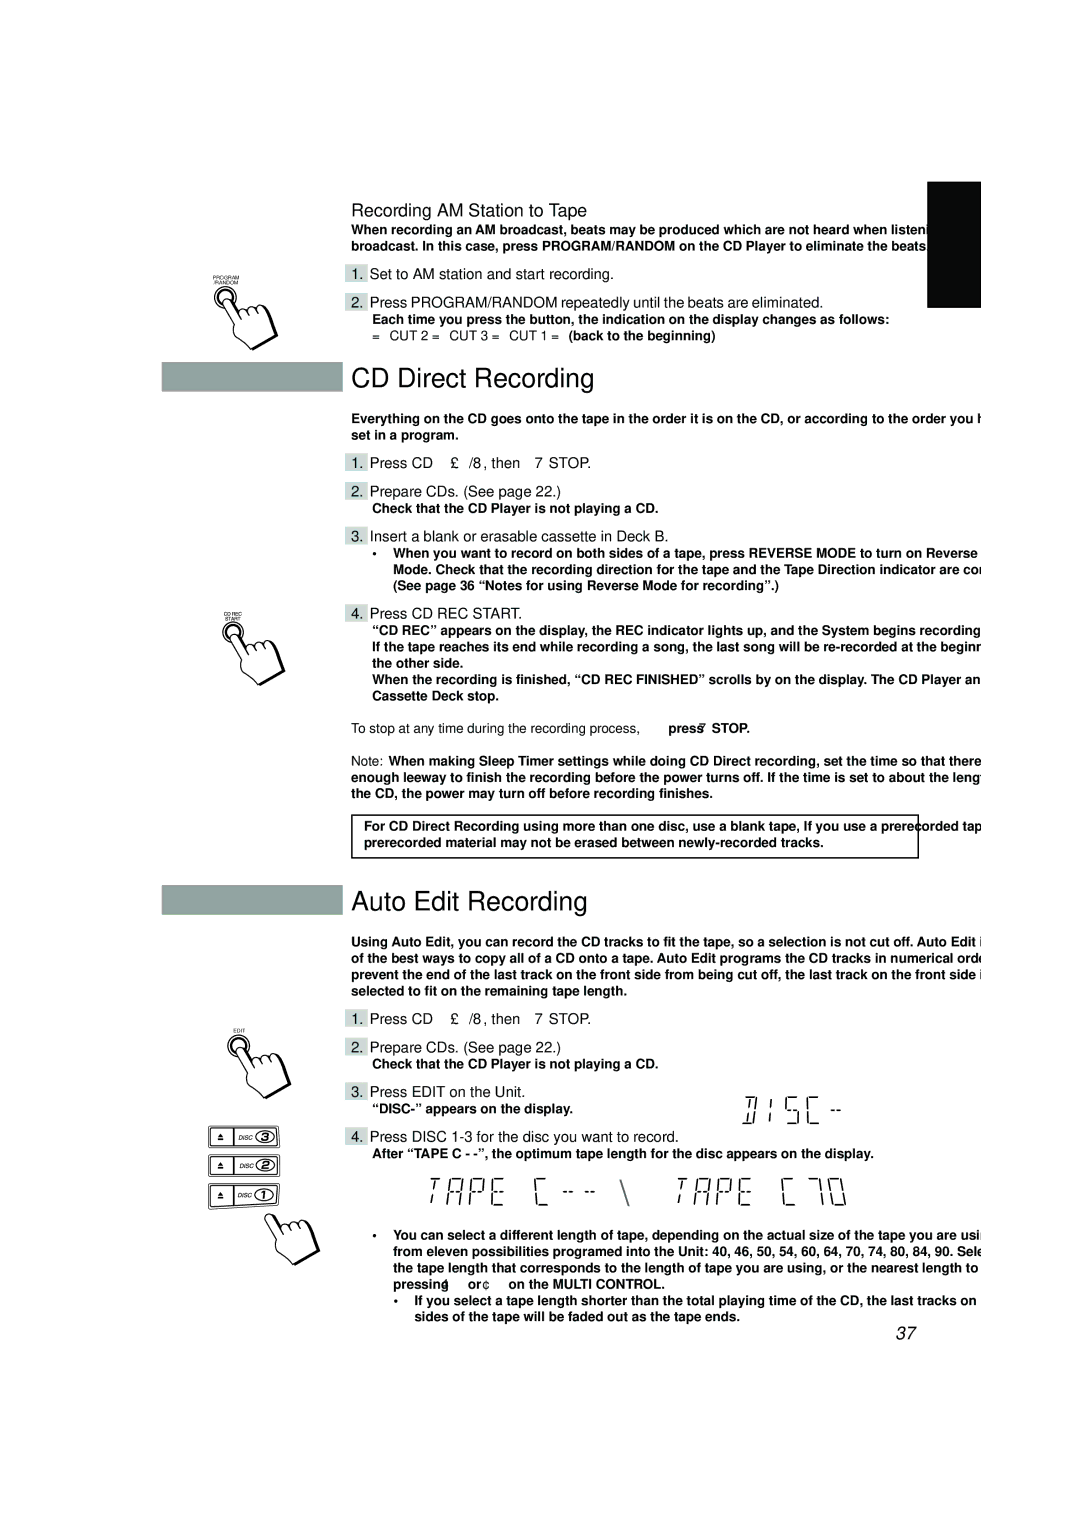
PROGRAM /RANDOM

EDIT

Recording AM Station to Tape———————————————

English

When recording an AM broadcast, beats may be produced which are not heard when listening to the


broadcast. In this case, press PROGRAM/RANDOM on the CD Player to eliminate the beats.


Set to AM station and start recording.


1.


Press PROGRAM/RANDOM repeatedly until the beats are eliminated.


2.


Each time you press the button, the indication on the display changes as follows:


= CUT 2 = CUT 3 = CUT 1 =(back to the beginning)


CD Direct Recording

Everything on the CD goes onto the tape in the order it is on the CD, or according to the order you have set in a program.

1.Press CD £/8, then 7 STOP.

2.Prepare CDs. (See page 22.)

Check that the CD Player is not playing a CD.

3.Insert a blank or erasable cassette in Deck B.

When you want to record on both sides of a tape, press REVERSE MODE to turn on Reverse Mode. Check that the recording direction for the tape and the Tape Direction indicator are correct. (See page 36 “Notes for using Reverse Mode for recording”.)

4.Press CD REC START.

“CD REC” appears on the display, the REC indicator lights up, and the System begins recording.

If the tape reaches its end while recording a song, the last song will be re-recorded at the beginning of the other side.

When the recording is finished, “CD REC FINISHED” scrolls by on the display. The CD Player and Cassette Deck stop.

To stop at any time during the recording process, press 7 STOP.

Note: When making Sleep Timer settings while doing CD Direct recording, set the time so that there is enough leeway to finish the recording before the power turns off. If the time is set to about the length of the CD, the power may turn off before recording finishes.

For CD Direct Recording using more than one disc, use a blank tape, If you use a prerecorded tape, prerecorded material may not be erased between newly-recorded tracks.

Auto Edit Recording

Using Auto Edit, you can record the CD tracks to fit the tape, so a selection is not cut off. Auto Edit is one of the best ways to copy all of a CD onto a tape. Auto Edit programs the CD tracks in numerical order. To prevent the end of the last track on the front side from being cut off, the last track on the front side is selected to fit on the remaining tape length.

1.Press CD £/8, then 7 STOP.

2.Prepare CDs. (See page 22.)

Check that the CD Player is not playing a CD.

3.Press EDIT on the Unit.

“DISC-” appears on the display.

4.Press DISC 1-3 for the disc you want to record.

After “TAPE C - -”, the optimum tape length for the disc appears on the display.

\

You can select a different length of tape, depending on the actual size of the tape you are using, from eleven possibilities programed into the Unit: 40, 46, 50, 54, 60, 64, 70, 74, 80, 84, 90. Select the tape length that corresponds to the length of tape you are using, or the nearest length to it, by pressing 4 or ¢ on the MULTI CONTROL.

If you select a tape length shorter than the total playing time of the CD, the last tracks on both sides of the tape will be faded out as the tape ends.

37

Page 41
Image 41
JVC SP-V688, CA-V688T, CA-V908T, CA-V608T, MX-V688T CD Direct Recording, Auto Edit Recording, Recording AM Station to Tape

CA-V908T, SP-V608, CA-V688T, SP-V688, MX-V608T specifications

The JVC CA-V608T, MX-V688T, MX-V608T, SP-V688, and CA-V688T represent a collection of compact audio systems and components designed to elevate your listening experience. Tailored for both casual listeners and audiophiles, these products incorporate advanced technologies and premium features that ensure high-fidelity sound reproduction.

The JVC CA-V608T is a versatile component that serves as the main unit in this series. It boasts a built-in CD player, AM/FM tuner, and can support various audio formats, including MP3 and WMA, ensuring playback versatility. The digital amplifier technology incorporated into this model delivers impressive sound clarity and power, allowing users to enjoy their favorite tracks with exceptional quality.

Moving on to the MX-V688T, this component is marked by its robust performance and stylish design. It features a dual cassette deck for those who prefer the nostalgia of tape playback. Its user-friendly interface with a remote control allows for seamless navigation through playlists, making it easy to enjoy music from different sources. The MX-V688T also supports high-output power, which ensures rich sound even at high volumes without distortion.

The MX-V608T is similar but slightly more simplified, designed for users who don't need all the extra features of the MX-V688T. However, it still maintains high-quality audio output, ensuring an enjoyable listening experience. The addition of a programmable timer, allows users to schedule their music playback for added convenience, making it ideal for both home and office environments.

The SP-V688 is designed as a high-efficiency speaker that complements the sound systems perfectly. Boasting wide frequency response and powerful woofers, it creates a rich audio experience. The design incorporates advanced materials, which contribute to its ability to handle various genres of music with ease and clarity.

Lastly, the CA-V688T round out this impressive lineup. This model focuses on providing an integrated solution with its all-in-one features, combining powerful amplification and a range of inputs. It is particularly appealing for users looking for simplicity without sacrificing sound quality.

Together, these JVC models seamlessly blend advanced technology, user-friendly design, and an aesthetic appeal that caters to various audio needs, making them a popular choice among music enthusiasts. Their collective capabilities and sophisticated audio engineering provide a comprehensive solution for anyone looking to enhance their audio setup.