CA-V908T, SP-V608, CA-V688T, SP-V688, MX-V608T specifications
The JVC CA-V608T, MX-V688T, MX-V608T, SP-V688, and CA-V688T represent a collection of compact audio systems and components designed to elevate your listening experience. Tailored for both casual listeners and audiophiles, these products incorporate advanced technologies and premium features that ensure high-fidelity sound reproduction.The JVC CA-V608T is a versatile component that serves as the main unit in this series. It boasts a built-in CD player, AM/FM tuner, and can support various audio formats, including MP3 and WMA, ensuring playback versatility. The digital amplifier technology incorporated into this model delivers impressive sound clarity and power, allowing users to enjoy their favorite tracks with exceptional quality.
Moving on to the MX-V688T, this component is marked by its robust performance and stylish design. It features a dual cassette deck for those who prefer the nostalgia of tape playback. Its user-friendly interface with a remote control allows for seamless navigation through playlists, making it easy to enjoy music from different sources. The MX-V688T also supports high-output power, which ensures rich sound even at high volumes without distortion.
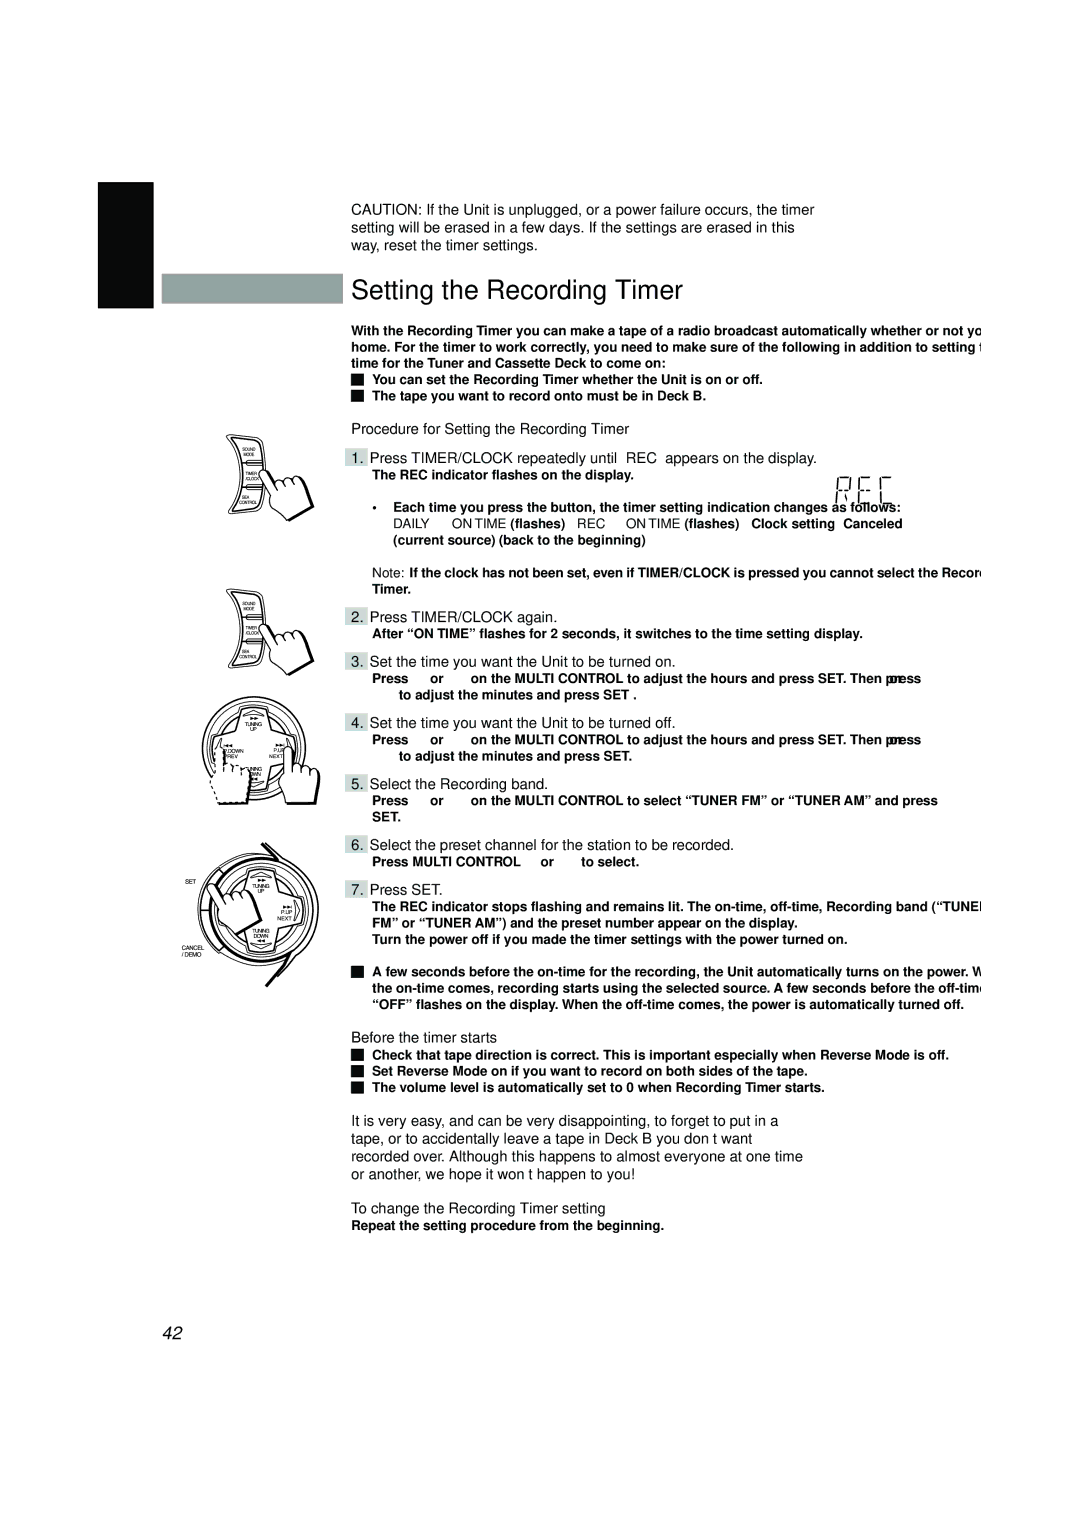
The MX-V608T is similar but slightly more simplified, designed for users who don't need all the extra features of the MX-V688T. However, it still maintains high-quality audio output, ensuring an enjoyable listening experience. The addition of a programmable timer, allows users to schedule their music playback for added convenience, making it ideal for both home and office environments.
The SP-V688 is designed as a high-efficiency speaker that complements the sound systems perfectly. Boasting wide frequency response and powerful woofers, it creates a rich audio experience. The design incorporates advanced materials, which contribute to its ability to handle various genres of music with ease and clarity.
Lastly, the CA-V688T round out this impressive lineup. This model focuses on providing an integrated solution with its all-in-one features, combining powerful amplification and a range of inputs. It is particularly appealing for users looking for simplicity without sacrificing sound quality.
Together, these JVC models seamlessly blend advanced technology, user-friendly design, and an aesthetic appeal that caters to various audio needs, making them a popular choice among music enthusiasts. Their collective capabilities and sophisticated audio engineering provide a comprehensive solution for anyone looking to enhance their audio setup.

