5 Press 2/3 to adjust the selected item.
6 Press MENU/EXIT (or MENU on the Monitor) twice to exit from the menu operations.
To make an adjustment while viewing the adjustment bar
After step 3 on page 14, proceed as follows:
1Press 5/° to move the cursor (3) to “sub menu.”
2Press 3to display the Sub Menu.
The Sub Menu for H SIZE appears on the screen.
H S I Z E | : + 0 1 | ||||
++ |
|
|
|
| ++ |
|
|
|
|
|
|
3Press 5/° to select the Sub Menu you want to adjust. Each time you press the button, the Sub Menu changes as follows:
![]() H SIZE
H SIZE![]()
![]() H POSITION
H POSITION![]()
![]() V SIZE
V SIZE![]()
![]() CLOCK PHASE
CLOCK PHASE![]()
![]() V POSITION
V POSITION ![]()
4Press 2/3to adjust the selected item.
5Repeat steps 3 and 4 to adjust the other items.
6Press MENU/EXIT (or MENU on the Monitor) three times to exit from the menu operations.
To reset the adjustments
After step 3 on page 14, proceed as follows:
1Press 5/° to move the cursor (3) to “reset.”
2Press 3.
The confirmation screen appears.
r e s e t |
|
A r e y o u s u r e ? |
|
" Y E S " t h e n p r e s s | k e y . |
" N O " t h e n p r e s s M E N U k e y
3Press 3again to reset the adjustments.
To cancel the reset, press MENU/EXIT (or MENU on the Monitor).
Note:
• Adjustment values for both horizontal and vertical sizes of the screen are so related that if one is adjusted up to near the maximum value, the attainable value of the other will be decreased.
Adjusting the Picture Quality
Picture quality can be set for each input mode.
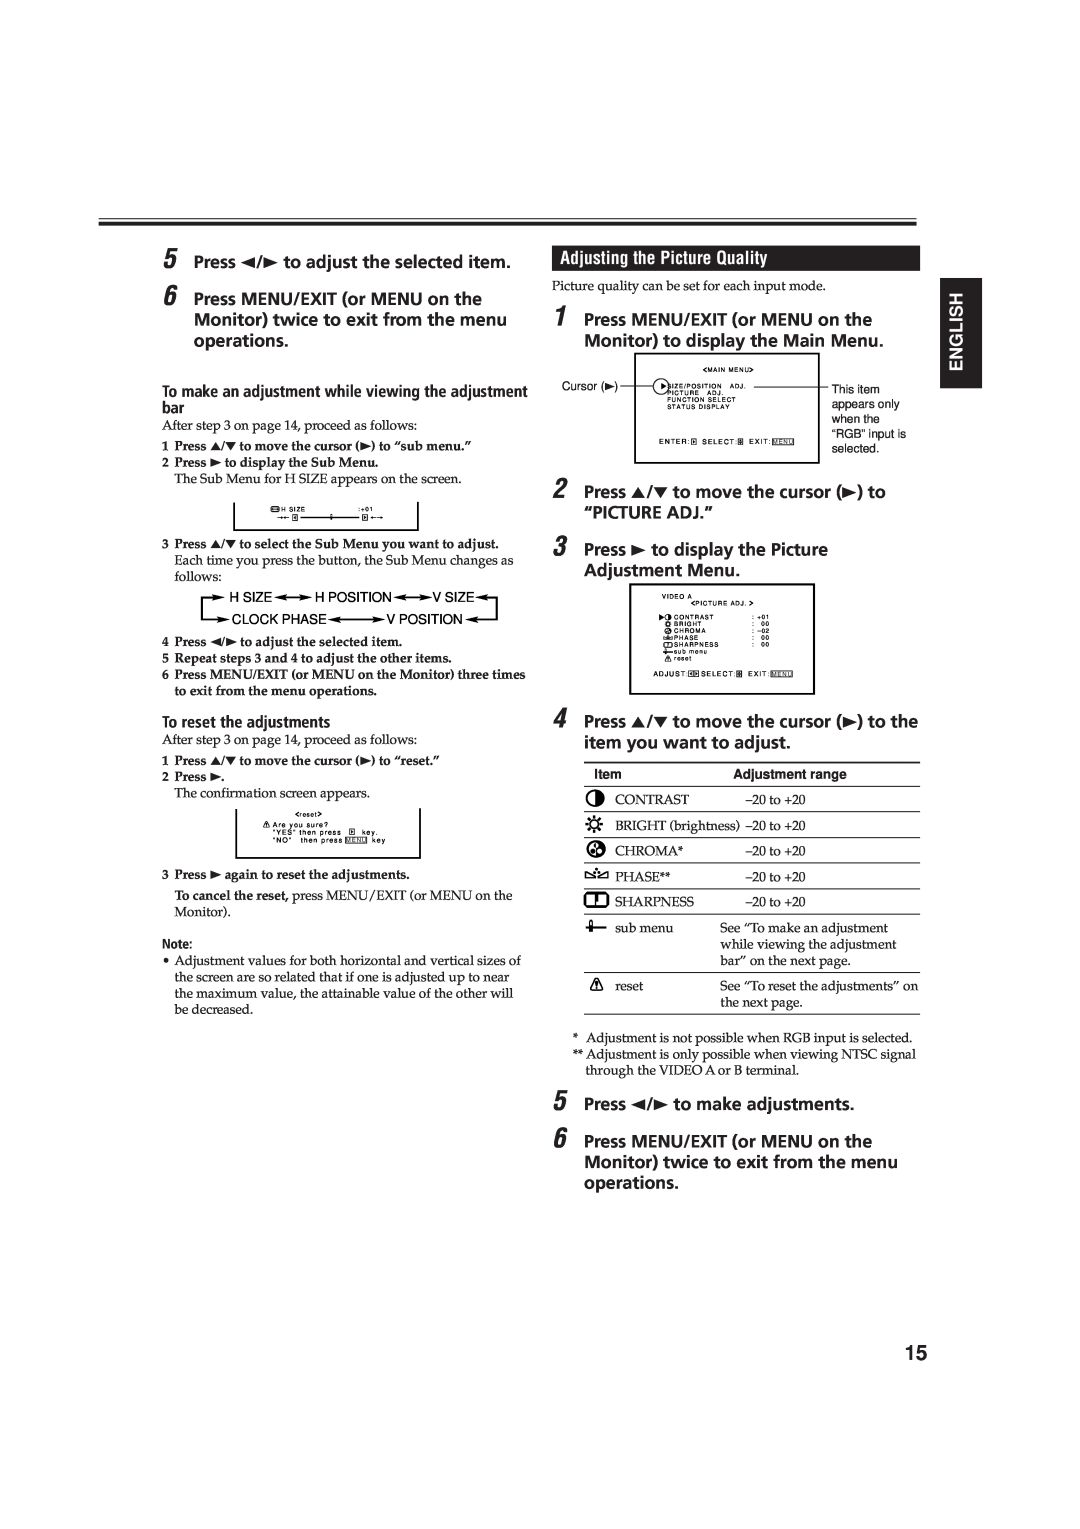
1 Press MENU/EXIT (or MENU on the Monitor) to display the Main Menu.
M A I N M E N U
Cursor (3) | P I C T U R E | A D J . |
|
|
|
| This item | ||||
| S I Z E / P O S I T I O N A D J . |
|
|
|
|
| |||||
| F U N C T I O N S E L E C T |
|
|
|
| appears only | |||||
| S T A T U S D I S P L A Y |
|
|
|
| ||||||
|
|
|
|
|
|
|
|
|
|
| when the |
| E N T E R : |
|
| S E L E C T : |
|
| E X I T : |
|
| “RGB” input is | |
|
|
|
|
| M E N U |
| selected. | ||||
|
|
|
|
|
|
|
|
|
|
| |
2 Press 5/° to move the cursor (3) to “PICTURE ADJ.”
3 Press 3 to display the Picture
Adjustment Menu.
V I D E O A
P I C T U R E A D J . |
|
|
C O N T R A S T | : + 0 1 | |
B R I G H T | : | 0 0 |
C H R O M A | : – 0 2 | |
P H A S E | : | 0 0 |
S H A R P N E S S | : 0 0 | |
![]() s u b m e n u
s u b m e n u ![]() r e s e t
r e s e t
A D J U S T :![]()
![]() S E L E C T :
S E L E C T : ![]() E X I T : M E N U
E X I T : M E N U
4 Press 5/° to move the cursor (3) to the item you want to adjust.
Item | Adjustment range |
CONTRAST | |
| |
BRIGHT (brightness) | |
|
|
CHROMA* | |
|
|
PHASE** | |
|
|
SHARPNESS | |
|
|
sub menu | See “To make an adjustment |
| while viewing the adjustment |
| bar” on the next page. |
|
|
reset | See “To reset the adjustments” on |
| the next page. |
|
|
*Adjustment is not possible when RGB input is selected.
**Adjustment is only possible when viewing NTSC signal through the VIDEO A or B terminal.
5 Press 2/3 to make adjustments.
6 Press MENU/EXIT (or MENU on the Monitor) twice to exit from the menu operations.
ENGLISH
15