Copying Files (Continued)
Backup All Files
Preparation:
•Connect the camera to the DVD burner.
•Select ! or # mode.
•Select HDD or microSD card. (# mode only)
The following illustrations of display screens are examples of when backing up video.
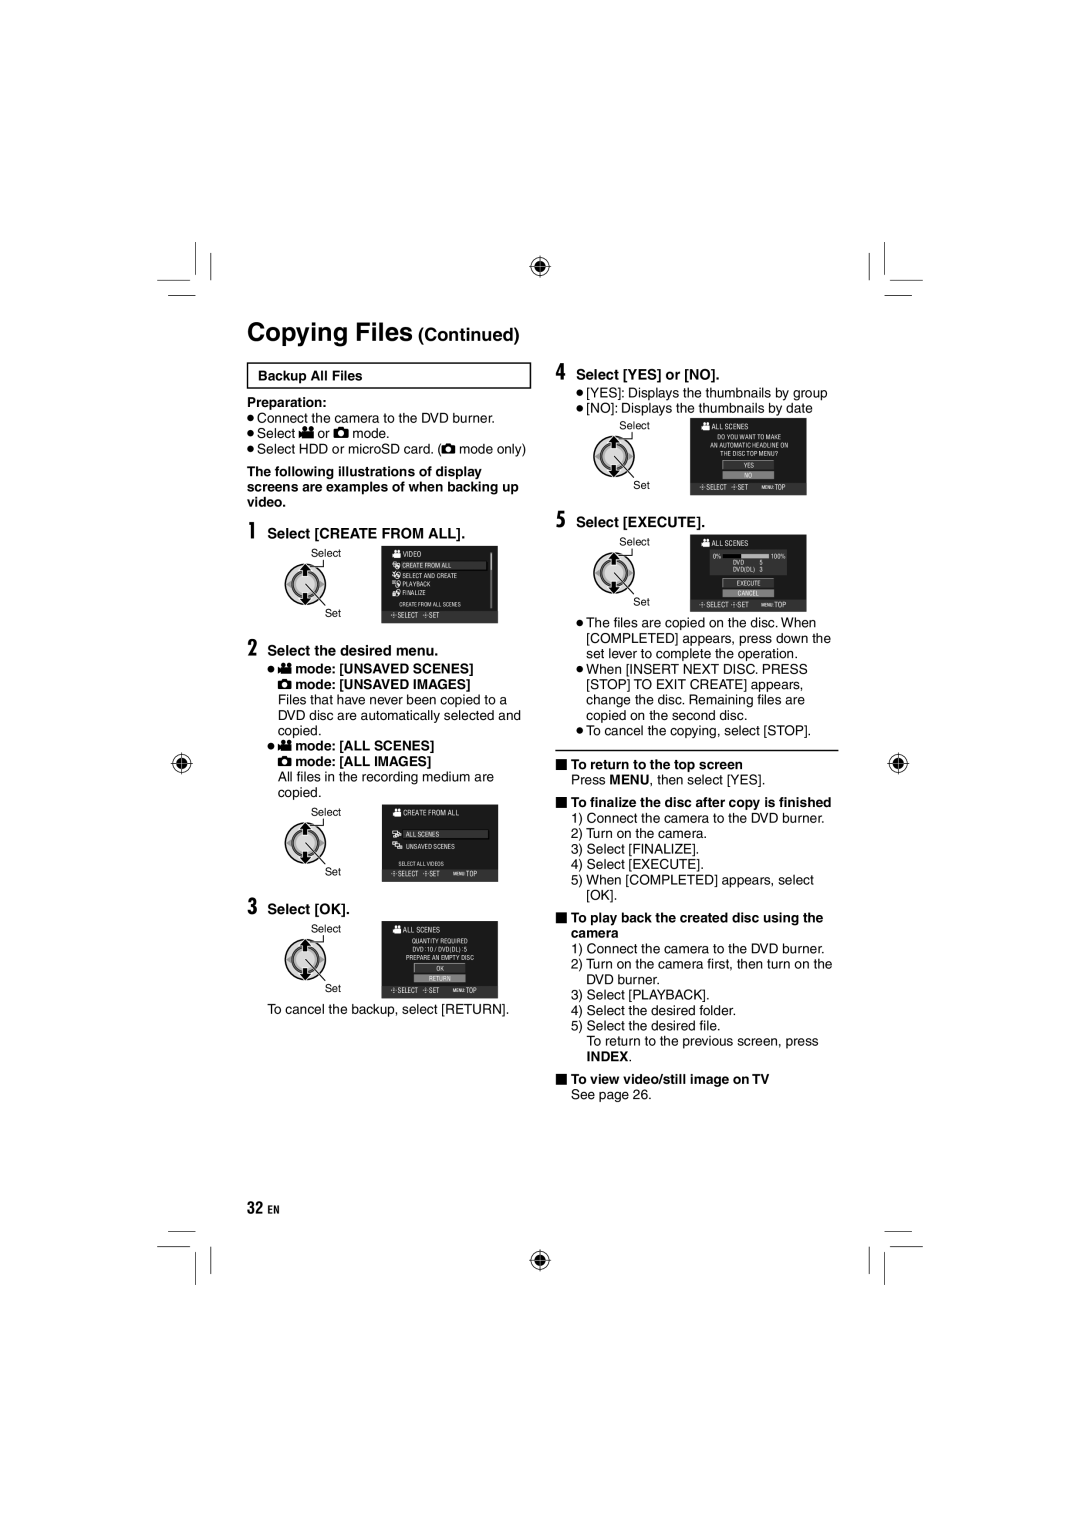
1 Select [CREATE FROM ALL].
Select | VIDEO |
|
| CREATE FROM ALL | |
| SELECT AND CREATE | |
| PLAYBACK | |
| FINALIZE |
|
Set | CREATE FROM ALL SCENES | |
SELECT | SET | |
2 Select the desired menu.
•! mode: [UNSAVED SCENES]
# mode: [UNSAVED IMAGES]
Files that have never been copied to a DVD disc are automatically selected and copied.
•! mode: [ALL SCENES]
# mode: [ALL IMAGES]
All fi les in the recording medium are copied.
Select |
| CREATE FROM ALL |
|
| ||
|
|
|
|
|
|
|
|
|
|
| ALL SCENES |
|
|
|
|
|
| UNSAVED SCENES |
|
|
| Set |
| SELECT ALL VIDEOS |
|
| |
|
| SELECT SET | TOP | |||
|
|
|
|
|
|
|
3 Select [OK].
Select | ALL SCENES |
| ||
|
| QUANTITY REQUIRED | ||
|
| DVD 10 / DVD(DL) 5 | ||
|
| PREPARE AN EMPTY DISC | ||
|
|
| OK |
|
|
|
| RETURN |
|
| Set | SELECT SET | TOP | |
|
|
|
|
|
To cancel the backup, select [RETURN].
4 Select [YES] or [NO].
•[YES]: Displays the thumbnails by group
•[NO]: Displays the thumbnails by date
Select | ALL SCENES |
| |
| DO YOU WANT TO MAKE | ||
| AN AUTOMATIC HEADLINE ON | ||
| THE DISC TOP MENU? | ||
|
| YES |
|
|
| NO |
|
Set | SELECT | SET | TOP |
5 Select [EXECUTE]. |
|
|
|
Select | ALL SCENES |
| |
| 0% | DVD | 100% |
|
| 5 | |
|
| DVD(DL) | 3 |
|
| EXECUTE | |
|
| CANCEL |
|
Set |
|
|
SELECT SET | TOP |
•The fi les are copied on the disc. When [COMPLETED] appears, press down the set lever to complete the operation.
•When [INSERT NEXT DISC. PRESS [STOP] TO EXIT CREATE] appears, change the disc. Remaining files are copied on the second disc.
•To cancel the copying, select [STOP].
⬛To return to the top screen Press MENU, then select [YES].
⬛To finalize the disc after copy is finished
1)Connect the camera to the DVD burner.
2)Turn on the camera.
3)Select [FINALIZE].
4)Select [EXECUTE].
5)When [COMPLETED] appears, select [OK].
⬛To play back the created disc using the camera
1)Connect the camera to the DVD burner.
2)Turn on the camera fi rst, then turn on the DVD burner.
3)Select [PLAYBACK].
4)Select the desired folder.
5)Select the desired fi le.
To return to the previous screen, press
INDEX.
⬛To view video/still image on TV See page 26.
32EN