Zooming
Preparation:
•Select ! or # mode.
•Select the recording mode.
Zoom out | Zoom in | ||||||
|
|
|
|
|
|
|
|
|
|
|
|
|
|
|
|
|
|
|
|
|
|
|
|
|
|
|
|
|
|
|
|
W: Wide angle | T: Telephoto | ||||||
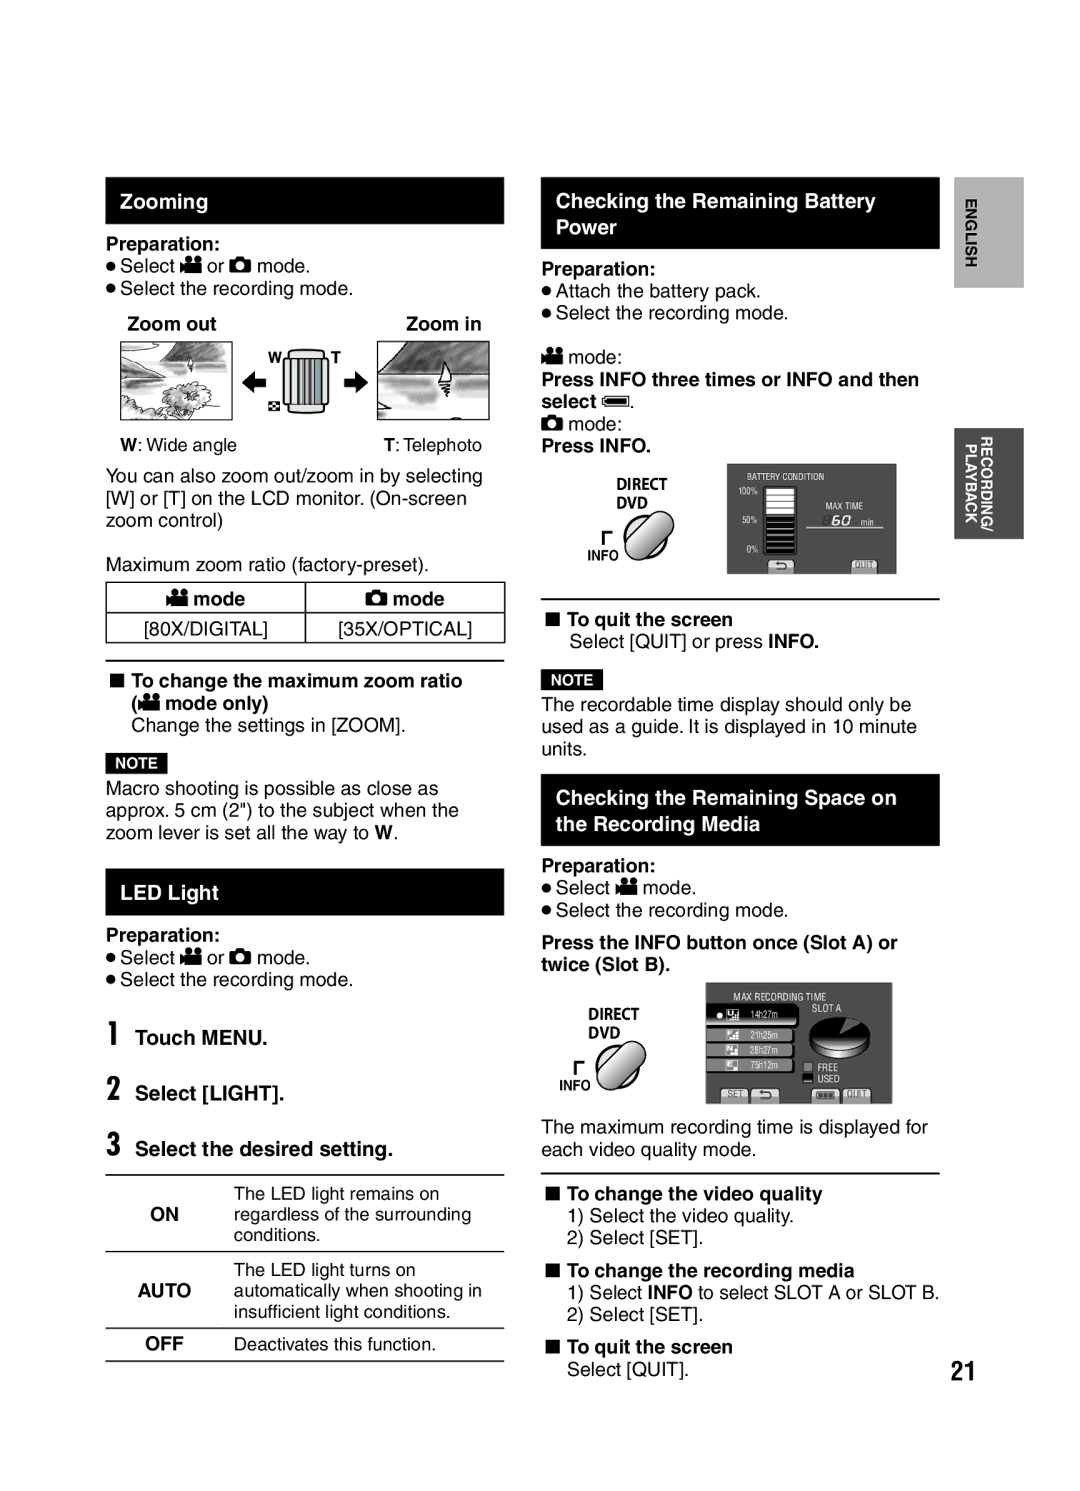
You can also zoom out/zoom in by selecting
[W]or [T] on the LCD monitor.
Maximum zoom ratio
! mode | # mode |
[80X/DIGITAL] | [35X/OPTICAL] |
LTo change the maximum zoom ratio (! mode only)
Change the settings in [ZOOM].
NOTE
Macro shooting is possible as close as approx. 5 cm (2") to the subject when the zoom lever is set all the way to W.
LED Light
Preparation:
•Select ! or # mode.
•Select the recording mode.
1 Touch MENU.
2 Select [LIGHT].
3 Select the desired setting.
The LED light remains on
ON regardless of the surrounding conditions.
The LED light turns on
AUTO automatically when shooting in insufficient light conditions.
OFF Deactivates this function.
Checking the Remaining Battery | ENGLISH | |
Power | ||
| ||
|
| |
Preparation: |
|
•Attach the battery pack.
•Select the recording mode.
!mode:
Press INFO three times or INFO and then select ;.
# mode: |
|
| RECORDING/ PLAYBACK |
Press INFO. |
|
| |
DIRECT | BATTERY CONDITION |
| |
100% |
|
| |
DVD |
| MAX TIME |
|
| 50% | min |
|
INFO | 0% |
|
|
| QUIT |
| |
|
|
|
LTo quit the screen
Select [QUIT] or press INFO.
NOTE
The recordable time display should only be used as a guide. It is displayed in 10 minute units.
Checking the Remaining Space on the Recording Media
Preparation:
•Select ! mode.
•Select the recording mode.
Press the INFO button once (Slot A) or twice (Slot B).
|
|
| MAX RECORDING TIME | ||
|
| DIRECT | B 14h27m | SLOT A | |
|
|
|
| ||
|
| DVD | C 21h25m |
|
|
|
|
| D 28h27m |
|
|
|
|
| E 75h12m |
| FREE |
INFO | SET |
| USED | ||
| QUIT | ||||
|
|
|
| ||
|
|
|
|
|
|
The maximum recording time is displayed for each video quality mode.
LTo change the video quality
1)Select the video quality.
2)Select [SET].
LTo change the recording media
1)Select INFO to select SLOT A or SLOT B.
2)Select [SET].
LTo quit the screen
Select [QUIT]. | 21 |
