38![]()
![]()
![]()
![]()
![]()
![]()
![]()
![]()
![]()
![]()
![]()
![]()
![]()
![]()
![]()
![]()
![]()
![]()
![]()
![]()
![]()
![]()
![]()
![]()
![]()
![]()
![]()
![]()
![]()
![]()
![]()
![]()
![]()
![]()
![]()
![]()
![]()
![]()
![]()
![]()
![]()
![]()
![]()
![]()
![]()
![]()
![]()
![]()
![]()
![]()
![]()
![]()
![]()
![]()
![]()
![]()
![]()
![]()
![]()
![]()
![]()
![]()
![]()
![]()
![]()
![]()
![]()
![]()
![]()
![]()
![]()
![]()
![]()
![]()
![]() TUNER
TUNER![]()
![]() SET
SET![]() (cont.)
(cont.)![]()
![]()
![]()
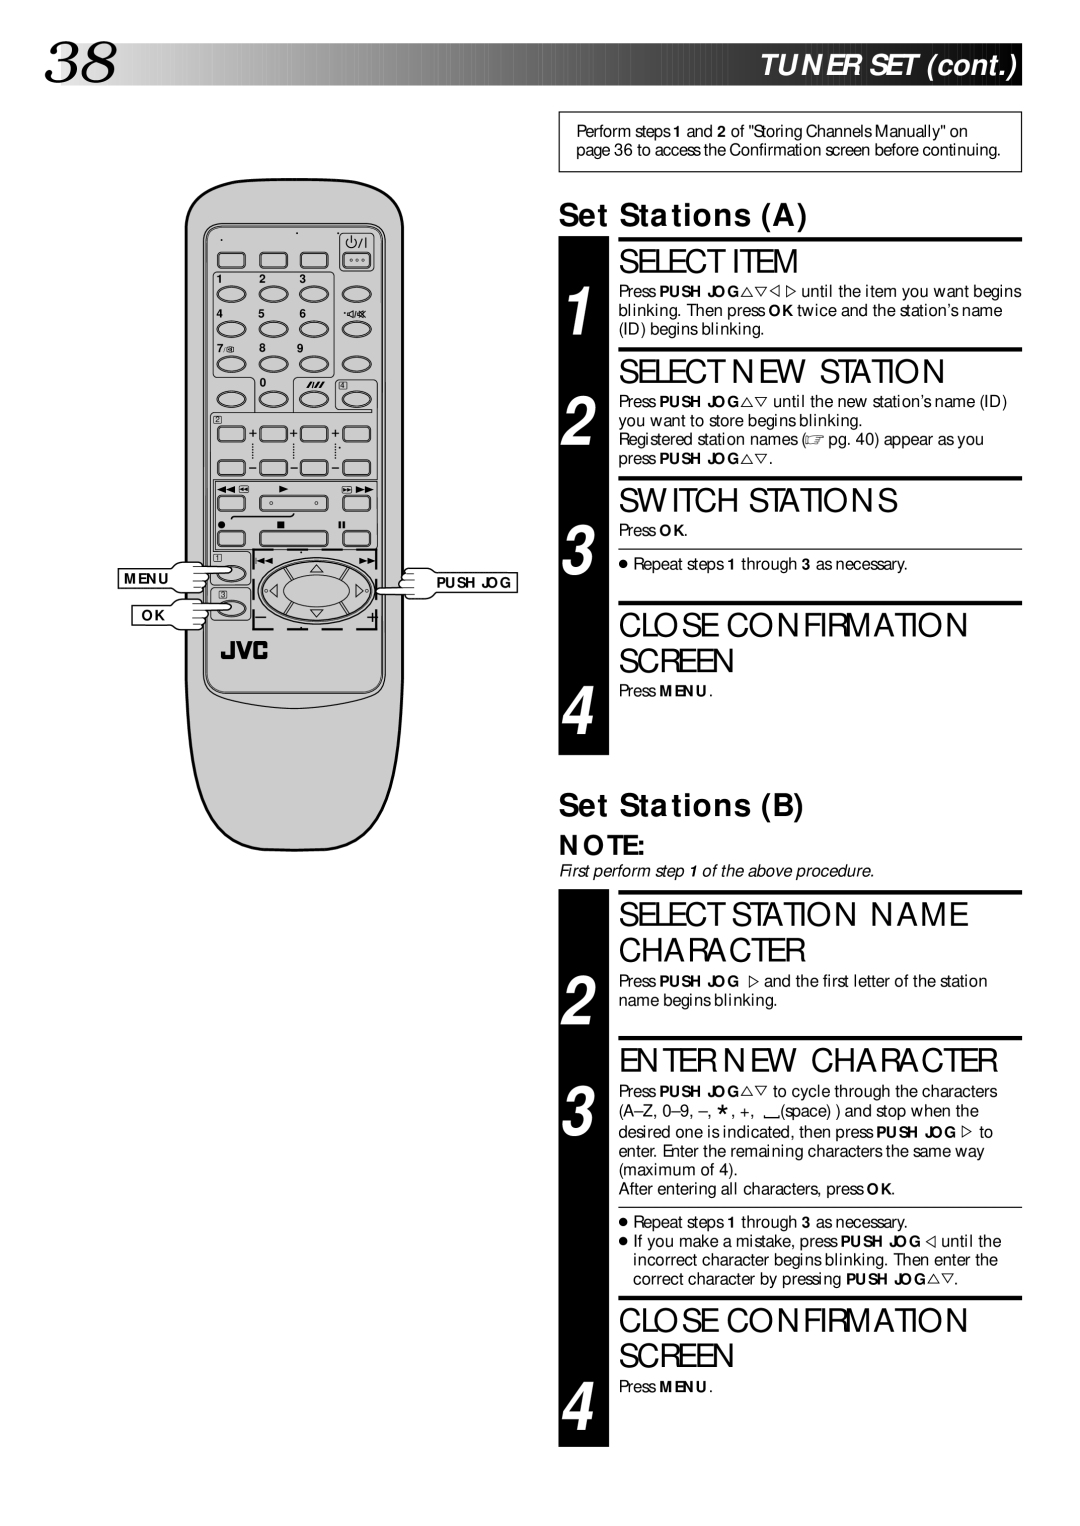
Perform steps 1 and 2 of "Storing Channels Manually" on page 36 to access the Confirmation screen before continuing.
1 | 2 | 3 |
4 | 5 | 6 |
7/ | 8 | 9 |
| 0 | 4 |
2 |
|
|
1 | 3 | Á |
¦ | 7 | 8 |
1 | 4 | ¢ |
| ||
MENU |
|
|
3 |
|
|
OK |
|
|
PUSH JOG
Set Stations (A)
1 | SELECT ITEM |
Press PUSH JOG%Þ%%until the item you want begins | |
blinking. Then press OK twice and the station’s name | |
(ID) begins blinking. |
2 | SELECT NEW STATION |
Press PUSH JOG%Þ until the new station’s name (ID) | |
you want to store begins blinking. | |
Registered station names (☞ pg. 40) appear as you | |
| press PUSH JOG%Þ. |
3 | SWITCH STATIONS |
Press OK. | |
| |
● Repeat steps 1 through 3 as necessary. | |
| |
|
|
| CLOSE CONFIRMATION |
4 | SCREEN |
Press MENU. |
Set Stations (B)
NOTE:
First perform step 1 of the above procedure.
SELECT STATION NAME
CHARACTER
| Press PUSH JOG %and the first letter of the station | ||
2 name begins blinking. |
| ||
| ENTER NEW CHARACTER | ||
| Press PUSH JOG%Þ to cycle through the characters | ||
| , +, (space) ) and stop when the | ||
3 desired one is*indicated,[ | then press PUSH JOG%to | ||
enter. Enter the remaining characters the same way | |||
(maximum of 4). |
| ||
After entering all characters, press OK. | |||
●Repeat steps 1 through 3 as necessary.
● If you make a mistake, press PUSH JOG % until the incorrect character begins blinking. Then enter the correct character by pressing PUSH JOG%Þ.
CLOSE CONFIRMATION SCREEN
4 Press MENU.
