w SP/LP Button selects tape speed. ☞ pg. 18 Auto Tracking Button enables/disables auto tracking mode during playback ☞ pg. 14
eTIMER Button — same as button on recorder. ☞ pg. 23, 25
rDATE +/– Button inputs date of program for timer recording. ☞ pg. 24
t TV PROG +/– Button — same as button on recorder. ☞ pg. 18
yFast Forward Button — same as button on recorder. ☞ pg. 12
u Stop Button — same as button on recorder.
☞pg. 12
iPause Button — same as button on recorder.
☞pg. 13
o PUSH JOG %Þ% %Button is used for selection in
PUSH JOG % % Button initiates functions such as Index Search ☞ pg. 15,
p TV VOL +/– Button controls volume of con- nected TV. ☞ "Operating JVC TVs" to the right.
![]()
![]()
![]()
![]()
![]()
![]()
![]()
![]()
![]()
![]()
![]()
![]()
![]()
![]()
![]()
![]()
![]()
![]()
![]()
![]()
![]()
![]()
![]()
![]()
![]()
![]()
![]()
![]()
![]() 51
51![]()
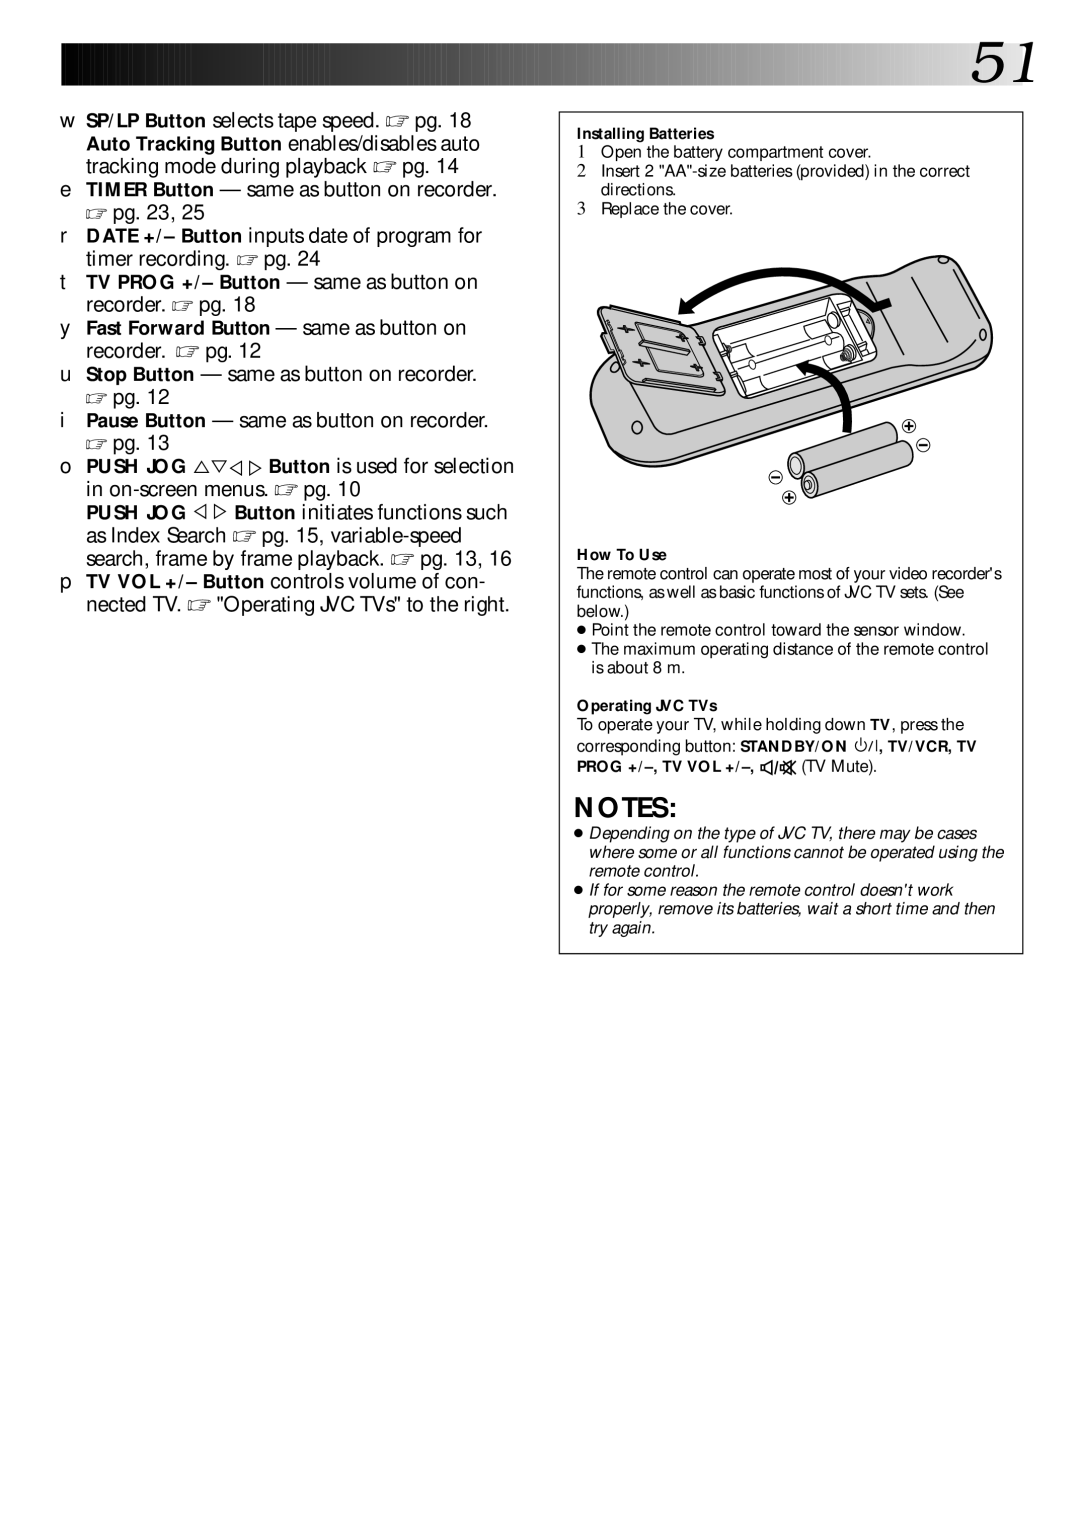
Installing Batteries
1Open the battery compartment cover.
2Insert 2
3Replace the cover.
How To Use
The remote control can operate most of your video recorder's functions, as well as basic functions of JVC TV sets. (See below.)
●Point the remote control toward the sensor window.
●The maximum operating distance of the remote control is about 8 m.
Operating JVC TVs
To operate your TV, while holding down TV, press the corresponding button: STANDBY/ON ![]()
![]()
![]() , TV/VCR, TV
, TV/VCR, TV
PROG +/–, TV VOL +/–, 
 (TV Mute).
NOTES:
●Depending on the type of JVC TV, there may be cases where some or all functions cannot be operated using the remote control.
●If for some reason the remote control doesn't work properly, remove its batteries, wait a short time and then try again.