TIMER
6 |
| 5/8 |
q | 1 | Á |
|
|
|
|
|
|
|
|
| E |
| N |
|
|
| 27 | |||||
|
|
|
|
|
|
|
|
|
|
|
|
| ||||||||
|
|
|
|
|
|
|
|
|
|
|
|
|
|
|
| |||||
|
| 5 | ENTER PROGRAMME DATE |
| ||||||||||||||||
|
| Press DATE | ||||||||||||||||||
|
| The date you enter appears in its place.) |
|
|
|
|
|
|
|
|
|
|
|
|
| |||||
|
|
|
|
|
|
|
|
|
|
|
|
|
|
| ||||||
|
| ● If you are using the | ||||||||||||||||||
|
|
| buttons remain lit: START | |||||||||||||||||
|
|
| TV PROG. +/– and MENU. |
|
|
|
|
|
|
|
|
|
|
|
|
| ||||
|
|
|
|
|
|
|
|
|
|
|
|
|
|
| ||||||
|
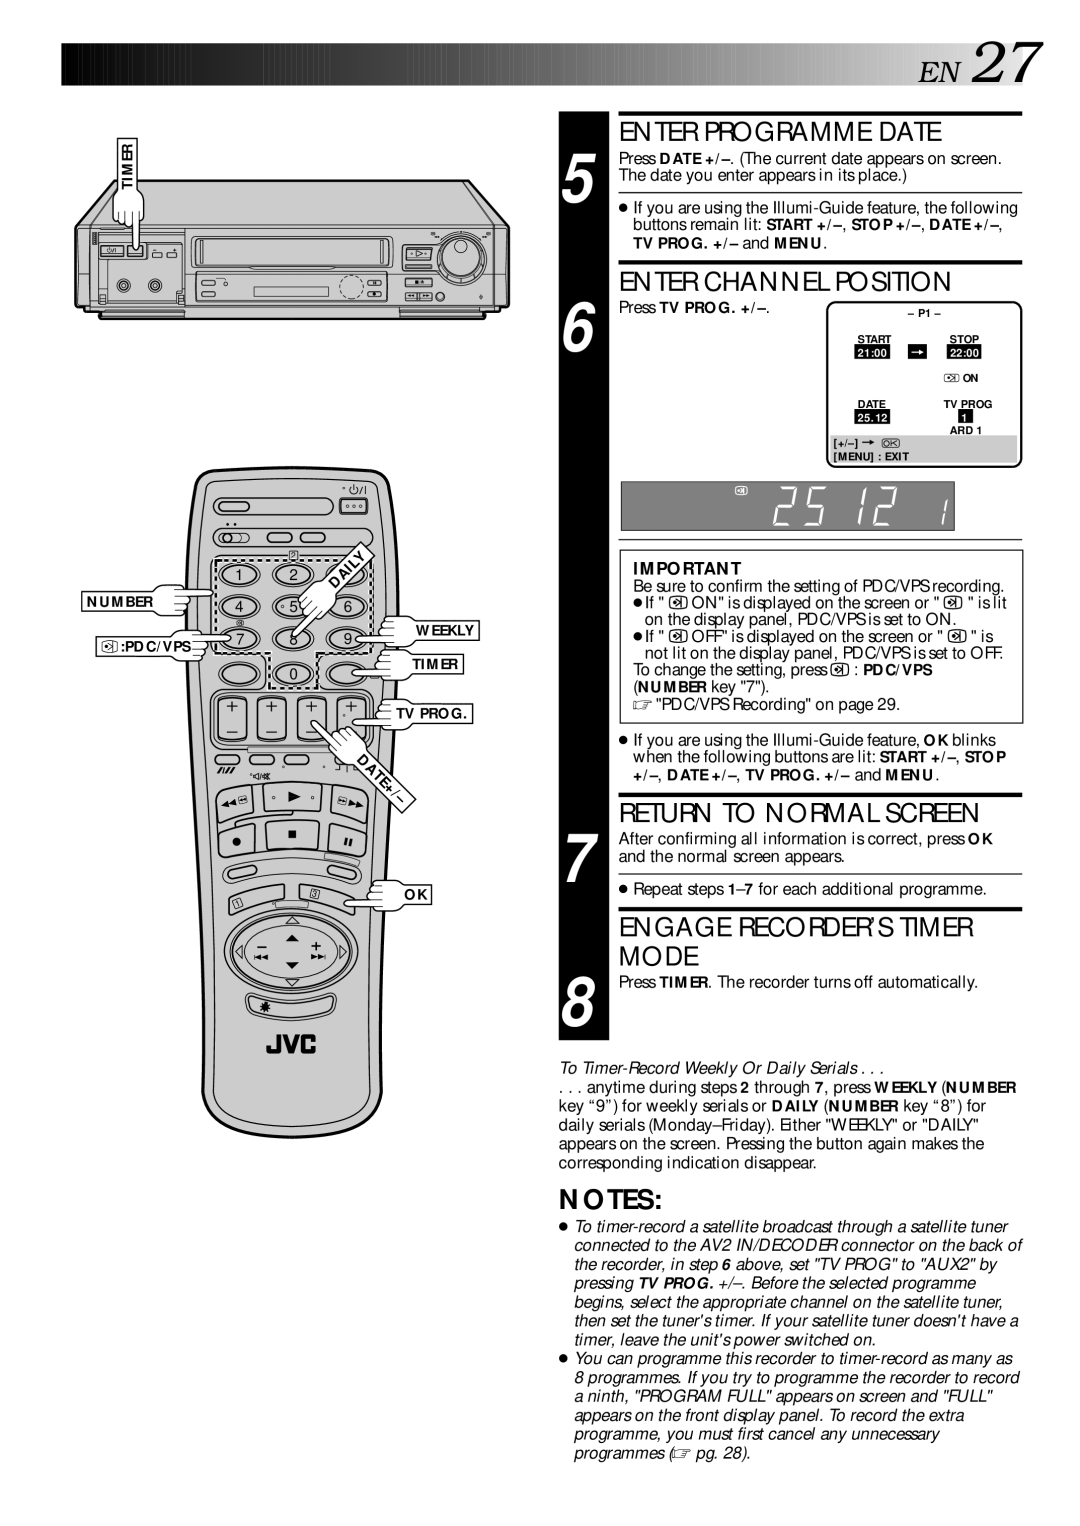
| 6 | ENTER CHANNEL POSITION |
| ||||||||||||||||
|
| Press TV PROG. | – P1 – | |||||||||||||||||
|
|
|
|
| START |
|
|
|
|
|
| STOP | ||||||||
|
|
| 21:00 |
| = |
| 22:00 |
|
|
| ||||||||||
|
|
|
|
|
|
|
|
|
|
|
|
|
|
|
| ON | ||||
|
|
|
|
|
| DATE |
|
|
|
| TV PROG | |||||||||
|
|
|
| 25.12 |
|
|
| 1 | 1 | |||||||||||
|
|
|
|
|
|
|
|
|
|
|
|
|
| ARD | ||||||
|
|
|
|
|
|
|
|
|
|
|
|
|
|
|
|
|
| |||
|
|
|
|
| [MENU] : EXIT |
| ||||||||||||||
|
|
|
|
|
|
|
|
|
|
|
|
|
|
|
|
|
|
|
|
|
|
|
|
|
|
|
|
|
|
|
|
|
|
|
|
|
|
|
|
|
|
|
|
|
|
|
|
|
|
|
|
|
|
|
|
|
|
|
|
|
|
|
|
| 2 | DAILY |
|
| 1 | 2 |
| |
| 3 |
| ||
NUMBER | 4 | 5 | 6 |
|
|
| |||
:PDC/VPS | 7 | 8 | 9 | WEEKLY |
| ||||
|
|
| TIMER | |
|
| 0 |
| |
|
|
| 4 |
TV PROG.
| DATE+/ |
| – |
3 | OK |
1 |
|
IMPORTANT
Be sure to confirm the setting of PDC/VPS recording.
●If " ![]()
![]()
![]()
![]() ON" is displayed on the screen or "
ON" is displayed on the screen or " ![]()
![]()
![]()
![]() " is lit on the display panel, PDC/VPS is set to ON.
" is lit on the display panel, PDC/VPS is set to ON.
●If " ![]()
![]()
![]()
![]() OFF" is displayed on the screen or "
OFF" is displayed on the screen or " ![]()
![]()
![]()
![]() " is not lit on the display panel, PDC/VPS is set to OFF.
" is not lit on the display panel, PDC/VPS is set to OFF.
To change the setting, press ![]()
![]()
![]()
![]() : PDC/VPS (NUMBER key "7").
: PDC/VPS (NUMBER key "7").
☞ "PDC/VPS Recording" on page 29.
●If you are using the
7 | RETURN TO NORMAL SCREEN |
After confirming all information is correct, press OK | |
and the normal screen appears. | |
| |
● Repeat steps |
ENGAGE RECORDER’S TIMER MODE
8 Press TIMER. The recorder turns off automatically.
To Timer-Record Weekly Or Daily Serials . . .
. . . anytime during steps 2 through 7, press WEEKLY (NUMBER key “9”) for weekly serials or DAILY (NUMBER key “8”) for daily serials
NOTES:
●To
●You can programme this recorder to