3R Picture
3R(= Resolution and Response Recovery technology) maximises sense of resolution and sharpens image edges to make playback picture look better focused.
1 |
| ACTIVATE 3R PICTURE |
| Press 3R PICTURE. The button will light. | |
|
| |
| ● To turn off 3R Picture, press 3R PICTURE again so | |
| that the light goes off. | |
|
| ● Normally it is recommendable to keep 3R Picture ON |
|
| (with the button lit). |
|
| ● Depending on the type of tape used, picture quality |
|
| may be better with 3R Picture set to off. |
|
| ● If you use this recorder as the player for editing, be |
|
| sure to turn off 3R Picture before starting. |
|
| ● The setting will remain effective even though you |
|
| turn on/off the recorder. |
|
|
|
Index Search
Your recorder automatically marks
index codes at the beginning of£ 2 each recording. This function gives
you quick access to any one of 9 index codes in either direction.
NOTE:
Before starting, make sure the recorder is in the Stop mode.
ACTIVATE INDEX SEARCH
1 Press PUSH JOG Þ or %(ª or £). “ª1” or “£1” is displayed on screen and search begins in the corresponding direction.
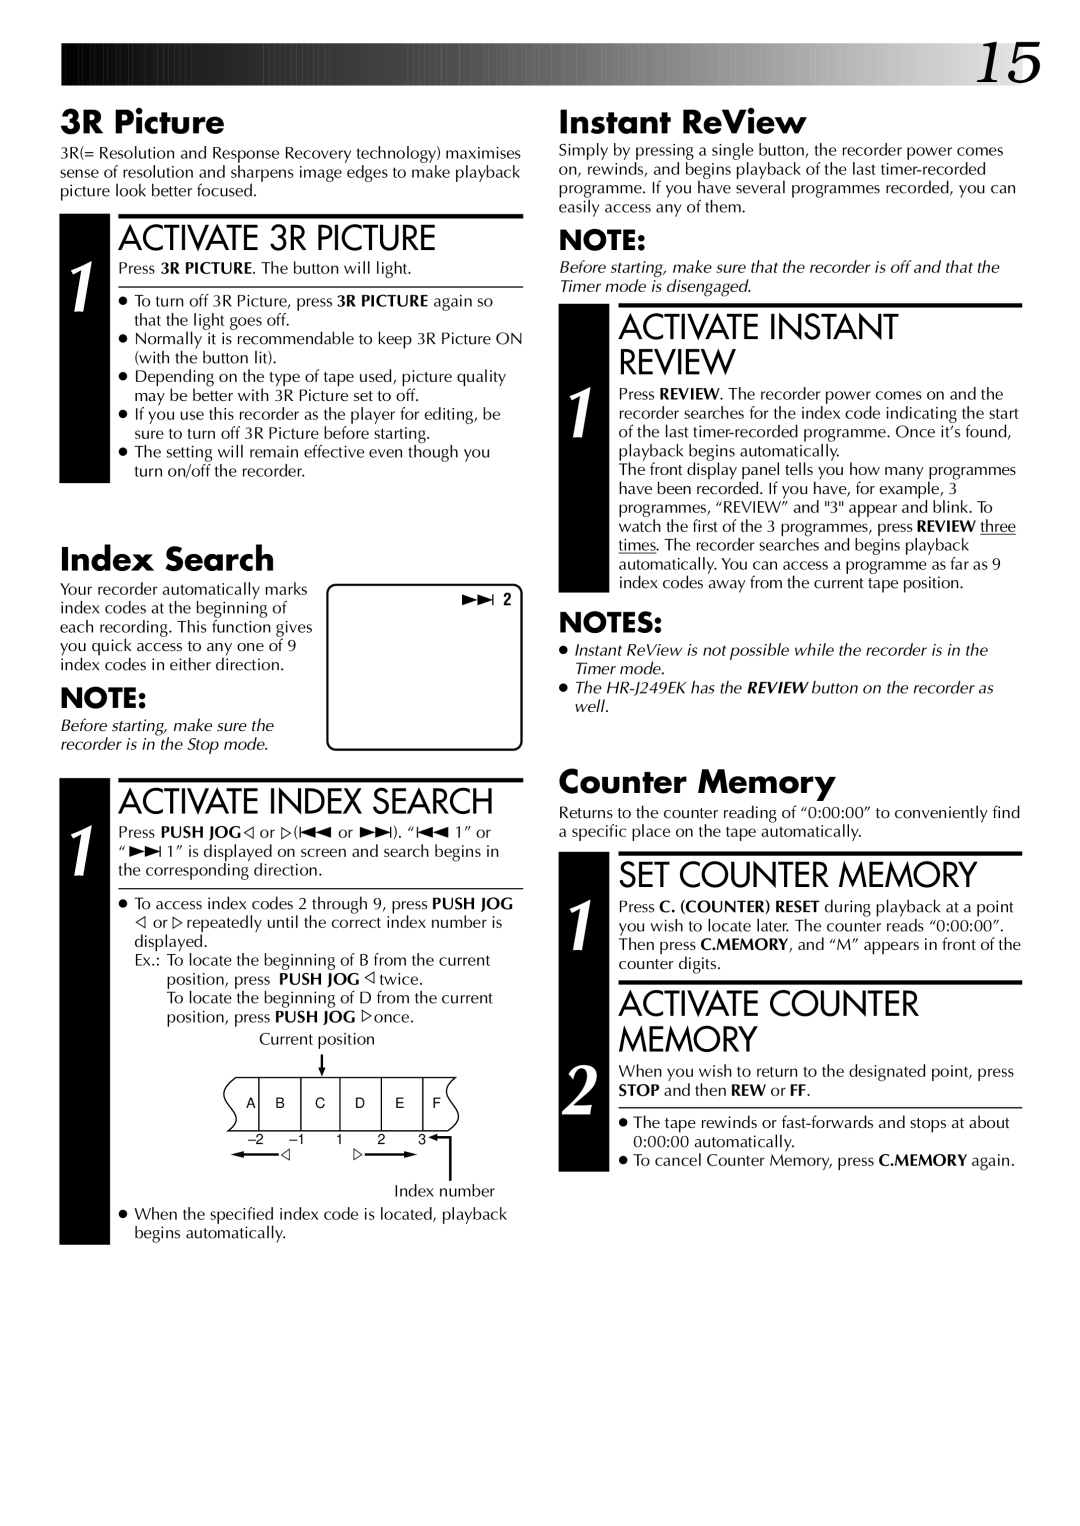
●To access index codes 2 through 9, press PUSH JOG
Þ or %repeatedly until the correct index number is displayed.
Ex.: To locate the beginning of B from the current position, press PUSH JOG Þtwice.
To locate the beginning of D from the current position, press PUSH JOG %once.
Current position
A |
| B |
| C | D |
| E |
| F | |||
|
|
|
|
|
|
|
|
|
|
|
|
|
| 1 |
| 2 | 3 |
| |||||||
|
|
| ||||||||||
|
|
|
|
|
|
|
|
|
|
|
|
|
|
|
|
|
|
|
|
|
|
|
|
|
|
Index number
●When the specified index code is located, playback begins automatically.
![]()
![]()
![]()
![]()
![]()
![]()
![]()
![]()
![]()
![]()
![]()
![]()
![]()
![]()
![]()
![]()
![]()
![]()
![]() 15
15![]()
Instant ReView
Simply by pressing a single button, the recorder power comes on, rewinds, and begins playback of the last
NOTE:
Before starting, make sure that the recorder is off and that the Timer mode is disengaged.
ACTIVATE INSTANT
REVIEW
1 Press REVIEW. The recorder power comes on and the recorder searches for the index code indicating the start of the last
The front display panel tells you how many programmes have been recorded. If you have, for example, 3 programmes, “REVIEW” and "3" appear and blink. To watch the first of the 3 programmes, press REVIEW three times. The recorder searches and begins playback automatically. You can access a programme as far as 9 index codes away from the current tape position.
NOTES:
●Instant ReView is not possible while the recorder is in the Timer mode.
●The
Counter Memory
Returns to the counter reading of “0:00:00” to conveniently find a specific place on the tape automatically.
1 | SET COUNTER MEMORY |
Press C. (COUNTER) RESET during playback at a point | |
you wish to locate later. The counter reads “0:00:00”. | |
Then press C.MEMORY, and “M” appears in front of the | |
| counter digits. |
| ACTIVATE COUNTER | |
2 | MEMORY | |
When you wish to return to the designated point, press | ||
STOP and then REW or FF. | ||
● The tape rewinds or | ||
| ||
| 0:00:00 automatically. | |
| ● To cancel Counter Memory, press C.MEMORY again. |
