34![]()
![]()
![]() EN
EN![]()
![]()
![]()
![]()
![]()
![]()
![]()
![]()
![]()
![]()
![]()
![]()
![]()
![]()
![]()
![]()
![]()
![]()
![]()
![]()
![]()
PLAYB
 A
A
 CK
CK

 AND
AND

 RECORDING

 FEATURES
 (cont.)


Recording
Features
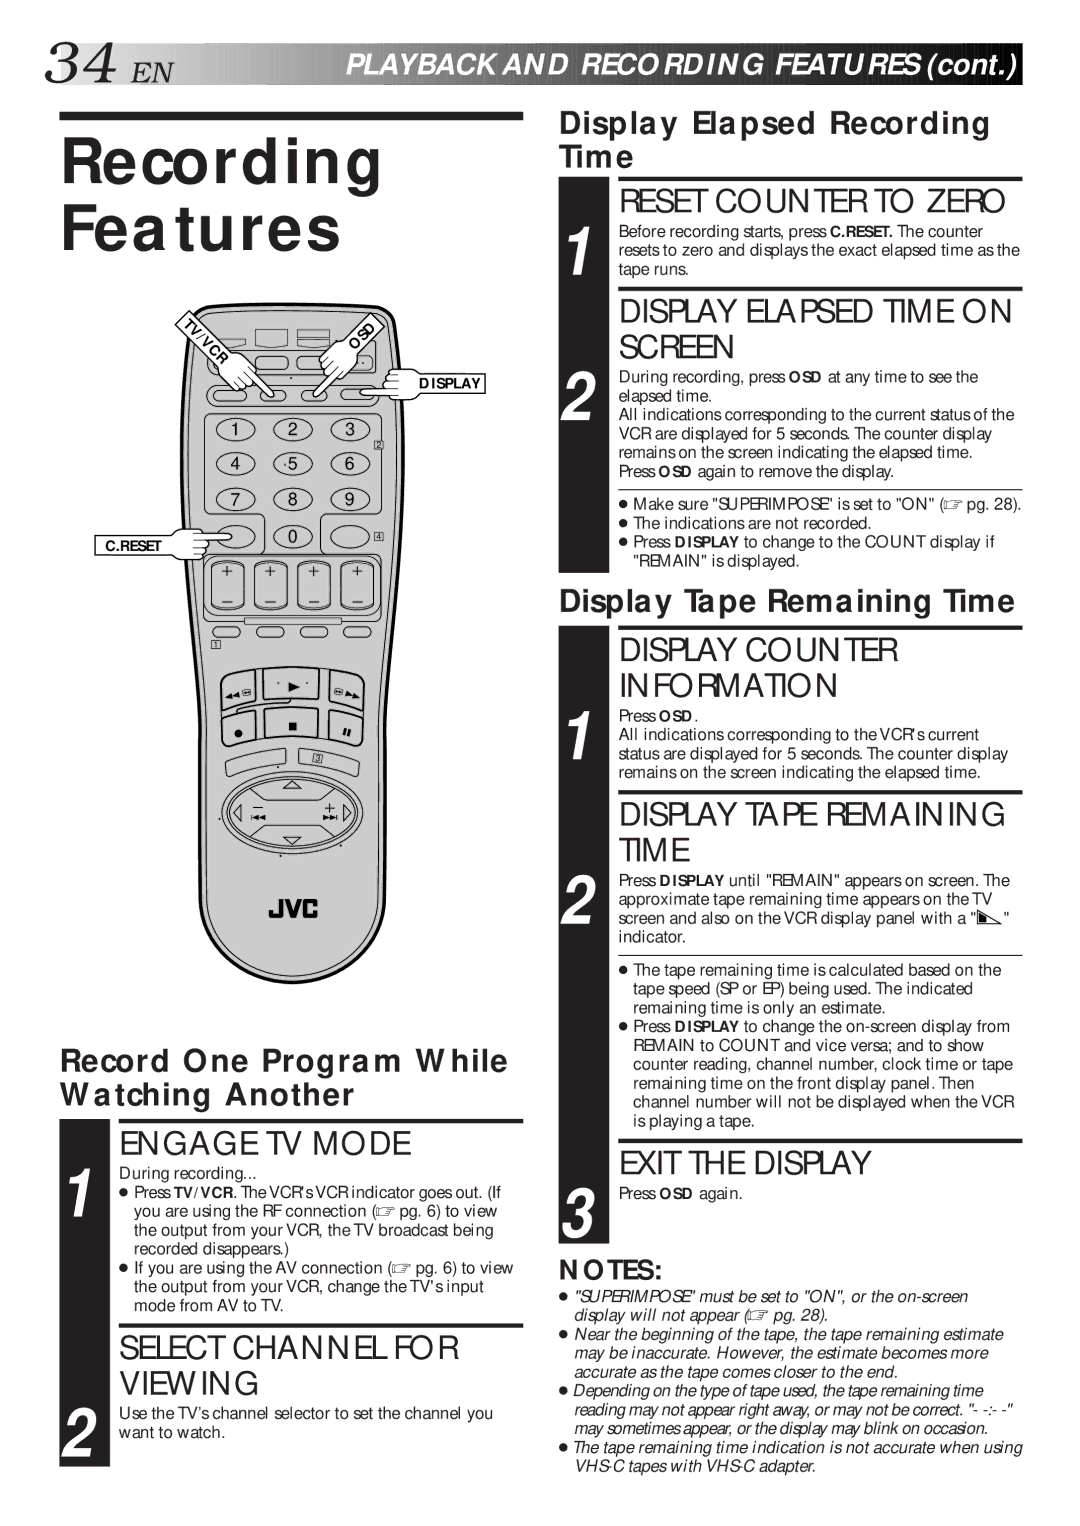
V/VCR |
| OSD |
|
| DISPLAY |
1 | 2 | 3 |
|
| 2 |
4 | 5 | 6 |
7 | 8 | 9 |
C.RESET | 0 | 4 |
|
|
1
3
Record One Program While Watching Another
1 | ENGAGE TV MODE |
During recording... | |
● Press TV/VCR. The VCR's VCR indicator goes out. (If | |
you are using the RF connection (☞ pg. 6) to view | |
| the output from your VCR, the TV broadcast being |
| recorded disappears.) |
| ● If you are using the AV connection (☞ pg. 6) to view |
| the output from your VCR, change the TV's input |
| mode from AV to TV. |
SELECT CHANNEL FOR
VIEWING
2 Use the TV’s channel selector to set the channel you want to watch.
Display Elapsed Recording Time
1 |
| RESET COUNTER TO ZERO |
| Before recording starts, press C.RESET. The counter | |
| resets to zero and displays the exact elapsed time as the | |
| tape runs. | |
|
| DISPLAY ELAPSED TIME ON |
2 |
| SCREEN |
| During recording, press OSD at any time to see the | |
| elapsed time. | |
| All indications corresponding to the current status of the | |
|
| VCR are displayed for 5 seconds. The counter display |
|
| remains on the screen indicating the elapsed time. |
|
| Press OSD again to remove the display. |
|
|
|
|
| ● Make sure "SUPERIMPOSE" is set to "ON" (☞ pg. 28). |
|
| ● The indications are not recorded. |
|
| ● Press DISPLAY to change to the COUNT display if |
|
| "REMAIN" is displayed. |
|
|
|
Display Tape Remaining Time
DISPLAY COUNTER
INFORMATION
1 Press OSD.
All indications corresponding to the VCR's current status are displayed for 5 seconds. The counter display remains on the screen indicating the elapsed time.
DISPLAY TAPE REMAINING TIME
2 Press DISPLAY until "REMAIN" appears on screen. The approximate tape remaining time appears on the TV screen and also on the VCR display panel with a "![]() " indicator.
" indicator.
●The tape remaining time is calculated based on the tape speed (SP or EP) being used. The indicated remaining time is only an estimate.
●Press DISPLAY to change the
EXIT THE DISPLAY
3 Press OSD again.
NOTES:
●"SUPERIMPOSE" must be set to "ON", or the
●Near the beginning of the tape, the tape remaining estimate may be inaccurate. However, the estimate becomes more accurate as the tape comes closer to the end.
●Depending on the type of tape used, the tape remaining time reading may not appear right away, or may not be correct. "-
●The tape remaining time indication is not accurate when using