advanced features
33
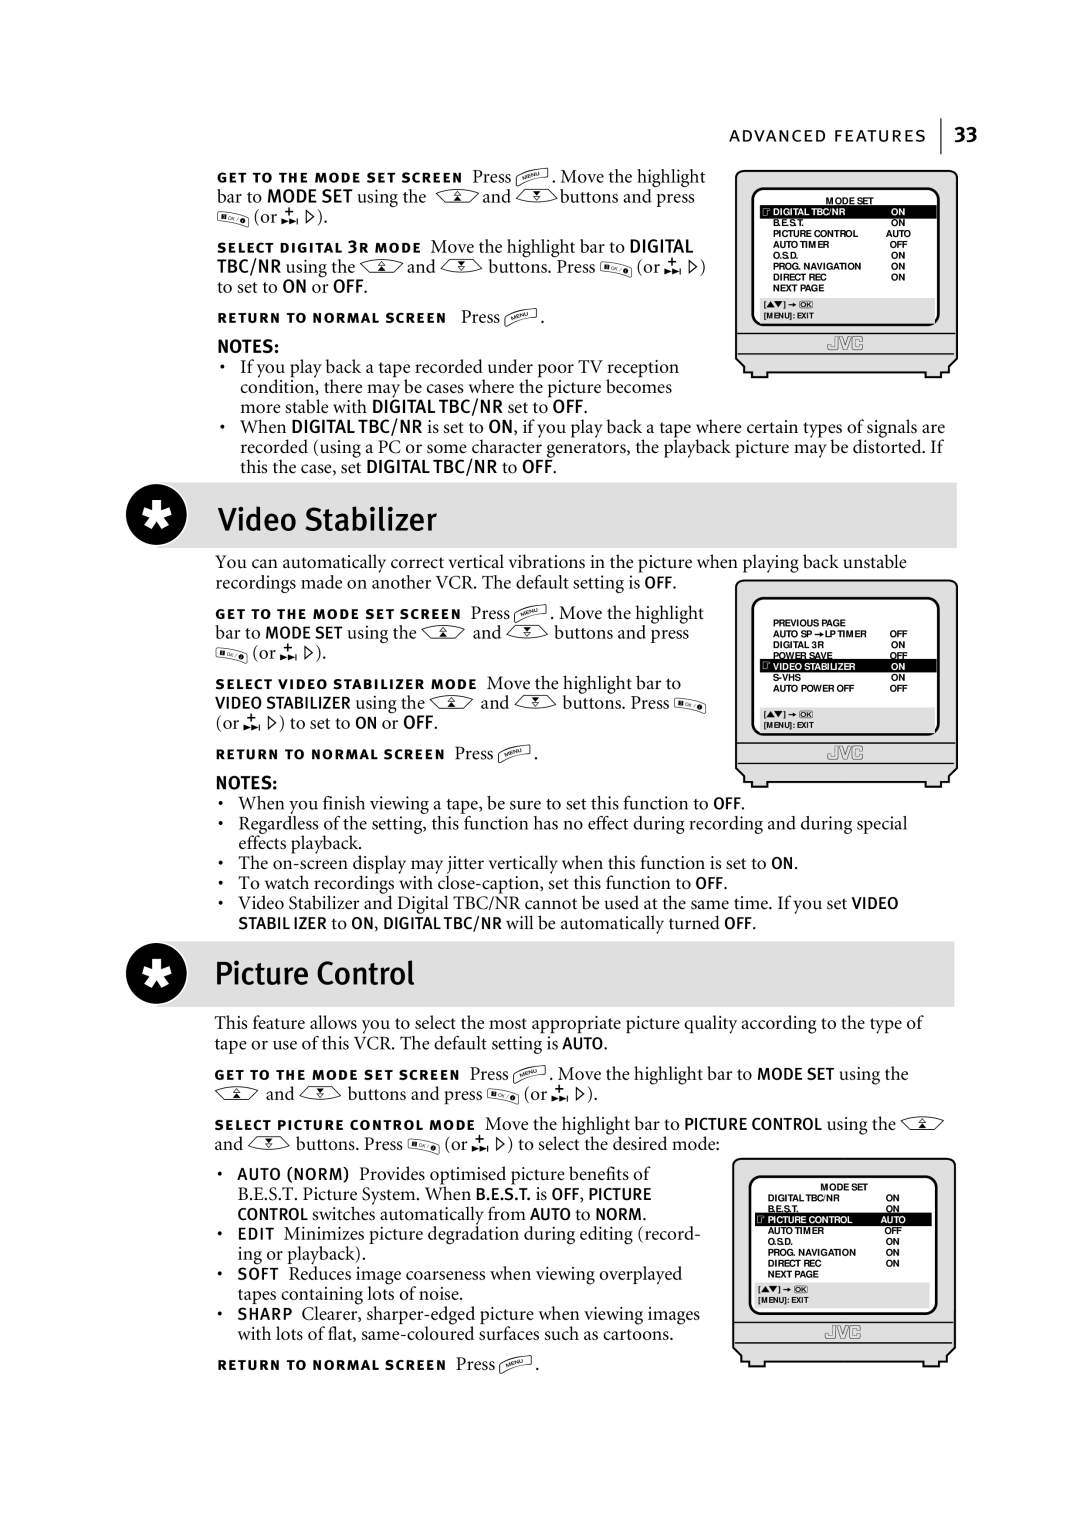
get to the mode set screen Press m. Move the highlight bar to MODE SET using the Aand Bbuttons and press
3 | OK / | (or E). |
|
|
select digital 3r mode Move the highlight bar to DIGITAL
TBC/NR using the Aand Bbuttons. Press | 3 | OK / | (or E) |
|
|
|
to set to ON or OFF.
return to normal screen Press m.
MODE SET |
|
FDIGITAL TBC/NR | ON |
B.E.S.T. | ON |
PICTURE CONTROL | AUTO |
AUTO TIMER | OFF |
O.S.D. | ON |
PROG. NAVIGATION | ON |
DIRECT REC | ON |
NEXT PAGE |
|
|
|
[1] a k |
|
[MENU]: EXIT |
|
|
|
NOTES:
•If you play back a tape recorded under poor TV reception condition, there may be cases where the picture becomes more stable with DIGITAL TBC/NR set to OFF.
•When DIGITAL TBC/NR is set to ON, if you play back a tape where certain types of signals are recorded (using a PC or some character generators, the playback picture may be distorted. If this the case, set DIGITAL TBC/NR to OFF.
Video Stabilizer
You can automatically correct vertical vibrations in the picture when playing back unstable recordings made on another VCR. The default setting is OFF.
get to the mode set screen Press m. Move the highlight bar to MODE SET using the Aand Bbuttons and press
3 | OK / | (or E). |
|
|
|
|
|
| |
select video stabilizer mode Move the highlight bar to |
| |||
VIDEO STABILIZER using the Aand Bbuttons. Press | 3 | OK / | ||
|
|
|
| |
(or E) to set to ON or OFF.
PREVIOUS PAGE |
|
AUTO SP aLP TIMER | OFF |
DIGITAL 3R | ON |
POWER SAVE | OFF |
FVIDEO STABILIZER | ON |
ON | |
AUTO POWER OFF | OFF |
|
|
[1] a k |
|
[MENU]: EXIT |
|
|
|
return to normal screen Press m.
NOTES:
•When you finish viewing a tape, be sure to set this function to OFF.
•Regardless of the setting, this function has no effect during recording and during special effects playback.
•The
•To watch recordings with
•Video Stabilizer and Digital TBC/NR cannot be used at the same time. If you set VIDEO STABIL IZER to ON, DIGITAL TBC/NR will be automatically turned OFF.
Picture Control
This feature allows you to select the most appropriate picture quality according to the type of tape or use of this VCR. The default setting is AUTO.
get to the mode set screen Press m. Move the highlight bar to MODE SET using the
Aand Bbuttons and press | 3 | OK / | (or E). |
|
|
|
select picture control mode Move the highlight bar to PICTURE CONTROL using the A
and Bbuttons. Press | 3 | OK / | (or E) to select the desired mode: |
|
|
| ||
|
|
|
|
|
|
|
| |
• | AUTO (NORM) Provides optimised picture benefits of | MODE SET |
|
| ||||
| B.E.S.T. Picture System. When B.E.S.T. is OFF, PICTURE |
|
| |||||
| DIGITAL TBC/NR | ON | ||||||
| CONTROL switches automatically from AUTO to NORM. | B.E.S.T. | ON | |||||
| FPICTURE CONTROL | AUTO | ||||||
• | EDIT Minimizes picture degradation during editing (record- | AUTO TIMER | OFF | |||||
O.S.D. | ON | |||||||
| ing or playback). |
|
|
|
| PROG. NAVIGATION | ON | |
• | SOFT Reduces image coarseness when viewing overplayed |
| DIRECT REC | ON | ||||
NEXT PAGE |
|
| ||||||
| tapes containing lots of noise. | [1] a k |
|
| ||||
| [MENU]: EXIT |
|
| |||||
•SHARP Clearer,
return to normal screen Press m.
