• • | • • • |
• | • |
• • | • • |
MENU
CH |
| 8 |
| 8 | |
|
|
|
| OK | 9 |
|
|
| 10 |
1 | 2 | 3 |
|
4 | 5 | 6 |
|
7 | 8 | 9 |
|
| 0 |
|
|
|
| CH |
|
|
|
| 11 |
MENU |
| OK | 12 |
|
|
| |
|
| TIME SCAN |
|
13
![]()
![]()
![]()
![]()
![]()
![]()
![]()
![]()
![]()
![]()
![]()
![]()
![]()
![]()
![]()
![]()
![]()
![]()
![]()
![]()
![]()
![]()
![]()
![]()
![]()
![]()
![]()
![]()
![]()
![]()
![]()
![]()
![]()
![]()
![]()
![]()
![]()
![]()
![]()
![]()
![]()
![]() 53
53![]()
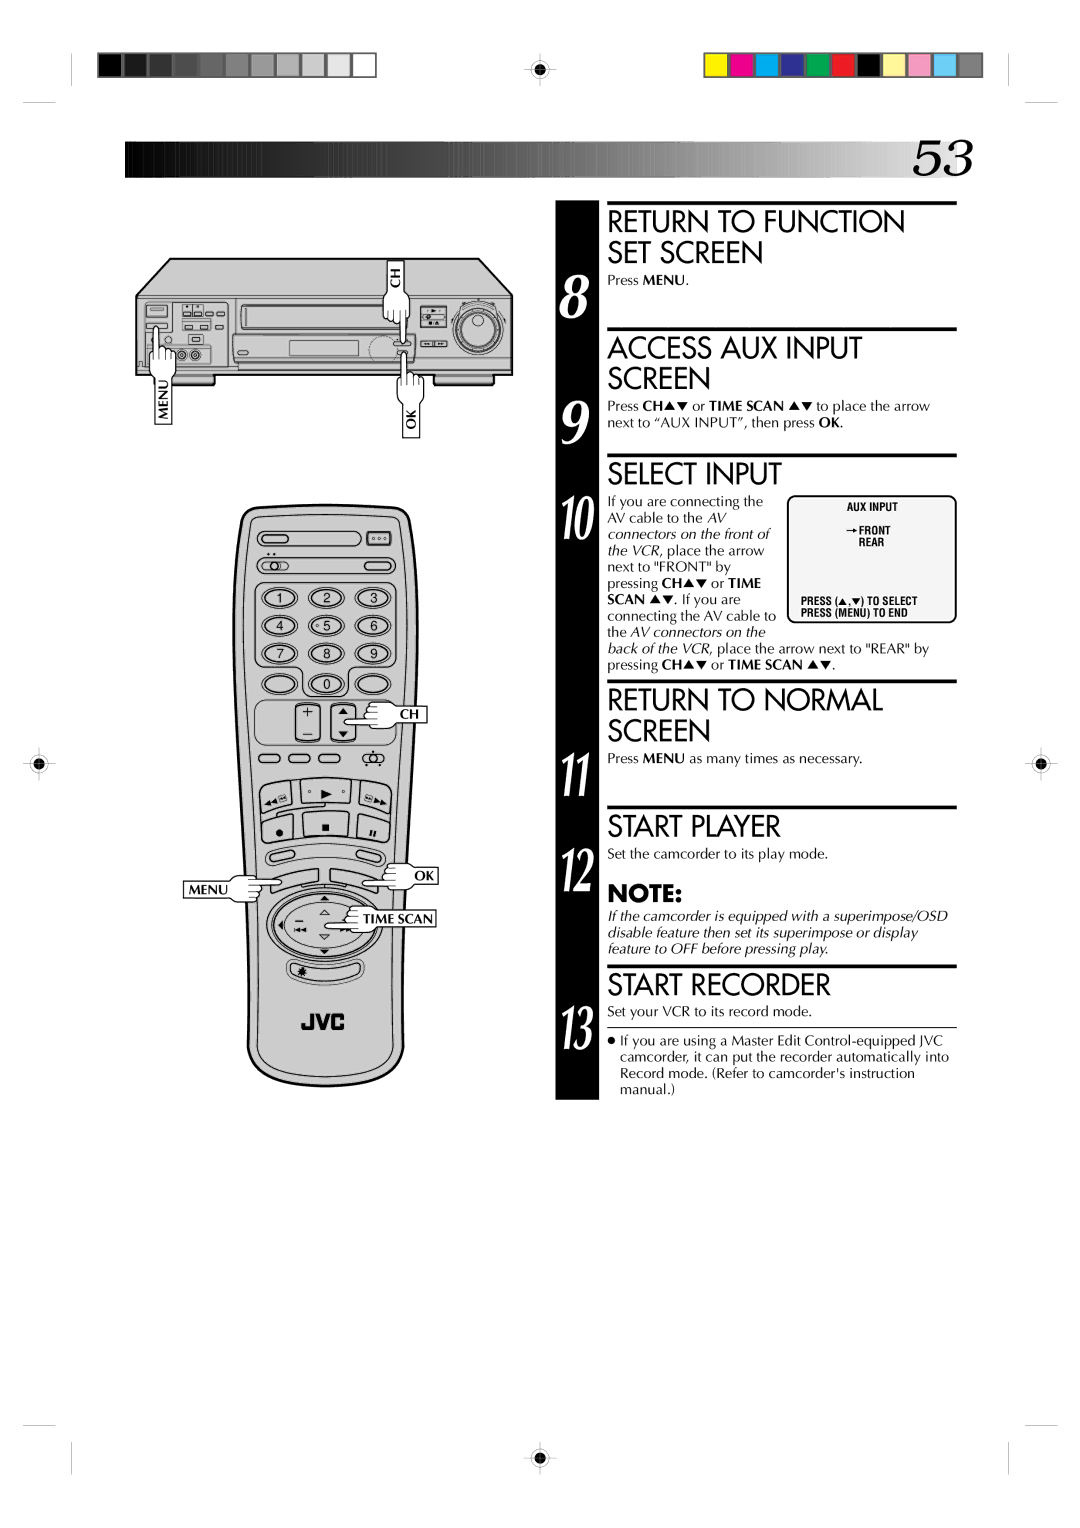
RETURN TO FUNCTION SET SCREEN
Press MENU.
ACCESS AUX INPUT
SCREEN
Press CH5° or TIME SCAN 5° next to “AUX INPUT”, then press
SELECT INPUT
If you are connecting the AV cable to the AV connectors on the front of the VCR, place the arrow next to "FRONT" by pressing CH5° or TIME SCAN 5°. If you are connecting the AV cable to the AV connectors on the
back of the VCR, place the arrow next to "REAR" by pressing CH5° or TIME SCAN 5°.
RETURN TO NORMAL
SCREEN
Press MENU as many times as necessary.
START PLAYER
Set the camcorder to its play mode.
NOTE:
If the camcorder is equipped with a superimpose/OSD disable feature then set its superimpose or display feature to OFF before pressing play.
START RECORDER
Set your VCR to its record mode.
●If you are using a Master Edit