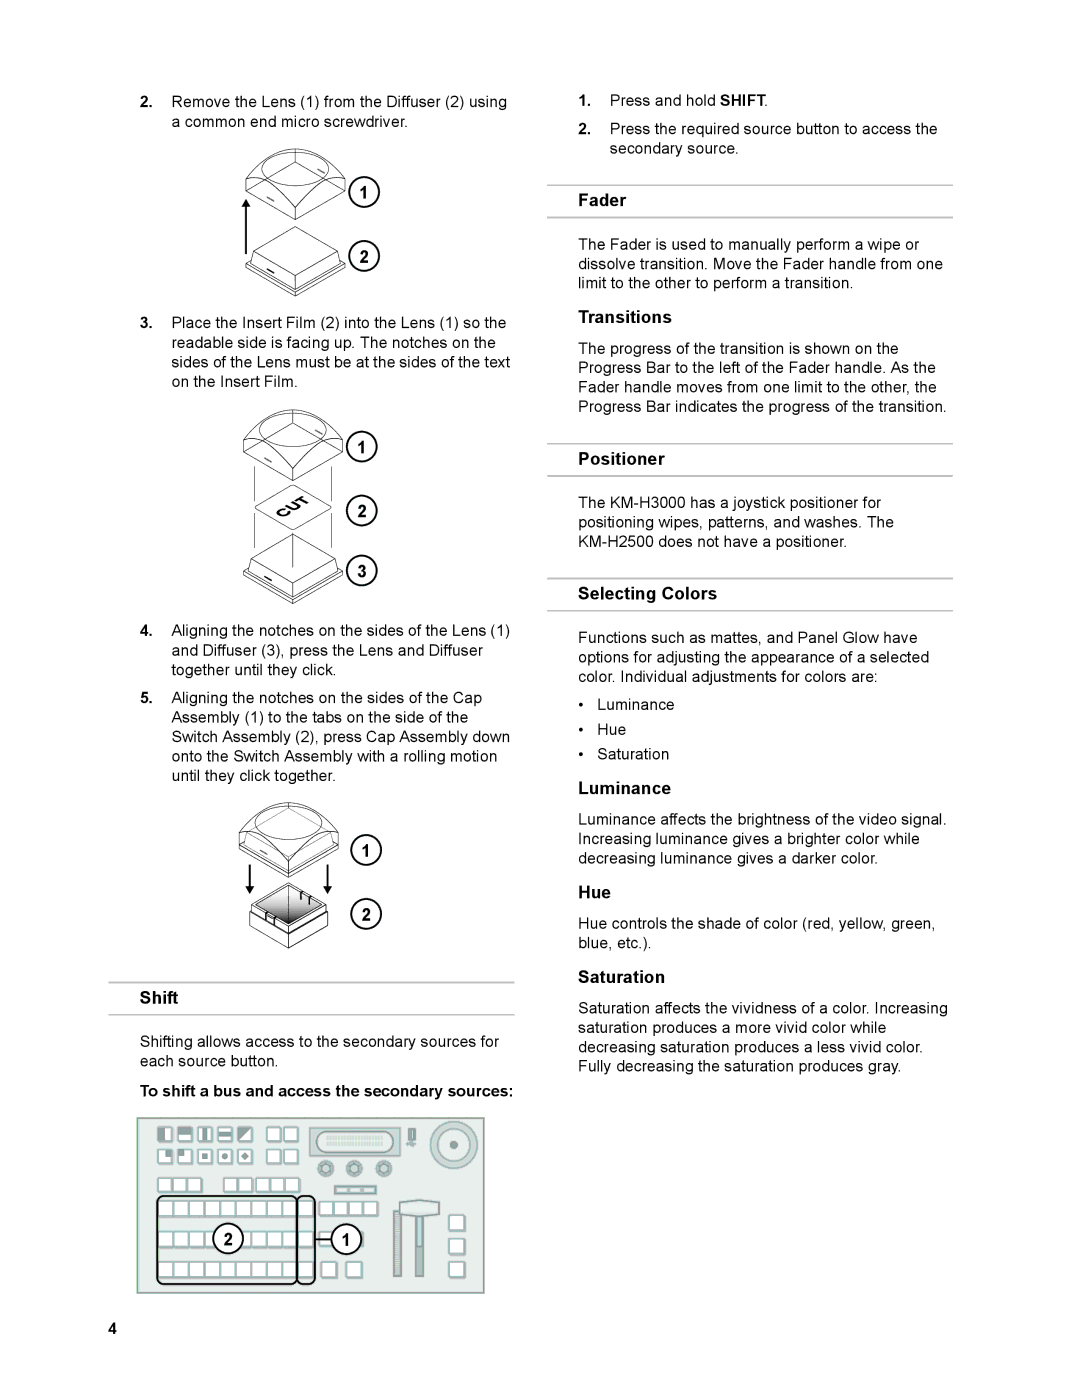
KM-H2500, KM-H2500U, KM-H3000U, KM-H2500E, KM-H3000E specifications
The JVC KM-H3000E, KM-H2500E, KM-H3000U, KM-H2500U, and KM-H2500 are professional video production switchers designed to meet the demands of live broadcasting, events, and production environments. These switchers are renowned for their robust construction, intuitive operation, and advanced features that cater to a wide range of workflow requirements.The KM-H3000E and KM-H3000U are high-end models, offering extensive capabilities for complex productions. Both units feature a 1 M/E switcher configuration, enabling seamless switching between multiple video sources. The KM-H3000 series supports HD and SD formats, ensuring compatibility with various input signals. One of its significant characteristics includes a large-scale multi-viewer output, which provides operators with the ability to monitor multiple sources on a single screen, enhancing the efficiency of live production.
In terms of connectivity, the KM-H3000 series equipped with extensive I/O options, allowing for flexible integration with other broadcast equipment. It also supports external keyers, picture-in-picture effects, and advanced chroma keying, creating dynamic live content that captivates audiences. Additionally, the user interface is designed for quick and intuitive operation, featuring customizable buttons and clear labeling that streamline the switching process.
On the other hand, the KM-H2500E and KM-H2500U serve as mid-range alternatives, suitable for smaller operations without compromising functionality. These models maintain a compact design while still offering an impressive array of features. The KM-H2500 series includes 1 M/E switcher capabilities and supports multiple HD/SD formats, similar to its higher-end counterpart, but with slightly reduced input options.
One notable feature of the KM-H2500 is its cost-effectiveness, making it an attractive choice for educational institutions, small production houses, and local broadcasters. It supports simple transitions, effects, and basic keying, enabling users to produce quality content without the complexity of more advanced systems.
In summary, JVC's KM-H series offers versatile solutions for video production, whether it's high-end broadcasting or smaller-scale operations. With their robust feature sets, ease of use, and flexible connectivity, the KM-H3000E, KM-H2500E, KM-H3000U, KM-H2500U, and KM-H2500 are exceptional choices for any production environment. These switchers exemplify JVC's commitment to quality and innovation in the realm of professional video equipment.

