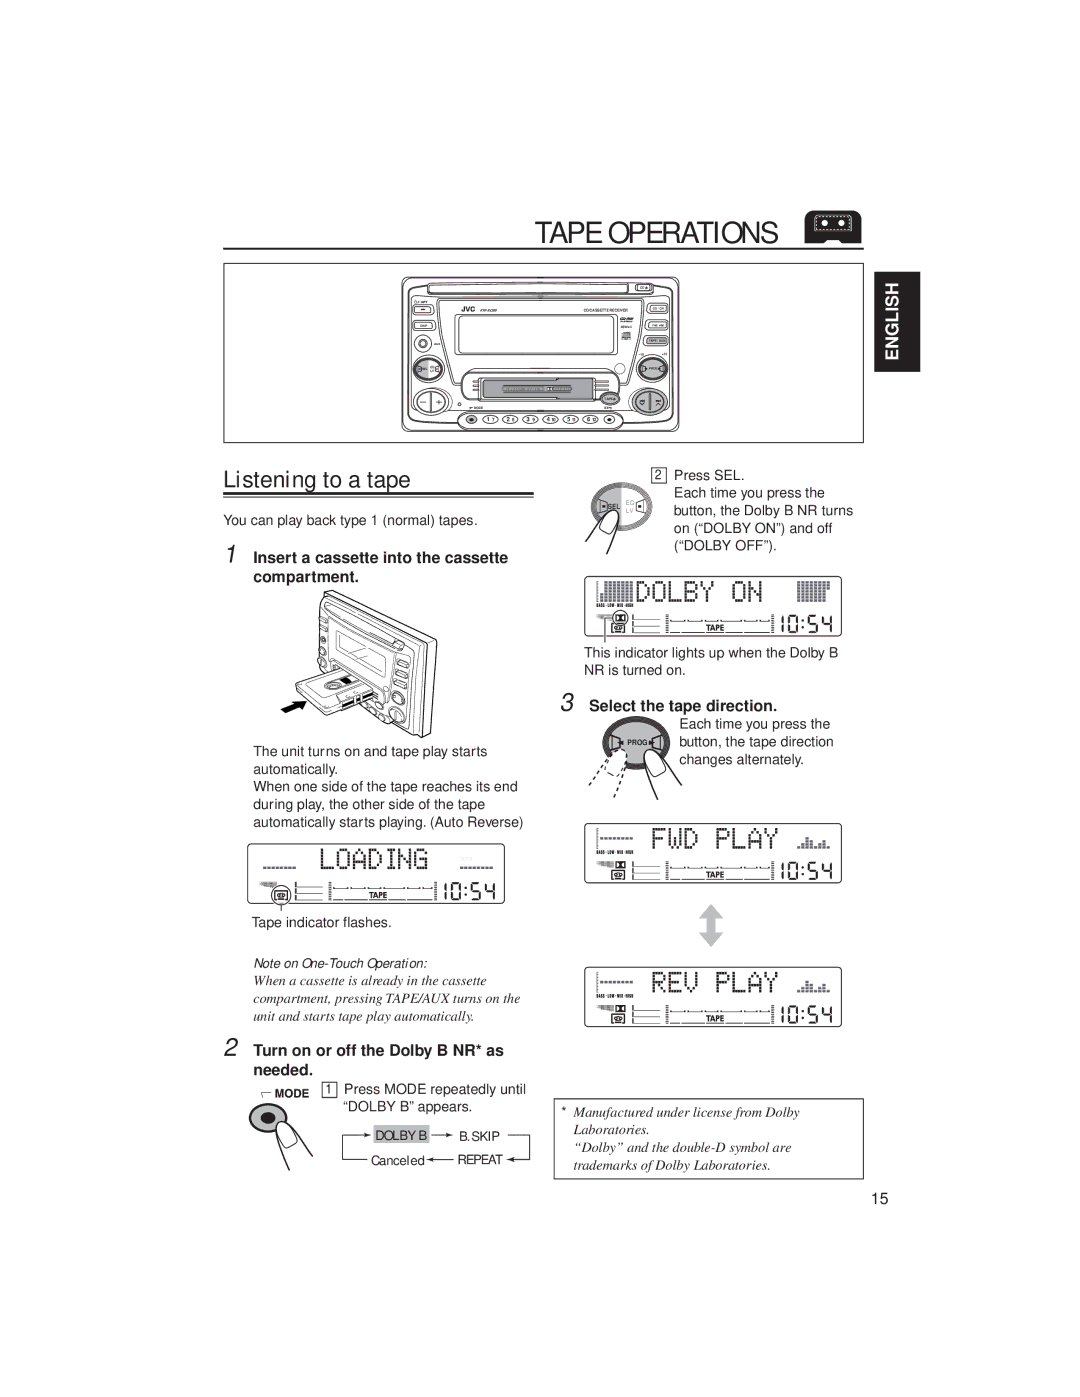
TAPE OPERATIONS
CD ![]()
|
|
|
|
| CD/CASSETTE RECEIVER | CD / CH |
|
|
|
|
| ||
DISP |
|
|
|
| 45Wx4 | FM / AM |
|
|
|
|
| ||
AUX |
|
|
|
|
| TAPE / AUX |
|
|
|
|
|
| |
|
|
|
|
| 10 | +10 |
SEL LVEQ |
|
|
|
|
| PROG |
| CD CHANGER CONTROL | DOLBY & NR |
|
| ||
|
|
|
|
| TAPE |
|
MODE |
|
|
|
| EX |
|
1 7 | 2 8 | 3 9 | 4 10 | 5 11 | 6 12 |
|
ENGLISH
Listening to a tape
You can play back type 1 (normal) tapes.
1 Insert a cassette into the cassette compartment.
The unit turns on and tape play starts automatically.
When one side of the tape reaches its end during play, the other side of the tape automatically starts playing. (Auto Reverse)
Tape indicator flashes.
Note on
When a cassette is already in the cassette compartment, pressing TAPE/AUX turns on the
unit and starts tape play automatically.
2Press SEL.
Each time you press the
SEL | EQ | button, the Dolby B NR turns |
| LV | |
|
| |
|
| on (“DOLBY ON”) and off |
|
| (“DOLBY OFF”). |
This indicator lights up when the Dolby B NR is turned on.
3 Select the tape direction.
Each time you press the ![]() PROG
PROG![]()
![]() button, the tape direction
button, the tape direction
changes alternately.
2 Turn on or off the Dolby B NR* as needed.
1 Press MODE repeatedly until “DOLBY B” appears.

 DOLBY B
 B.SKIP
Canceled REPEAT
*Manufactured under license from Dolby Laboratories.
“Dolby” and the
15
