36![]()
![]()
![]()
![]()
![]()
![]()
![]()
![]()
![]()
![]()
![]()
![]()
![]()
![]()
![]()
![]()
![]()
![]()
![]()
![]()
![]()
![]()
![]()
![]()
![]()
![]()
![]()
![]()
![]()
CONVENIENT
 FUNCTIONS
 (cont.)
PICTURE MEMORY FUNCTION — To Store An Image In Memory
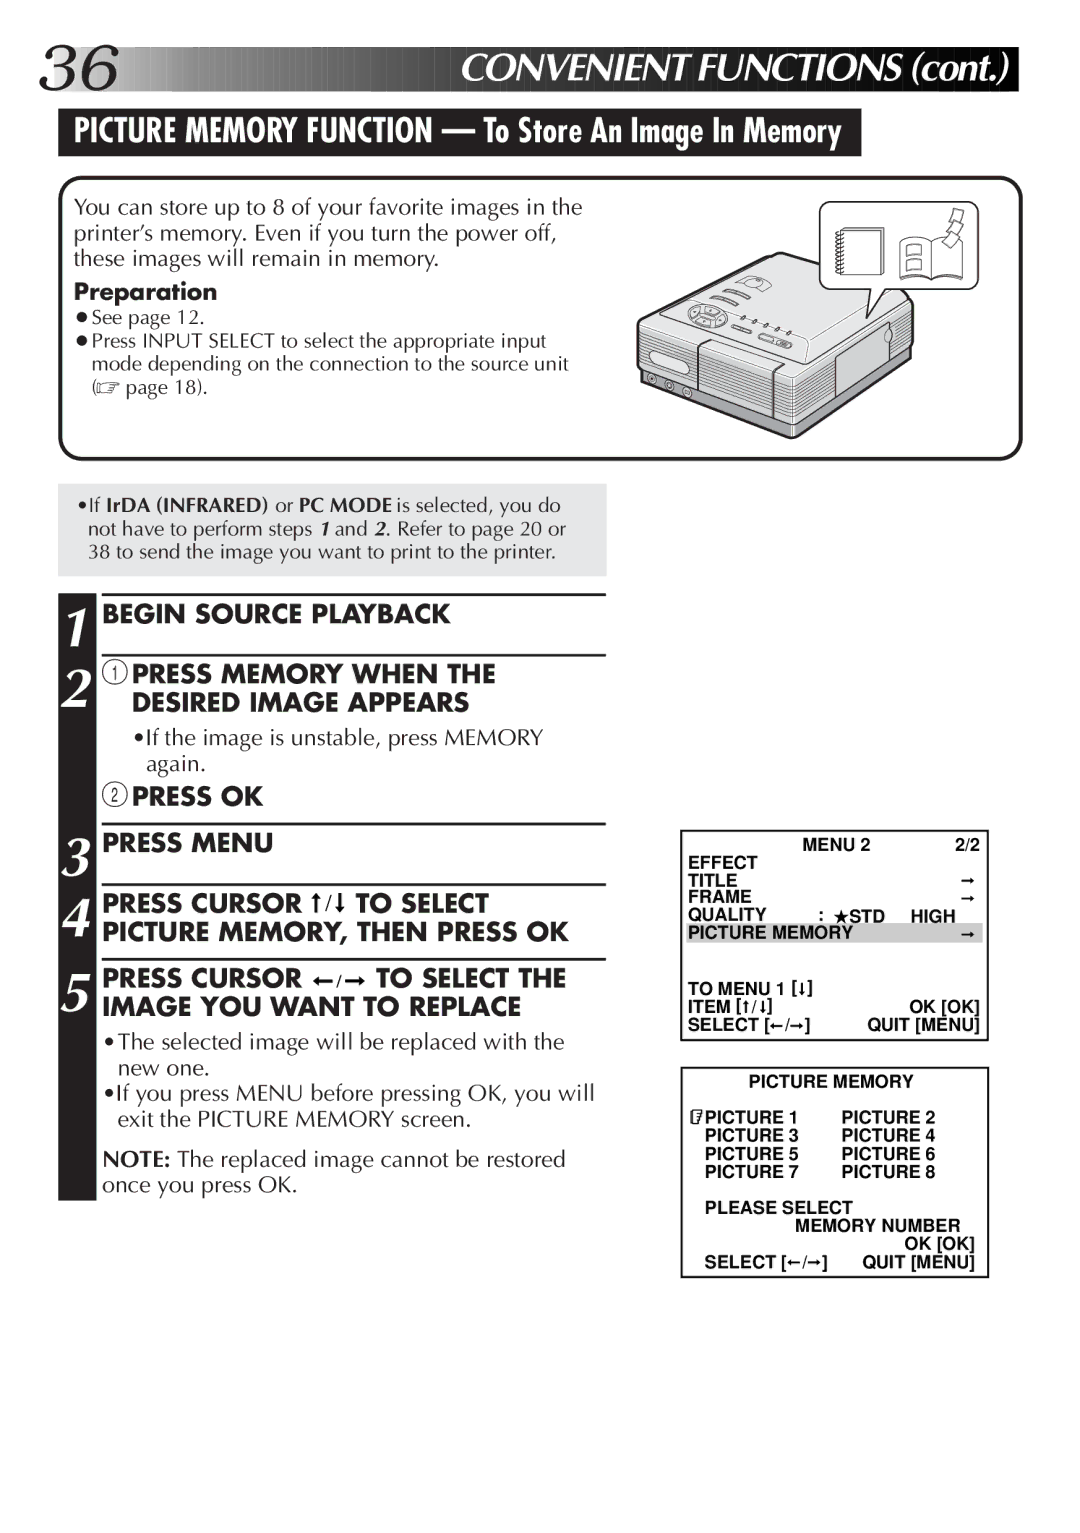
You can store up to 8 of your favorite images in the printer’s memory. Even if you turn the power off, these images will remain in memory.
Preparation
● See page 12.
● Press INPUT SELECT to select the appropriate input mode depending on the connection to the source unit (☞ page 18).
•If IrDA (INFRARED) or PC MODE is selected, you do not have to perform steps 1 and 2. Refer to page 20 or 38 to send the image you want to print to the printer.
1 BEGIN SOURCE PLAYBACK
2 1PRESS MEMORY WHEN THE
DESIRED IMAGE APPEARS
2PRESS OK
3 | PRESS MENU |
|
|
| EFFECT | MENU 2 | 2/2 |
| |
|
|
|
| TITLE |
|
|
|
| |
| PRESS CURSOR | TO SELECT |
|
| FRAME |
| : ★STD |
|
|
|
|
| QUALITY |
| HIGH |
| |||
4 PICTURE MEMORY, THEN PRESS OK |
|
|
|
|
| ||||
|
| PICTURE MEMORY |
|
| |||||
|
|
|
|
|
|
|
|
|
|
| PRESS CURSOR | TO SELECT THE |
|
| TO MENU 1 [ ] |
|
|
| |
5 IMAGE YOU WANT TO REPLACE |
|
| ITEM [ / ] | ] |
| OK [OK] |
| ||
| •The selected image will be replaced with the |
|
| SELECT [ / | QUIT [MENU] |
| |||
|
|
|
|
|
|
|
| ||
| new one. |
|
|
|
|
|
|
|
|
|
|
|
| PICTURE MEMORY |
| ||||
| •If you press MENU before pressing OK, you will |
|
|
| |||||
|
|
|
|
|
|
|
| ||
| exit the PICTURE MEMORY screen. |
|
| PICTURE 1 |
| PICTURE 2 |
| ||
|
|
|
|
| PICTURE 3 |
| PICTURE 4 |
| |
| NOTE: The replaced image cannot be restored |
|
| PICTURE 5 |
| PICTURE 6 |
| ||
| once you press OK. |
|
|
| PICTURE 7 |
| PICTURE 8 |
| |
|
|
|
| PLEASE SELECT |
|
| |||
|
|
|
|
|
|
| |||
|
|
|
|
| MEMORY NUMBER |
| |||
|
|
|
|
|
|
|
| OK [OK] |
|
|
|
|
|
| SELECT [ | / | ] QUIT [MENU] |
| |
