English
Using the Timers
There are three timers available — Daily Timer, Recording | 3 Press SELECT – or SELECT + to |
| – SELECT + | |
|
|
|
| |
Timer, and Sleep Timer. | set the | 4 | 5 | |
|
| |||
Before using the timers, you need to set the clock built in the | to turn on. |
|
| |
unit. (See page 9.) |
|
|
| |
Using the Daily and Recording Timer |
|
|
| |
|
|
|
| |
You can set the timer whether the unit is turned on or turned | 4 Press SET. |
|
| |
off. |
|
| ||
|
|
| SET | |
• | In the source “TUNER,” “CD,” or “TAPE,” the timer acts | “TIMER OFF” appears for 2 seconds, then the | 8 | |
unit enters |
|
| ||
| as a Daily Timer. Once the Daily Timer has been set, it will |
|
| |
|
|
|
| |
| be activated at the same time every day until the setting is |
|
|
|
| turned off. |
|
|
|
• | In the source “TUNER REC,” the timer acts as a Recording |
|
|
|
| Timer. After the Recording Timer has been performed, the |
|
|
|
| details of the setting remain stored but the timer status is set |
|
|
|
| to off. |
|
|
|
•There is a time limit in doing the following steps. If the setting is canceled before you finish, start from step 1 again.
Before you start…
• When using a TUNER or TUNER REC as the source to play, make sure to select the station.
On the remote control ONLY:
1 Press and hold SHIFT during the setting procedure.
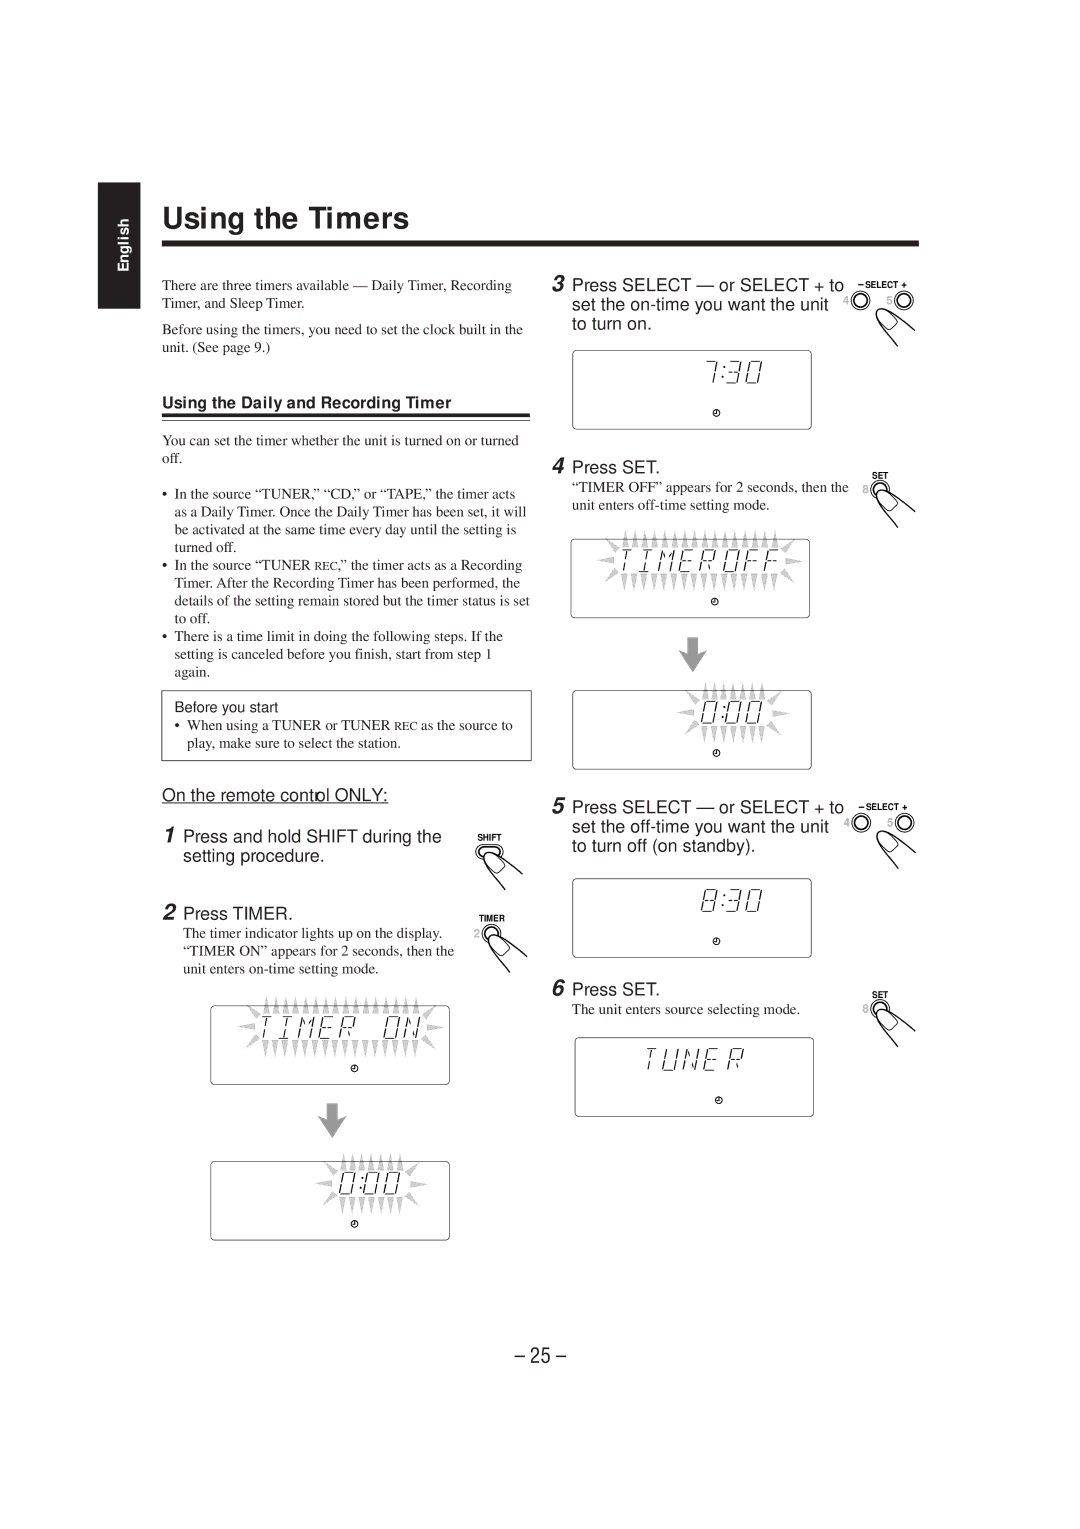
2 Press TIMER.
The timer indicator lights up on the display. “TIMER ON” appears for 2 seconds, then the unit enters
5
SHIFT
TIMER
2 ![]()
6
Press SELECT – or SELECT + to | – SELECT + |
set the | 5 |
to turn off (on standby). |
|
Press SET. | SET |
The unit enters source selecting mode. | 8 |
– 25 –
