KRF-X7775D specifications
The Kenwood KRF-X7775D is a remarkable audio receiver that has earned recognition for its exceptional performance in home theater systems. This 7.1 channel receiver is designed to deliver powerful sound and versatile connectivity options, making it a fantastic choice for audio enthusiasts and casual listeners alike.One of the standout features of the KRF-X7775D is its robust amplification system. With a total output power of 130 watts per channel, it provides ample power to drive most speakers effectively. This ensures that both quiet dialogues and explosive sound effects are delivered with clarity and presence, allowing users to immerse themselves fully in their favorite movies and music.
Equipped with advanced surround sound technology, the KRF-X7775D supports various audio formats, including Dolby Digital, DTS, and Pro Logic II. This versatility allows users to enjoy an authentic surround sound experience, simulating the ambiance of a live performance or theater in their home. The onboard DSP (Digital Signal Processing) features enhance the audio quality further, ensuring users experience sound that is both rich and balanced.
Connectivity is another area where the KRF-X7775D excels. It offers multiple HDMI inputs, allowing for seamless integration with modern video sources such as Blu-ray players, gaming consoles, and streaming devices. Additionally, it includes analog and optical inputs, enabling users to connect older devices without hassle. The receiver also features a built-in AM/FM tuner for radio enthusiasts, providing access to a wide range of local stations.
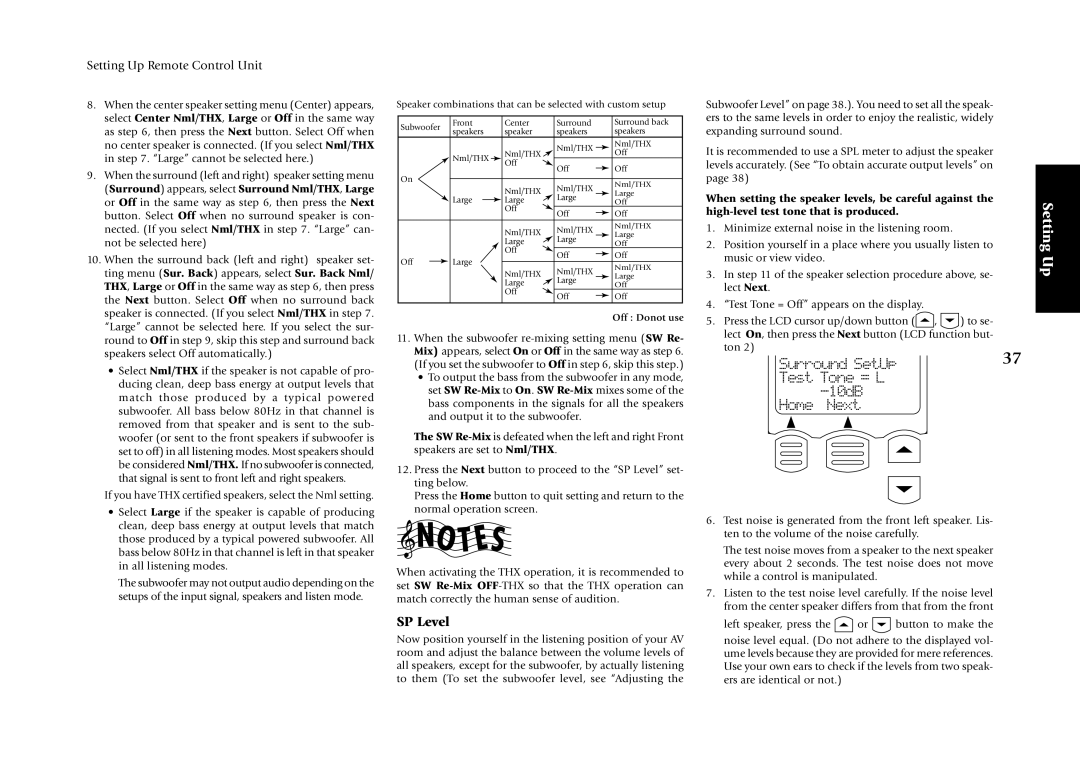
The user interface of the KRF-X7775D is designed to be user-friendly, featuring an intuitive on-screen display that makes it easy to navigate menus and adjust settings. The remote control further enhances the user experience, offering quick access to frequently used functions and settings.
Another noteworthy characteristic of the KRF-X7775D is its ability to perform well with a range of speaker configurations. Whether used in a traditional 5.1 setup or a more complex 7.1 arrangement, the receiver adapts to the specific needs of the sound setup, ensuring optimal performance at all times.
In summary, the Kenwood KRF-X7775D is a powerful and versatile audio receiver that combines advanced sound technology with extensive connectivity options. Whether you’re watching movies, playing video games, or enjoying music, this device promises an immersive audio experience that caters to all types of users. With its combination of power, connectivity, and user-friendly design, it stands out as an excellent choice for enhancing home entertainment systems.

