KEN.4061 ReceiverCarHome Manual 11/19/04 9:37 AM Page 8
•Do not install Here2Everywhere where it may obstruct your view through the windshield or your view of your vehicle’s indicator displays.
•Do not install Here2Everywhere where it will hinder your access to the vehicle’s controls.
8• Do not install Here2Everywhere where it may hinder the function of safety devices such as an airbag. Doing so may prevent the
•Find a location that provides good visibility of and access to Here2Everywhere’s front panel.
•If using screws, be sure that you do not damage wiring or other systems that may be close to the mounting surface.
•Prior to mounting the Pivot, attach the Car Docking Cradle to the Pivot using the four enclosed screws.
Step 2: Attaching Power in a Vehicle
You have two options for powering the
Here2Everywhere in your vehicle:
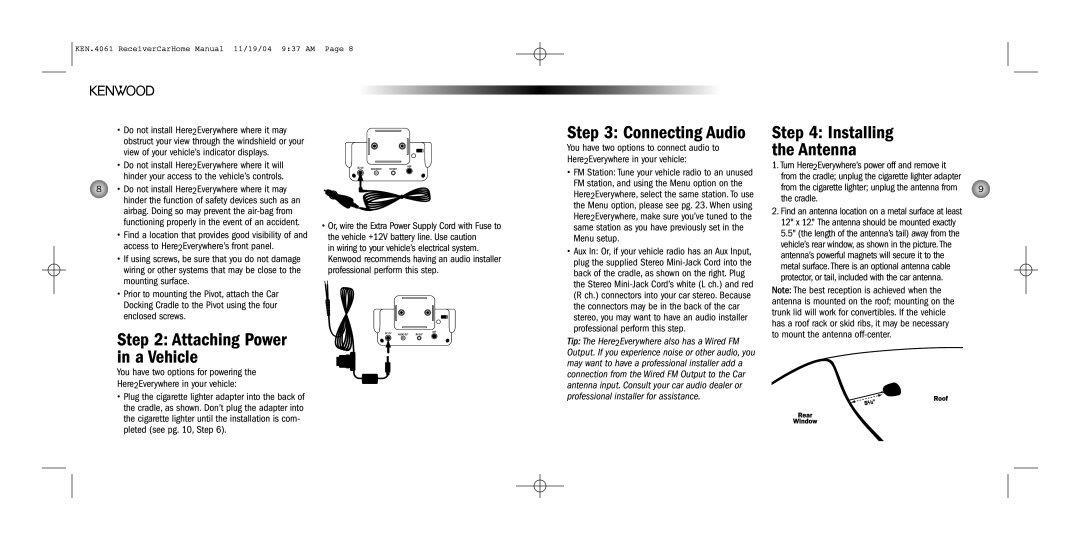
•Plug the cigarette lighter adapter into the back of the cradle, as shown. Don’t plug the adapter into the cigarette lighter until the installation is com- pleted (see pg. 10, Step 6).
DC 12V |
| ANT | |
AUDIO OUT | FM OUT | ||
|
•Or, wire the Extra Power Supply Cord with Fuse to the vehicle +12V battery line. Use caution
in wiring to your vehicle’s electrical system. Kenwood recommends having an audio installer professional perform this step.
ANT
DC12V AUDIOOUT FMOUT
FUSE
Step 3: Connecting Audio
You have two options to connect audio to Here2Everywhere in your vehicle:
•FM Station: Tune your vehicle radio to an unused FM station, and using the Menu option on the
Here2Everywhere, select the same station. To use the Menu option, please see pg. 23. When using
Here2Everywhere, make sure you’ve tuned to the same station as you have previously set in the Menu setup.
•Aux In: Or, if your vehicle radio has an Aux Input, plug the supplied Stereo
Tip: The Here2Everywhere also has a Wired FM Output. If you experience noise or other audio, you may want to have a professional installer add a connection from the Wired FM Output to the Car antenna input. Consult your car audio dealer or professional installer for assistance.
Step 4: Installing
the Antenna
1.Turn Here2Everywhere’s power off and remove it from the cradle; unplug the cigarette lighter adapter
from the cigarette lighter; unplug the antenna from | 9 |
the cradle. |
|
|
2.Find an antenna location on a metal surface at least 12" x 12". The antenna should be mounted exactly 5.5" (the length of the antenna’s tail) away from the vehicle’s rear window, as shown in the picture. The antenna’s powerful magnets will secure it to the metal surface. There is an optional antenna cable protector, or tail, included with the car antenna.
Note: The best reception is achieved when the antenna is mounted on the roof; mounting on the trunk lid will work for convertibles. If the vehicle has a roof rack or skid ribs, it may be necessary to mount the antenna