KEN.4061 ReceiverCarHome Manual 11/19/04 9:37 AM Page 24
SIRIUS ID Menu Option
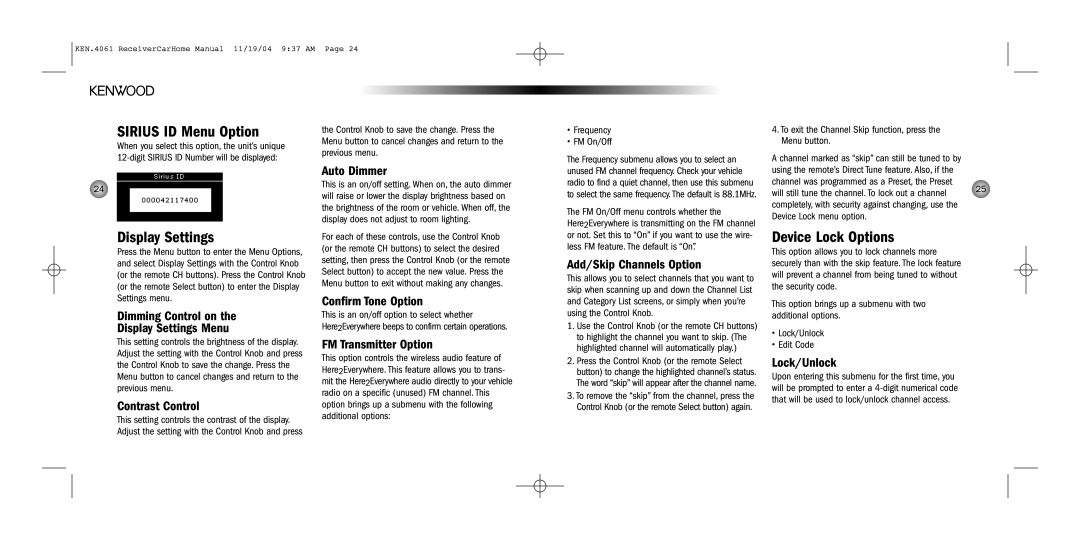
When you select this option, the unit’s unique
24
Display Settings
Press the Menu button to enter the Menu Options, and select Display Settings with the Control Knob (or the remote CH buttons). Press the Control Knob (or the remote Select button) to enter the Display Settings menu.
Dimming Control on the
Display Settings Menu
This setting controls the brightness of the display. Adjust the setting with the Control Knob and press the Control Knob to save the change. Press the Menu button to cancel changes and return to the previous menu.
Contrast Control
This setting controls the contrast of the display. Adjust the setting with the Control Knob and press
the Control Knob to save the change. Press the Menu button to cancel changes and return to the previous menu.
Auto Dimmer
This is an on/off setting. When on, the auto dimmer will raise or lower the display brightness based on the brightness of the room or vehicle. When off, the display does not adjust to room lighting.
For each of these controls, use the Control Knob (or the remote CH buttons) to select the desired setting, then press the Control Knob (or the remote Select button) to accept the new value. Press the Menu button to exit without making any changes.
Confirm Tone Option
This is an on/off option to select whether
Here2Everywhere beeps to confirm certain operations.
FM Transmitter Option
This option controls the wireless audio feature of Here2Everywhere. This feature allows you to trans- mit the Here2Everywhere audio directly to your vehicle radio on a specific (unused) FM channel. This option brings up a submenu with the following additional options:
•Frequency
•FM On/Off
The Frequency submenu allows you to select an unused FM channel frequency. Check your vehicle radio to find a quiet channel, then use this submenu to select the same frequency. The default is 88.1MHz.
The FM On/Off menu controls whether the
Here2Everywhere is transmitting on the FM channel or not. Set this to “On” if you want to use the wire- less FM feature. The default is “On”.
Add/Skip Channels Option
This allows you to select channels that you want to skip when scanning up and down the Channel List and Category List screens, or simply when you’re using the Control Knob.
1.Use the Control Knob (or the remote CH buttons) to highlight the channel you want to skip. (The highlighted channel will automatically play.)
2.Press the Control Knob (or the remote Select button) to change the highlighted channel’s status. The word “skip” will appear after the channel name.
3.To remove the “skip” from the channel, press the Control Knob (or the remote Select button) again.
4.To exit the Channel Skip function, press the Menu button.
A channel marked as “skip” can still be tuned to by using the remote’s Direct Tune feature. Also, if the channel was programmed as a Preset, the Preset
will still tune the channel. To lock out a channel | 25 |
| |
completely, with security against changing, use the |
|
Device Lock menu option. |
|
Device Lock Options
This option allows you to lock channels more securely than with the skip feature. The lock feature will prevent a channel from being tuned to without the security code.
This option brings up a submenu with two additional options.
•Lock/Unlock
•Edit Code
Lock/Unlock
Upon entering this submenu for the first time, you will be prompted to enter a
