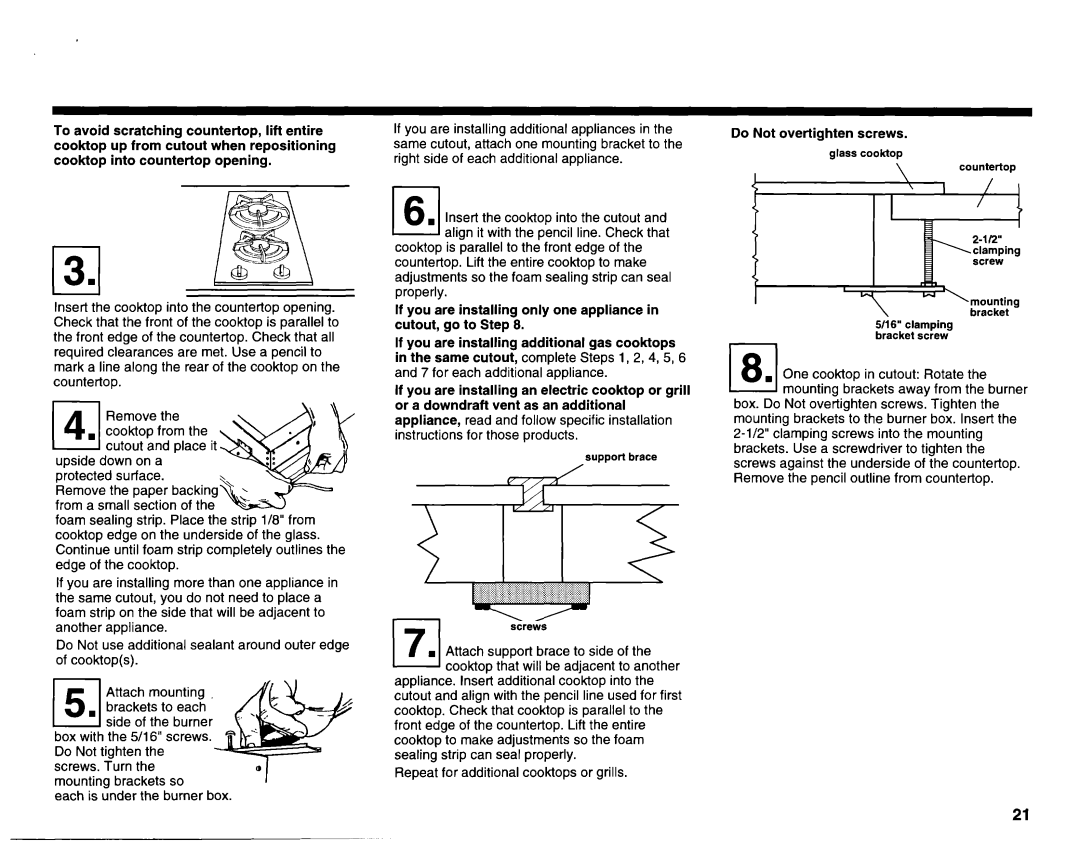
3182048 specifications
The KitchenAid 3182048 is an essential component renowned for its durability and versatility, an integral part for any home chef equipped with KitchenAid appliances. A genuine part that ensures seamless compatibility with various KitchenAid stand mixers, this model represents the brand's commitment to quality and performance.One of the main features of the KitchenAid 3182048 is its robust build quality. Made from high-grade materials, it guarantees longevity, resisting wear and tear even with regular, heavy use. This is critical for home cooks who rely on their kitchen tools day in and day out, assuring them that a replacement part won’t falter under pressure.
The KitchenAid 3182048 showcases an innovative design that enhances functionality. It is engineered to work effectively with various attachments, making it a versatile choice for preparing a wide range of dishes. Whether whipping cream, mixing dough, or blending ingredients, this component is designed to facilitate a smooth and efficient process.
This part also benefits from KitchenAid's renowned technological advancements. For instance, the compatibility with the brand's multi-purpose attachments allows users to transform their stand mixer into an even more valuable kitchen tool. Attachments like food grinders, pasta makers, and spiralizers can easily connect, expanding the culinary possibilities.
Furthermore, the KitchenAid 3182048 is easy to install and remove, making it user-friendly for both novice and experienced cooks alike. This simplicity encourages more experimentation in the kitchen, as users can quickly shift between tasks without hassle.
Another key characteristic of the KitchenAid 3182048 is its ease of maintenance. It is designed for quick cleaning, either by hand or in the dishwasher, ensuring that it remains hygienic and ready for use in minimal time. This focus on hygiene is particularly important for today's health-conscious consumers.
In conclusion, the KitchenAid 3182048 stands out as a robust and versatile component tailored for KitchenAid stand mixers. With its durable construction, innovative design, compatibility with numerous attachments, and ease of maintenance, it is an exemplary choice for anyone looking to enhance their kitchen experience. Whether you're a home chef or just someone who enjoys cooking occasionally, this part ensures that your KitchenAid mixer remains a dependable ally in culinary adventures.

