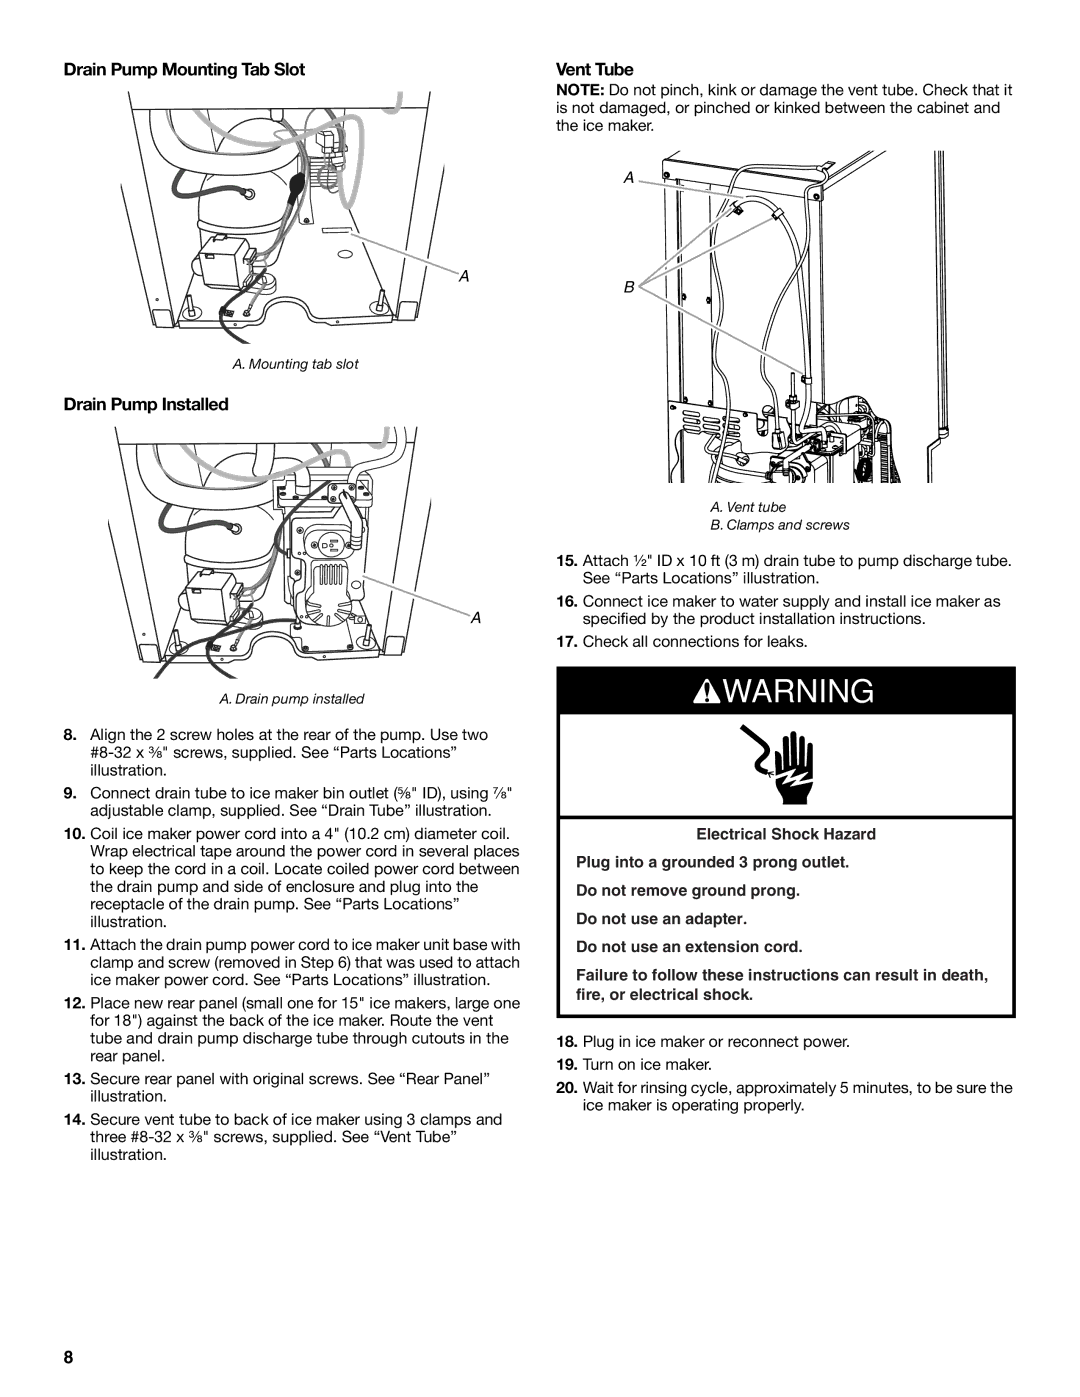
W10515677C specifications
The KitchenAid W10515677C is a versatile and essential component for any home chef who prioritizes both quality and performance in their kitchen tools. This food processor attachment, designed for use with KitchenAid stand mixers, enhances the functionality of the mixer by providing a reliable and efficient method for food preparation.One of the standout features of the W10515677C is its powerful chopping and slicing capability. With sharp stainless-steel blades, this attachment allows for precise and consistent cuts, whether you're dicing vegetables, grating cheese, or slicing meats. The adjustable slicing disc provides multiple thickness options, making it easy to achieve the desired texture for your ingredients.
The design of the W10515677C is user-friendly, featuring an easy-to-assemble construction that ensures quick setup and minimal hassle. Once attached to the stand mixer, it operates seamlessly, allowing users to focus on their culinary creativity without worrying about the intricacies of food prep.
Another significant characteristic of this attachment is its generous capacity. It can handle large quantities of ingredients, making it perfect for meal preps or when cooking for a crowd. This efficiency saves time and simplifies the cooking process, allowing you to enjoy more time with family and friends.
Safety is also a key consideration in the design of the W10515677C. The attachment features a safety latch that keeps it securely attached to the stand mixer during operation. Additionally, the component comes with a push tool that ensures your hands are kept safely away from the blades while processing food.
Cleaning and maintenance are made straightforward, as most parts of the W10515677C are dishwasher safe, facilitating an easy cleanup after use. This attachment exemplifies KitchenAid’s commitment to durability and quality, built to withstand frequent use in busy kitchens.
In summary, the KitchenAid W10515677C food processor attachment elevates the experience of cooking at home. With its sharp stainless-steel blades, adjustable slicing capabilities, ease of use, and safety features, it stands as a reliable ally in meal preparation. Expanding the capabilities of your KitchenAid stand mixer, this attachment is a practical investment for anyone looking to enhance their culinary skills.

