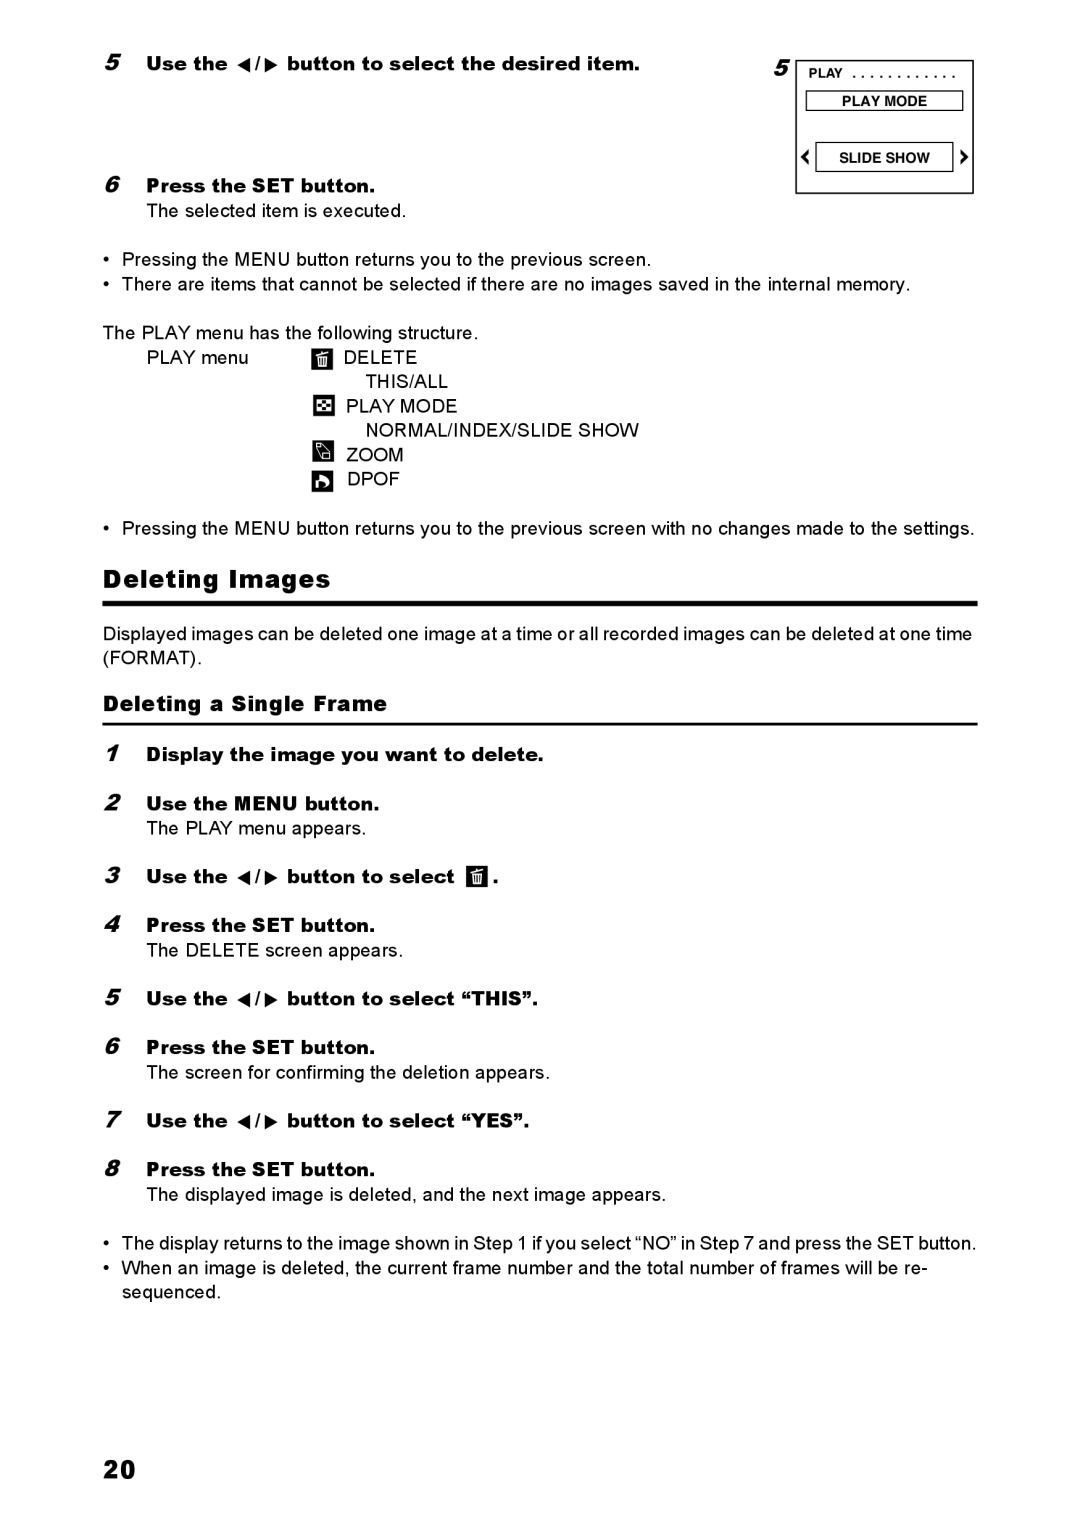
5Use the ![]() /
/ ![]() button to select the desired item.
button to select the desired item.
6Press the SET button.
The selected item is executed.
5 | PLAY |
| PLAY MODE |
| SLIDE SHOW |
•Pressing the MENU button returns you to the previous screen.
•There are items that cannot be selected if there are no images saved in the internal memory.
The PLAY menu has the following structure.
PLAY menu ![]() DELETE
DELETE
THIS/ALL
PLAY MODE
NORMAL/INDEX/SLIDE SHOW
ZOOM
DPOF
• Pressing the MENU button returns you to the previous screen with no changes made to the settings.
Deleting Images
Displayed images can be deleted one image at a time or all recorded images can be deleted at one time (FORMAT).
Deleting a Single Frame
1Display the image you want to delete.
2Use the MENU button.
The PLAY menu appears.
3Use the ![]() /
/ ![]() button to select
button to select ![]() .
.
4Press the SET button.
The DELETE screen appears.
5Use the ![]() /
/ ![]() button to select “THIS”.
button to select “THIS”.
6Press the SET button.
The screen for confirming the deletion appears.
7Use the  /
/  button to select “YES”.
8Press the SET button.
The displayed image is deleted, and the next image appears.
•The display returns to the image shown in Step 1 if you select “NO” in Step 7 and press the SET button.
•When an image is deleted, the current frame number and the total number of frames will be re- sequenced.
20