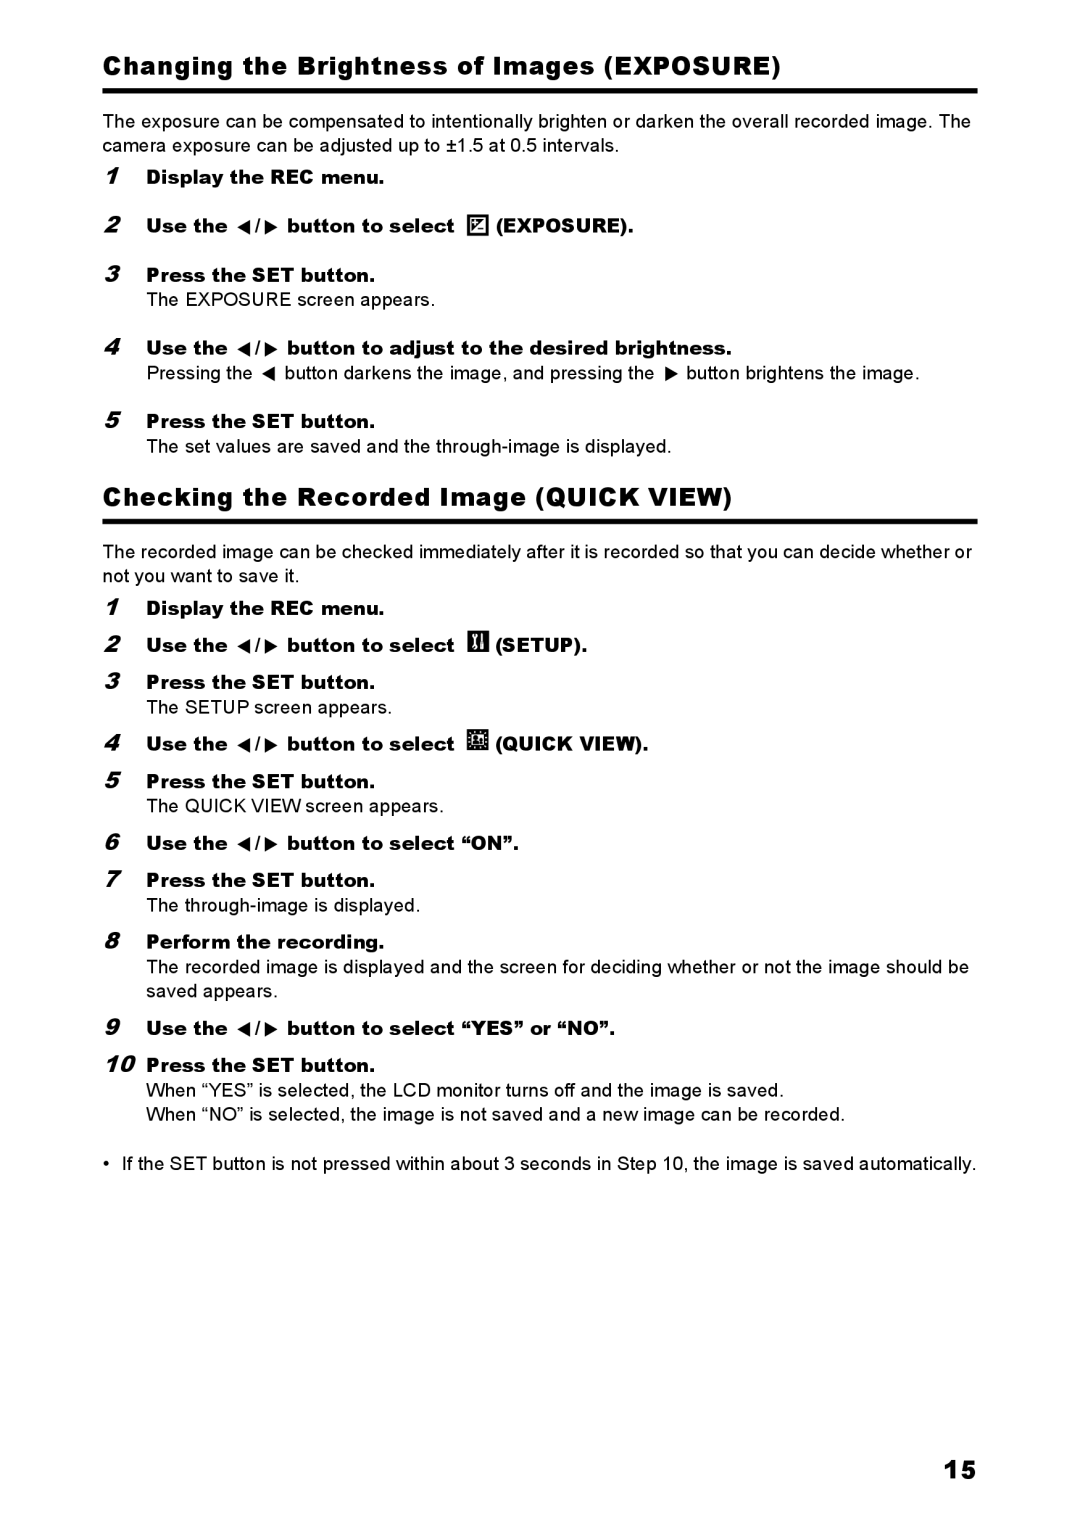
Changing the Brightness of Images (EXPOSURE)
The exposure can be compensated to intentionally brighten or darken the overall recorded image. The camera exposure can be adjusted up to ±1.5 at 0.5 intervals.
1Display the REC menu.
2Use the ![]() /
/ ![]() button to select
button to select ![]() (EXPOSURE).
(EXPOSURE).
3Press the SET button.
The EXPOSURE screen appears.
4Use the  /
/  button to adjust to the desired brightness.
Pressing the ![]() button darkens the image, and pressing the
button darkens the image, and pressing the ![]() button brightens the image.
button brightens the image.
5Press the SET button.
The set values are saved and the
Checking the Recorded Image (QUICK VIEW)
The recorded image can be checked immediately after it is recorded so that you can decide whether or not you want to save it.
1Display the REC menu.
2Use the ![]() /
/ ![]() button to select
button to select ![]() (SETUP).
(SETUP).
3Press the SET button.
The SETUP screen appears.
4Use the  /
/  button to select
  (QUICK VIEW).
5Press the SET button.
The QUICK VIEW screen appears.
6Use the  /
/  button to select “ON”.
7Press the SET button.
The
8Perform the recording.
The recorded image is displayed and the screen for deciding whether or not the image should be saved appears.
9Use the  /
/  button to select “YES” or “NO”.
10Press the SET button.
When “YES” is selected, the LCD monitor turns off and the image is saved.
When “NO” is selected, the image is not saved and a new image can be recorded.
• If the SET button is not pressed within about 3 seconds in Step 10, the image is saved automatically.
15
