4 Changing the Device Setup
To create a new print queue:
1.Use the upper left box to select an NDS tree (in the case of NDS) or a server (in the case of bindery service).
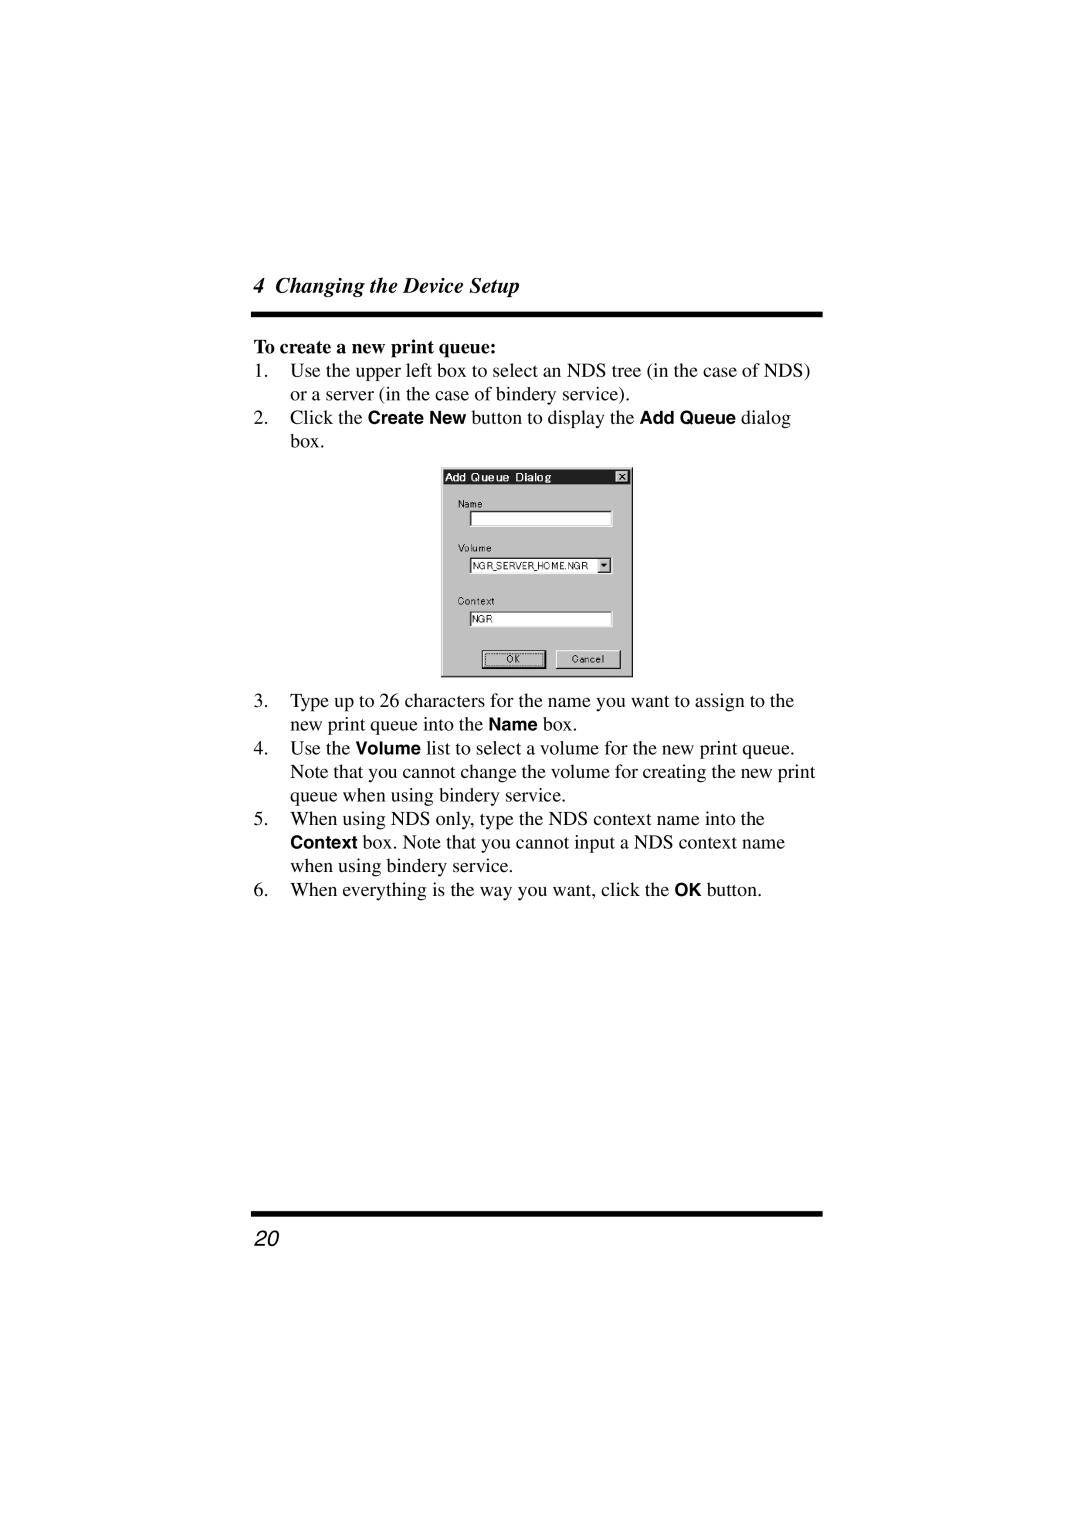
2.Click the Create New button to display the Add Queue dialog box.
3.Type up to 26 characters for the name you want to assign to the new print queue into the Name box.
4.Use the Volume list to select a volume for the new print queue. Note that you cannot change the volume for creating the new print queue when using bindery service.
5.When using NDS only, type the NDS context name into the Context box. Note that you cannot input a NDS context name when using bindery service.
6.When everything is the way you want, click the OK button.
20
