Installing the Printer Driver
According to the instructions of the Installation Guide, connect the PC to the printer and turn on them to install the printer driver. For more information on printer driver, refer to the KX Driver User Guide in the CD- ROM.
Installing the Printer Driver on Windows PC
This section explains how to install the printer driver in Windows Vista.
Note To install the printer driver, you must log on with administrator priviledge.
1Ensure the printer is plugged in and connected to the computer's USB or Network port before installing software from the
Note If the Found New Hardware window appears, click Cancel.
2Insert the
Note If the installation program fails to launch, use Windows Explorer to access the
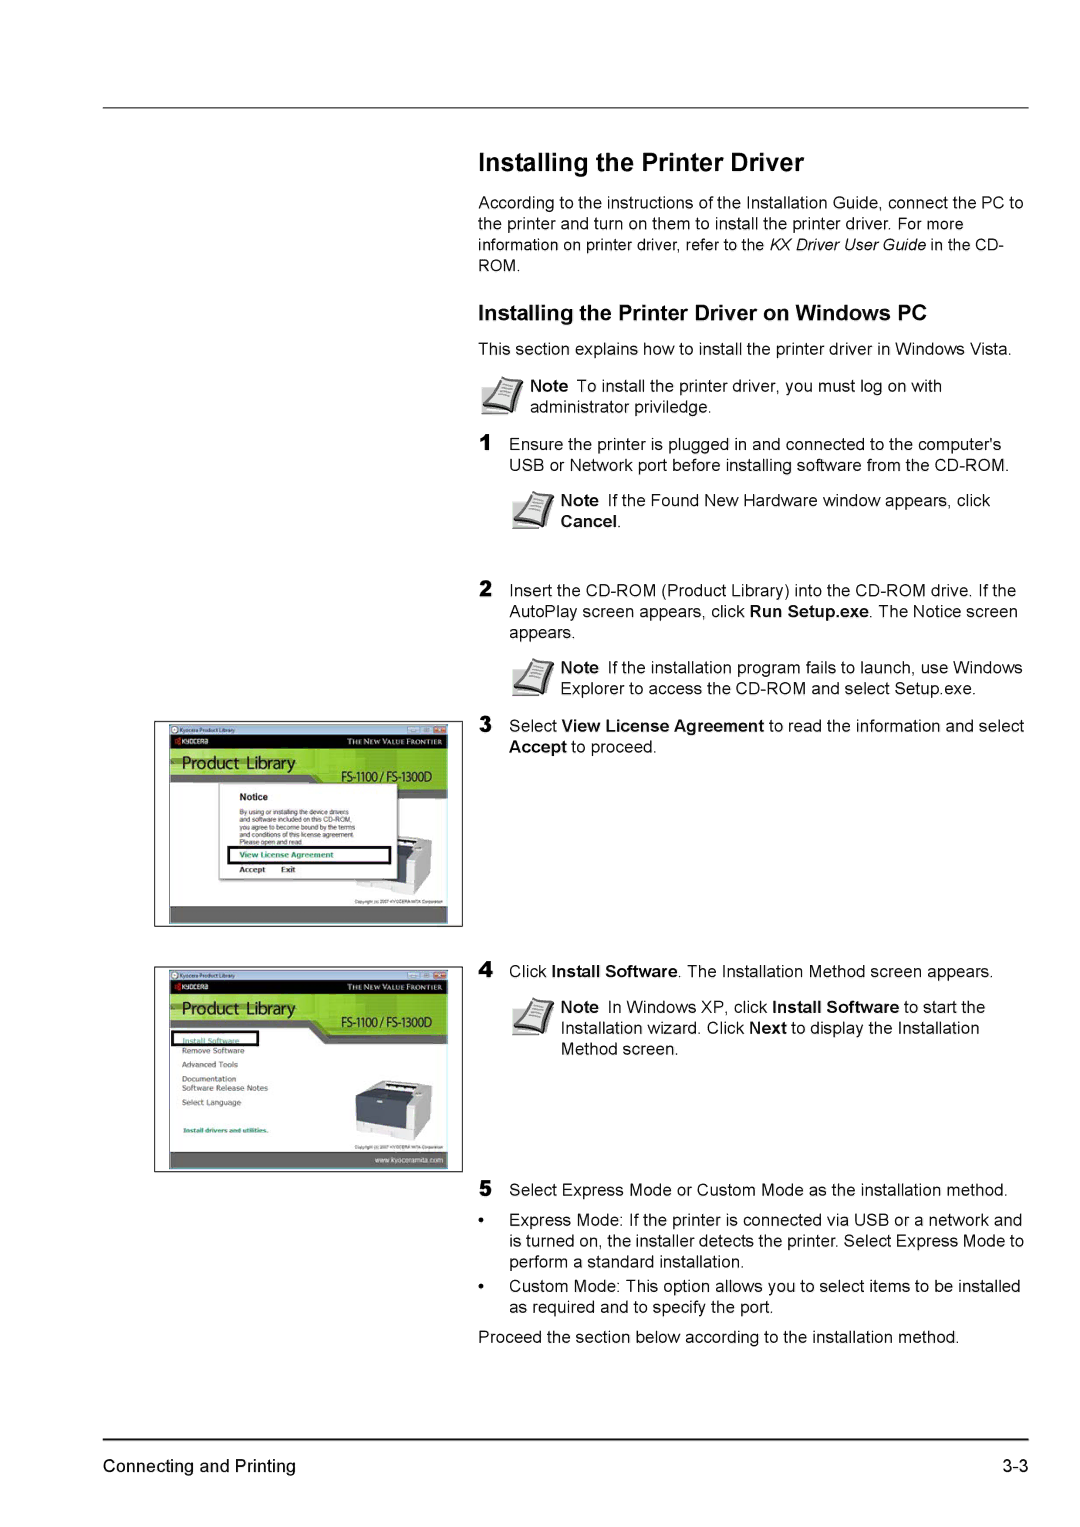
3Select View License Agreement to read the information and select Accept to proceed.
4Click Install Software. The Installation Method screen appears.
Note In Windows XP, click Install Software to start the Installation wizard. Click Next to display the Installation Method screen.
5Select Express Mode or Custom Mode as the installation method.
•Express Mode: If the printer is connected via USB or a network and is turned on, the installer detects the printer. Select Express Mode to perform a standard installation.
•Custom Mode: This option allows you to select items to be installed as required and to specify the port.
Proceed the section below according to the installation method.
Connecting and Printing |