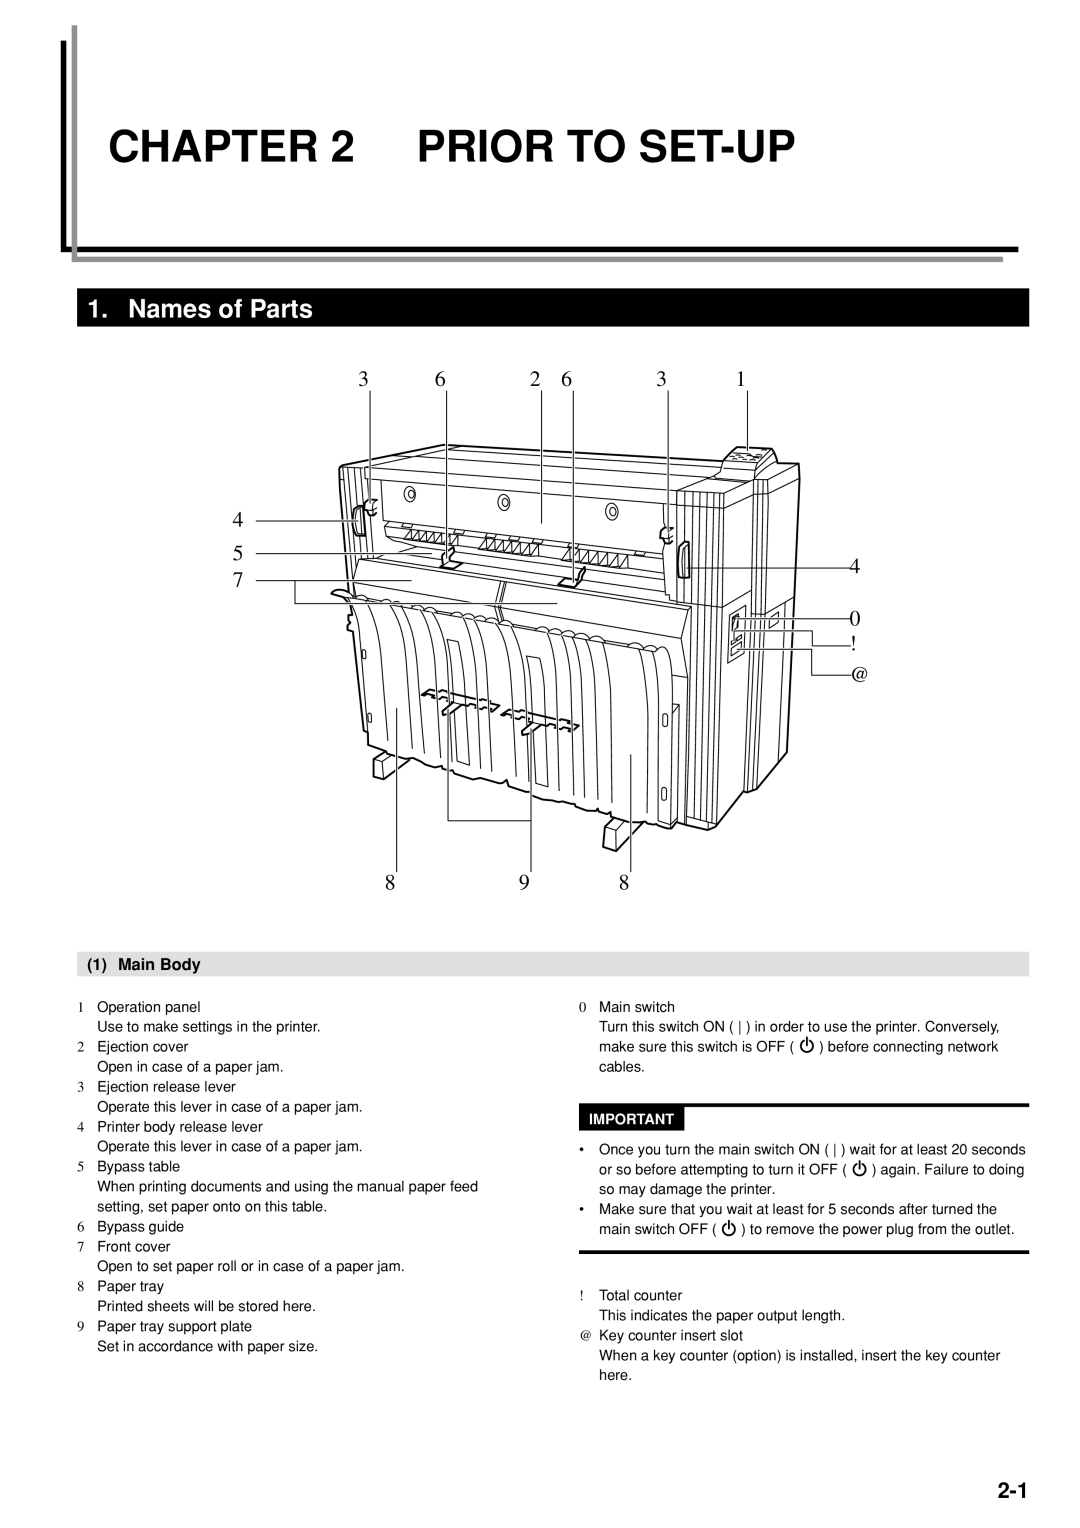
KM-P4845w, KM-P4850w specifications
The Kyocera KM-P4850w and KM-P4845w are advanced multifunction printers designed for businesses seeking reliable, high-performance solutions for their printing needs. These models stand out due to their versatility and robust functionalities, ensuring they can handle various tasks while maintaining exceptional quality.One of the key features of both the KM-P4850w and KM-P4845w is their impressive print speed, which can reach up to 50 pages per minute. This speed makes these printers ideal for high-volume environments where efficiency is paramount. The first page out time is also noteworthy, allowing users to receive their printed documents quickly without unnecessary delays.
The KM-P4850w and KM-P4845w utilize advanced laser technology that ensures sharp text and vibrant color output. The resolution can go up to 1200 x 1200 dpi, producing professional-quality prints suitable for reports, presentations, and marketing materials. Users can expect consistent results, even with complex graphics, thanks to the printers’ high-definition imaging capabilities.
These models also support a range of media types and sizes. They can handle everything from standard letter-sized paper to larger formats, catering to diverse printing needs. Additionally, their flexible paper handling options include multiple paper trays and a manual feed slot, enhancing productivity.
Connectivity is another strong aspect of the KM-P4850w and KM-P4845w. Both printers offer versatile network options, including USB, Ethernet, and optional wireless capabilities. This flexibility provides businesses with the ability to integrate these printers seamlessly into their existing workflows, whether in a single-user or multi-user environment.
Central to these models is Kyocera's commitment to sustainability and cost efficiency. They are designed with a long-life drum that significantly reduces waste and the need for frequent replacement. Furthermore, the EcoPrint feature allows users to save on toner and paper without sacrificing quality, making them an environmentally friendly choice.
In conclusion, the Kyocera KM-P4850w and KM-P4845w are powerful multifunction printers that bring together speed, quality, versatility, and sustainability. With their advanced imaging technology, robust features, and efficient performance, they are well-suited for businesses of all sizes seeking reliable printing solutions. These printers empower users to handle demanding workloads while maintaining a focus on cost-effectiveness and environmental responsibility.

