Land Pride | Table of Contents |
Section 2: Optional Equipment
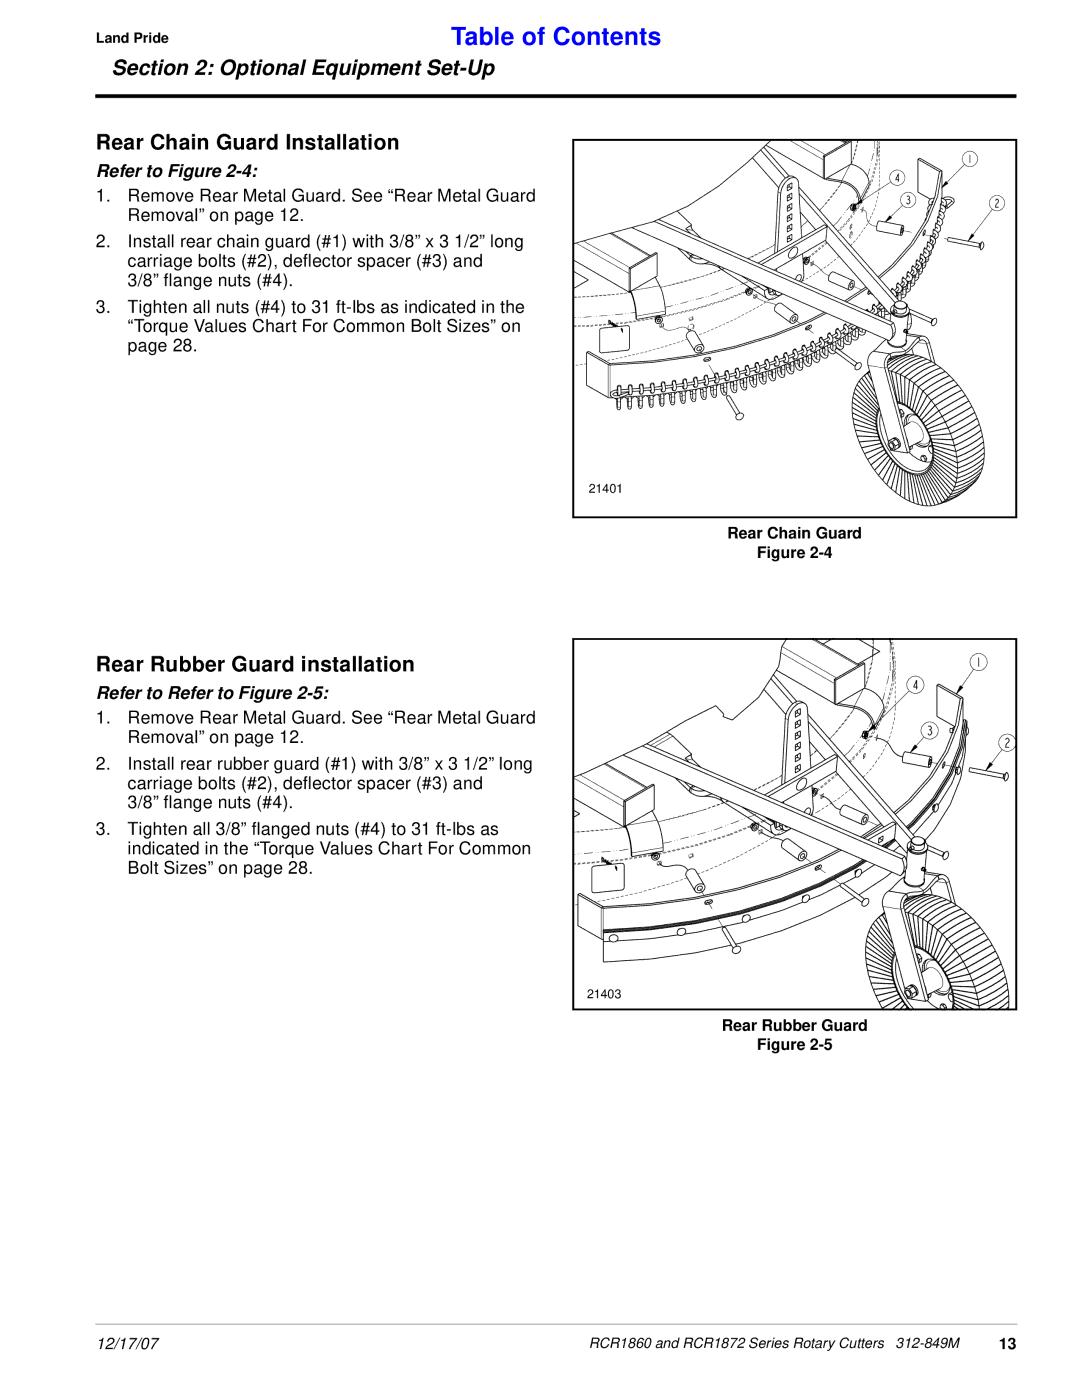
Rear Chain Guard Installation
Refer to Figure 2-4:
1.Remove Rear Metal Guard. See “Rear Metal Guard Removal” on page 12.
2.Install rear chain guard (#1) with 3/8” x 3 1/2” long carriage bolts (#2), deflector spacer (#3) and 3/8” flange nuts (#4).
3.Tighten all nuts (#4) to 31
21401 |
Rear Chain Guard
Figure
Rear Rubber Guard installation
Refer to Refer to Figure 2-5:
1.Remove Rear Metal Guard. See “Rear Metal Guard Removal” on page 12.
2.Install rear rubber guard (#1) with 3/8” x 3 1/2” long carriage bolts (#2), deflector spacer (#3) and
3/8” flange nuts (#4).
3.Tighten all 3/8” flanged nuts (#4) to 31
21403 |
Rear Rubber Guard
Figure
12/17/07 | RCR1860 and RCR1872 Series Rotary Cutters | 13 |