Media Management

Name

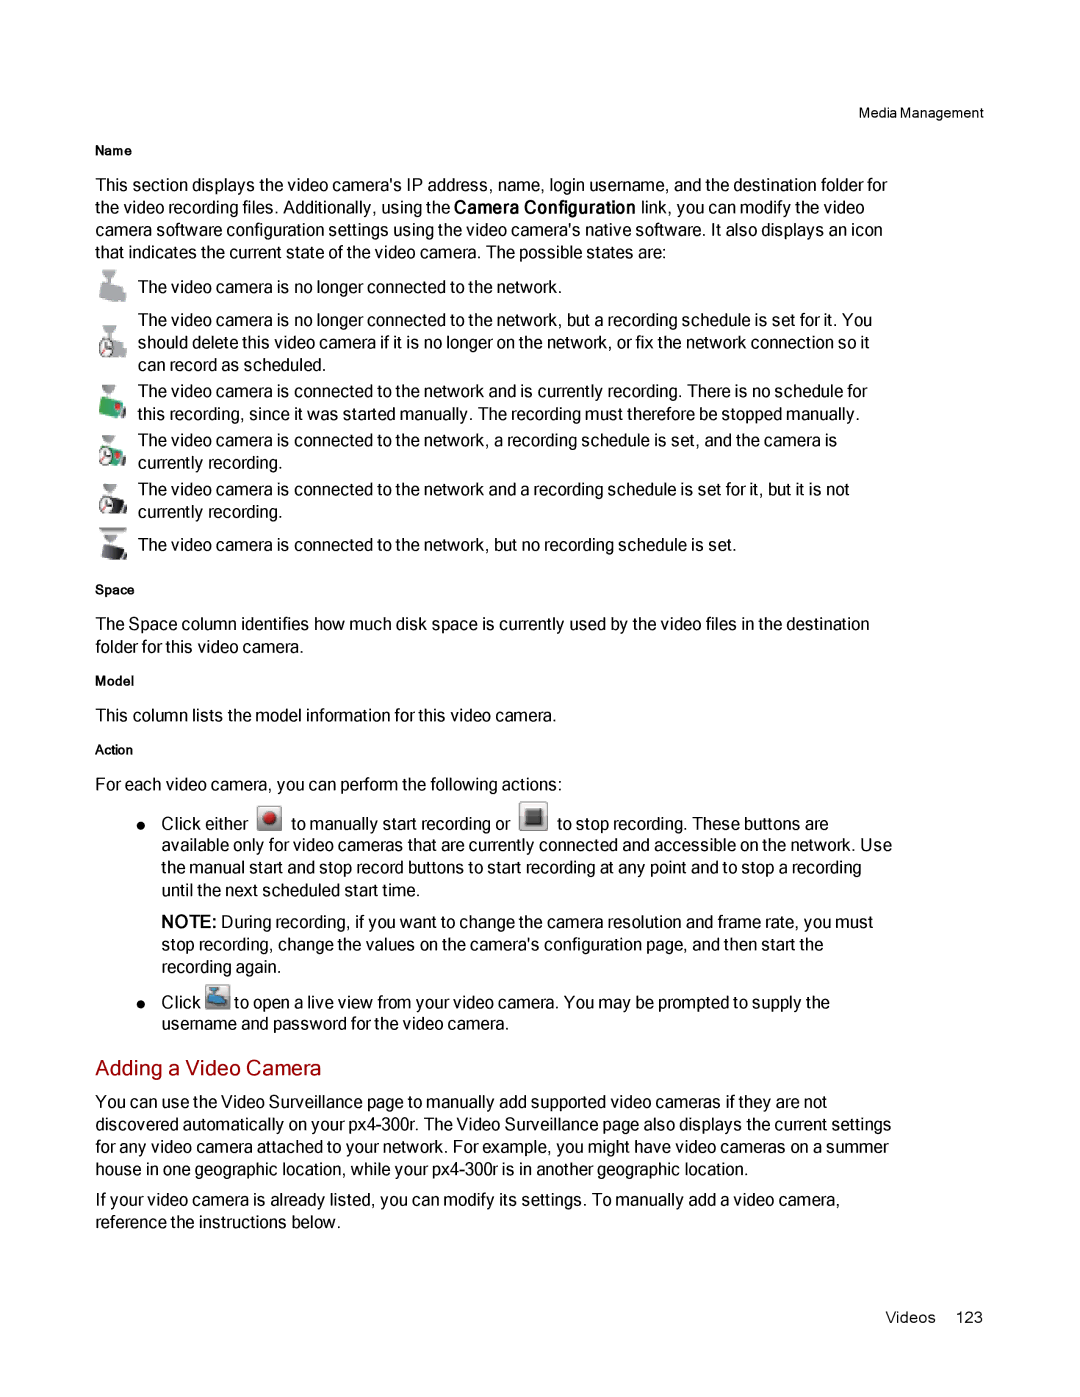
This section displays the video camera's IP address, name, login username, and the destination folder for the video recording files. Additionally, using the Camera Configuration link, you can modify the video camera software configuration settings using the video camera's native software. It also displays an icon that indicates the current state of the video camera. The possible states are:

The video camera is no longer connected to the network.

The video camera is no longer connected to the network, but a recording schedule is set for it. You should delete this video camera if it is no longer on the network, or fix the network connection so it can record as scheduled.

The video camera is connected to the network and is currently recording. There is no schedule for this recording, since it was started manually. The recording must therefore be stopped manually.

The video camera is connected to the network, a recording schedule is set, and the camera is currently recording.

The video camera is connected to the network and a recording schedule is set for it, but it is not currently recording.

The video camera is connected to the network, but no recording schedule is set.

Space

The Space column identifies how much disk space is currently used by the video files in the destination folder for this video camera.

Model

This column lists the model information for this video camera.

Action

For each video camera, you can perform the following actions:

Click either to manually start recording or to stop recording. These buttons are available only for video cameras that are currently connected and accessible on the network. Use the manual start and stop record buttons to start recording at any point and to stop a recording until the next scheduled start time.

NOTE: During recording, if you want to change the camera resolution and frame rate, you must stop recording, change the values on the camera's configuration page, and then start the recording again.

Click to open a live view from your video camera. You may be prompted to supply the username and password for the video camera.

Adding a Video Camera

You can use the Video Surveillance page to manually add supported video cameras if they are not discovered automatically on your px4-300r. The Video Surveillance page also displays the current settings for any video camera attached to your network. For example, you might have video cameras on a summer house in one geographic location, while your px4-300r is in another geographic location.

If your video camera is already listed, you can modify its settings. To manually add a video camera, reference the instructions below.

Videos 123

Page 133
Image 133
Lenovo 70BJ9005WW, 70BJ9007WW manual Adding a Video Camera

70BJ9005WW, 70BJ9007WW specifications

Lenovo has consistently been a leading brand in the technology sector, and its models 70BJ9005WW and 70BJ9007WW are no exception. These models, part of the Lenovo ThinkPad series, are designed for professionals who require a powerful yet reliable device for their everyday tasks.

The Lenovo 70BJ9005WW features an Intel Core i5 processor, which provides a balanced blend of performance and energy efficiency. This processor is coupled with an 8GB DDR4 RAM, enabling smooth multitasking capabilities and ensuring that demanding applications run without a hitch. For storage, it offers a 256GB SSD, allowing for quick boot times and rapid data access. The 70BJ9007WW model goes a step further with an upgraded Intel Core i7 processor and 16GB of RAM, catering to users who need even more power for intensive applications.

Both models come equipped with a 14-inch Full HD display, delivering crystal-clear visuals that are ideal for presentations, spreadsheets, and graphic design. The anti-glare technology ensures that users can work comfortably in various lighting conditions, while the IPS panel provides wide viewing angles for collaborative work.

In terms of connectivity, the Lenovo 70BJ9005WW and 70BJ9007WW boast a comprehensive selection of ports, including USB-C, USB 3.0, HDMI, and a headphone/microphone combo jack. This diverse array of connections facilitates seamless integration with peripheral devices, external monitors, and projectors. Additionally, with integrated Wi-Fi and Bluetooth technology, users can easily connect to networks and devices without the hassle of wires.

Security is a significant concern for professionals, and Lenovo addresses this with features like a fingerprint reader and optional TPM (Trusted Platform Module). These features provide an added layer of security for sensitive data, making it reliable for business environments.

Battery life is another area where these models shine. The Lenovo 70BJ9005WW and 70BJ9007WW can last up to 12 hours on a single charge, ensuring that users can stay productive throughout the day without constantly searching for a power outlet.

In conclusion, the Lenovo 70BJ9005WW and 70BJ9007WW are robust laptops combining powerful performance, excellent display quality, extensive connectivity options, and top-notch security features. These characteristics make them ideal choices for professionals who require a capable and dependable device for their work.