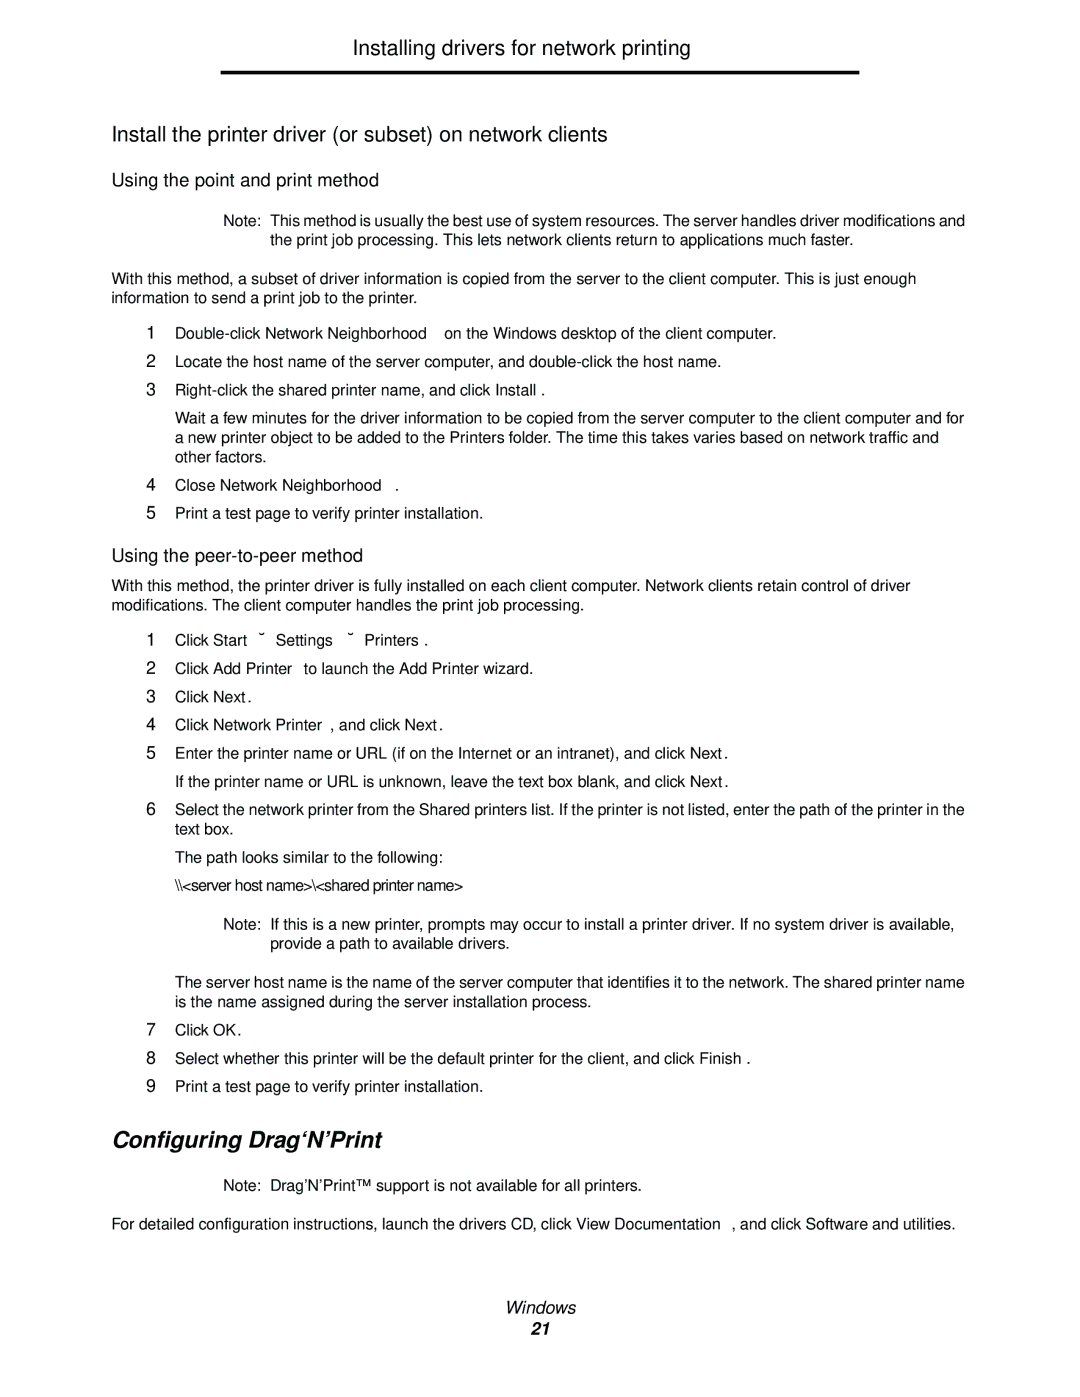
Installing drivers for network printing

Install the printer driver (or subset) on network clients

Using the point and print method

Note: This method is usually the best use of system resources. The server handles driver modifications and the print job processing. This lets network clients return to applications much faster.

With this method, a subset of driver information is copied from the server to the client computer. This is just enough information to send a print job to the printer.

1Double-click Network Neighborhood on the Windows desktop of the client computer.

2Locate the host name of the server computer, and double-click the host name.

3Right-click the shared printer name, and click Install.

Wait a few minutes for the driver information to be copied from the server computer to the client computer and for a new printer object to be added to the Printers folder. The time this takes varies based on network traffic and other factors.

4Close Network Neighborhood.

5Print a test page to verify printer installation.

Using the peer-to-peer method

With this method, the printer driver is fully installed on each client computer. Network clients retain control of driver modifications. The client computer handles the print job processing.

1Click Start Æ Settings Æ Printers.

2Click Add Printer to launch the Add Printer wizard.

3Click Next.

4Click Network Printer, and click Next.

5Enter the printer name or URL (if on the Internet or an intranet), and click Next. If the printer name or URL is unknown, leave the text box blank, and click Next.

6Select the network printer from the Shared printers list. If the printer is not listed, enter the path of the printer in the text box.

The path looks similar to the following:

\\<server host name>\<shared printer name>

Note: If this is a new printer, prompts may occur to install a printer driver. If no system driver is available, provide a path to available drivers.

The server host name is the name of the server computer that identifies it to the network. The shared printer name is the name assigned during the server installation process.

7Click OK.

8Select whether this printer will be the default printer for the client, and click Finish.

9Print a test page to verify printer installation.

Configuring Drag‘N’Print

Note: Drag’N’Print™ support is not available for all printers.

For detailed configuration instructions, launch the drivers CD, click View Documentation, and click Software and utilities.

Windows

21

Page 21
Image 21
Lexmark 840 manual Configuring Drag‘N’Print, Close Network Neighborhood, Click Start Æ Settings Æ Printers

840 specifications

The Lexmark 840 is a versatile and robust multifunction printer designed to meet the demands of a modern office environment. This high-performance device is renowned for its impressive combination of printing, copying, scanning, and faxing capabilities, making it an invaluable asset for businesses seeking efficiency and productivity.

One of the main features of the Lexmark 840 is its high-resolution printing capability, which delivers crisp and clear documents at a speed of up to 42 pages per minute. The maximum resolution of up to 1200 x 1200 dots per inch (dpi) ensures that text and images come out looking sharp and professional. This device supports a variety of media types and sizes, including envelopes, labels, and cardstock, enabling users to tackle diverse printing tasks with ease.

In addition to its printing prowess, the Lexmark 840 boasts advanced copying features. With a copy speed of up to 42 copies per minute and the capability to enlarge or reduce the size of documents, users can easily manage large-volume copying tasks. The automatic document feeder (ADF) can handle up to 100 sheets, streamlining the copying process and saving valuable time for busy offices.

Scanning capabilities are also a notable aspect of the Lexmark 840. The device offers color and monochrome scanning with a resolution that can reach up to 600 x 600 dpi. A key highlight is its ability to scan documents directly to email, network folders, or USB, facilitating seamless document management and sharing.

In terms of technology, the Lexmark 840 integrates advanced security features to protect sensitive data. Its Secure Print functionality ensures that documents are only printed when the authorized user is present, thereby minimizing the risk of confidential information falling into the wrong hands. Additionally, the printer supports various connectivity options, including USB, Ethernet, and wireless connections, allowing users to connect their devices easily.

The Lexmark 840 is built for durability and longevity, featuring a robust design that withstands the rigors of a high-demand office. Its high-yield toner cartridges significantly reduce the total cost of ownership, making it an economical choice for organizations looking to manage their printing expenses effectively.

In summary, the Lexmark 840 combines high-speed printing, advanced copying, and efficient scanning in a single device, backed by a suite of security features and versatile connectivity options. This multifunction printer is ideal for businesses that prioritize performance and reliability in their print operations.