Names of parts
Remote Control
ENGLISH
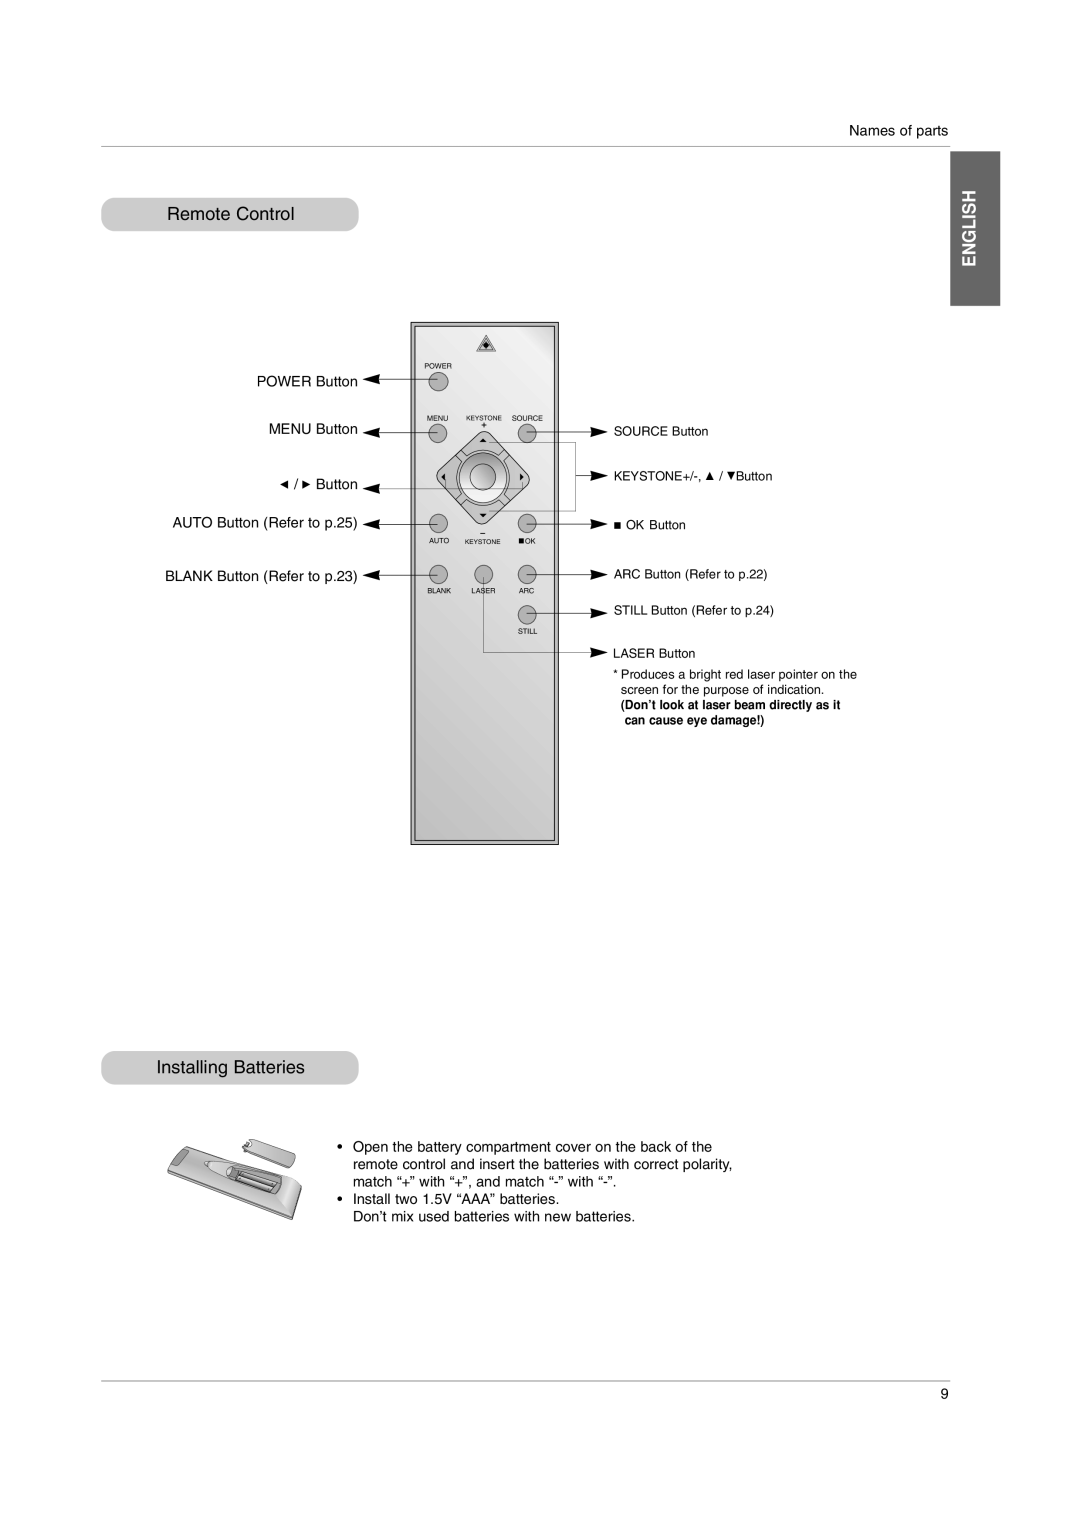
POWER Button ![]()
MENU Button ![]()
F / G Button ![]()
AUTO Button (Refer to p.25) ![]()
BLANK Button (Refer to p.23) ![]()
POWER
MENU KEYSTONE SOURCE
AUTO | KEYSTONE | OK |
BLANK | LASER | ARC |
|
| STILL |
SOURCE Button
![]()
A OK Button
ARC Button (Refer to p.22)
STILL Button (Refer to p.24)
![]() LASER Button
LASER Button
*Produces a bright red laser pointer on the screen for the purpose of indication.
(Don’t look at laser beam directly as it can cause eye damage!)
Installing Batteries
• Open the battery compartment cover on the back of the remote control and insert the batteries with correct polarity, match “+” with “+”, and match
•Install two 1.5V “AAA” batteries.
Don’t mix used batteries with new batteries.
9