Adjust the SETUP settings - more you can do
Adjust the general settings
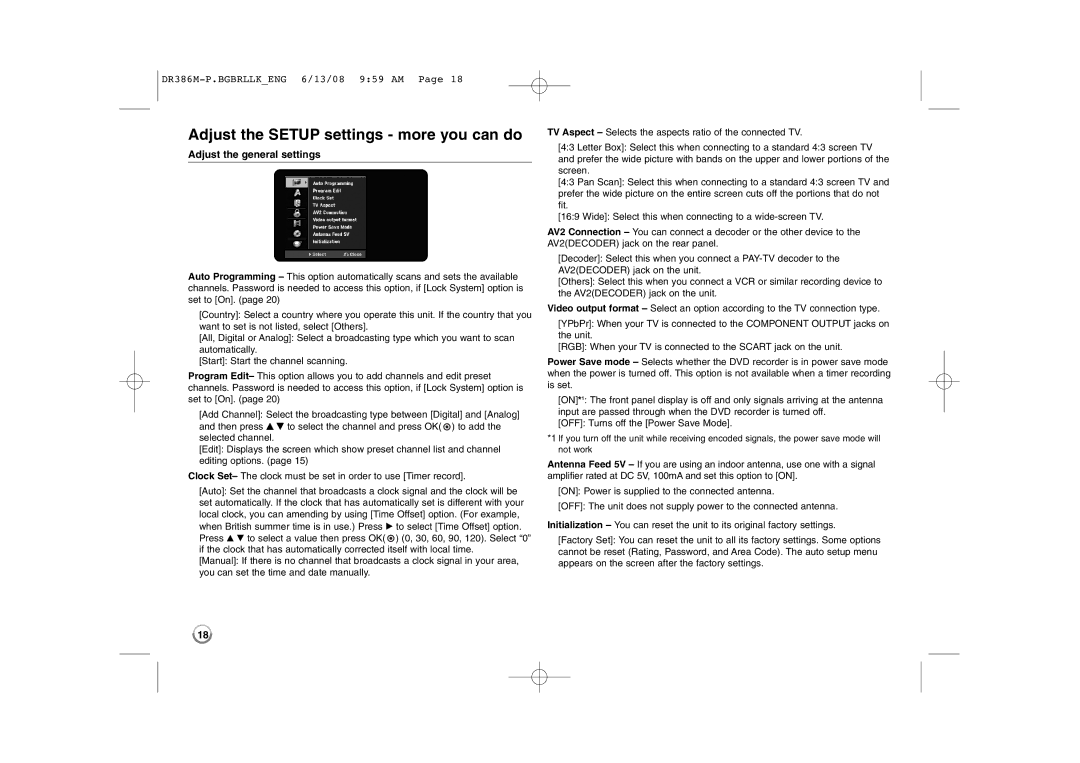
Auto Programming – This option automatically scans and sets the available channels. Password is needed to access this option, if [Lock System] option is set to [On]. (page 20)
[Country]: Select a country where you operate this unit. If the country that you want to set is not listed, select [Others].
[All, Digital or Analog]: Select a broadcasting type which you want to scan automatically.
[Start]: Start the channel scanning.
Program Edit– This option allows you to add channels and edit preset channels. Password is needed to access this option, if [Lock System] option is set to [On]. (page 20)
[Add Channel]: Select the broadcasting type between [Digital] and [Analog] and then press v V to select the channel and press OK( ![]() ) to add the selected channel.
) to add the selected channel.
[Edit]: Displays the screen which show preset channel list and channel editing options. (page 15)
Clock Set– The clock must be set in order to use [Timer record].
[Auto]: Set the channel that broadcasts a clock signal and the clock will be set automatically. If the clock that has automatically set is different with your local clock, you can amending by using [Time Offset] option. (For example, when British summer time is in use.) Press B to select [Time Offset] option. Press v V to select a value then press OK( ![]() ) (0, 30, 60, 90, 120). Select “0” if the clock that has automatically corrected itself with local time.
) (0, 30, 60, 90, 120). Select “0” if the clock that has automatically corrected itself with local time.
[Manual]: If there is no channel that broadcasts a clock signal in your area, you can set the time and date manually.
TV Aspect – Selects the aspects ratio of the connected TV.
[4:3 Letter Box]: Select this when connecting to a standard 4:3 screen TV and prefer the wide picture with bands on the upper and lower portions of the screen.
[4:3 Pan Scan]: Select this when connecting to a standard 4:3 screen TV and prefer the wide picture on the entire screen cuts off the portions that do not fit.
[16:9 Wide]: Select this when connecting to a
AV2 Connection – You can connect a decoder or the other device to the AV2(DECODER) jack on the rear panel.
[Decoder]: Select this when you connect a
[Others]: Select this when you connect a VCR or similar recording device to the AV2(DECODER) jack on the unit.
Video output format – Select an option according to the TV connection type.
[YPbPr]: When your TV is connected to the COMPONENT OUTPUT jacks on the unit.
[RGB]: When your TV is connected to the SCART jack on the unit.
Power Save mode – Selects whether the DVD recorder is in power save mode when the power is turned off. This option is not available when a timer recording is set.
[ON]*1: The front panel display is off and only signals arriving at the antenna input are passed through when the DVD recorder is turned off.
[OFF]: Turns off the [Power Save Mode].
*1 If you turn off the unit while receiving encoded signals, the power save mode will not work
Antenna Feed 5V – If you are using an indoor antenna, use one with a signal amplifier rated at DC 5V, 100mA and set this option to [ON].
[ON]: Power is supplied to the connected antenna.
[OFF]: The unit does not supply power to the connected antenna.
Initialization – You can reset the unit to its original factory settings.
[Factory Set]: You can reset the unit to all its factory settings. Some options cannot be reset (Rating, Password, and Area Code). The auto setup menu appears on the screen after the factory settings.
18