1.3SETUP
Read the Operation Manual before setting up the Life Fitness Summit Trainer.
ELECTRICAL POWER REQUIREMENTS
The Life Fitness Summit Trainer requires an AC power supply according to the electrical config- urations listed in the chart below.
Supply Voltage | Frequency | Rated Current |
(VAC) | (Hz) | (Amps) |
100 | 50 / 60 | 1.6 |
110 | 50 / 60 | 1.6 |
120 | 50 / 60 | 1.6 |
200 | 50 / 60 | .8 |
220 | 50 / 60 | .8 |
230 | 50 / 60 | .8 |
240 | 50 / 60 | .8 |
NOTE: Do not modify the plug provided with this product. If the plug does not fit into an available electrical outlet, have a proper outlet installed by a qualified electrician.
WHERE TO PLACE THE LIFE FITNESS SUMMIT TRAINER
Following all safety instructions in Section 1.1, move the Life Fitness Summit Trainer to the location in which it will be used. See Section 7, titled Specifications, for the dimensions of the footprint. Allow one foot of clearance in front of the Life Fitness Summit Trainer to allow for movement of the
HOW TO STABILIZE THE LIFE FITNESS SUMMIT TRAINER
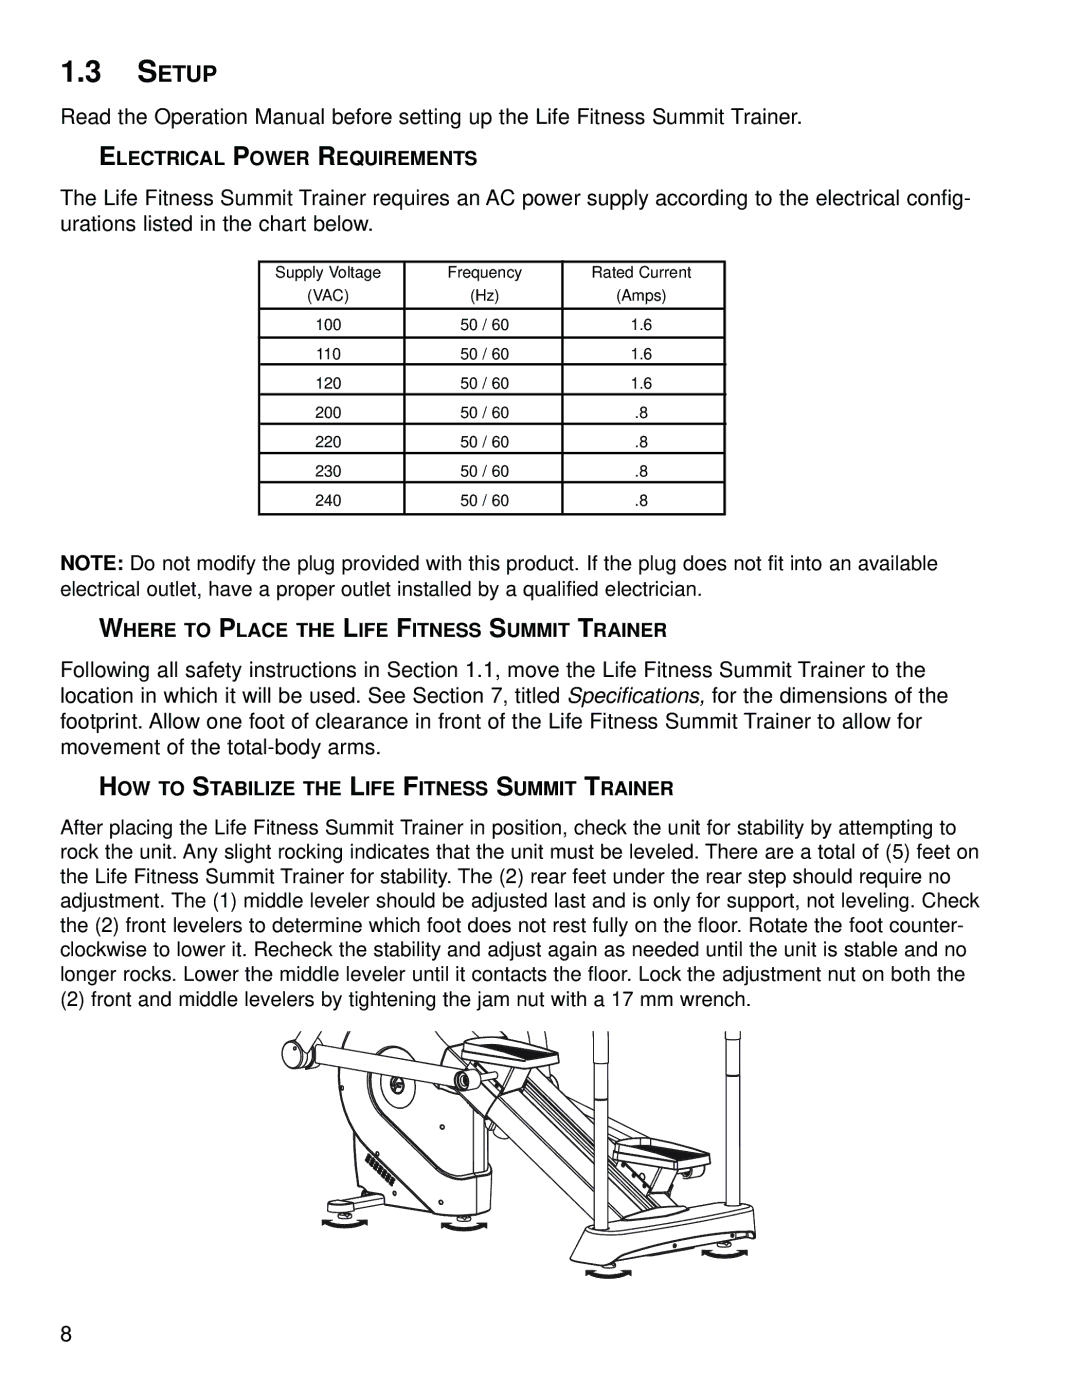
After placing the Life Fitness Summit Trainer in position, check the unit for stability by attempting to rock the unit. Any slight rocking indicates that the unit must be leveled. There are a total of (5) feet on the Life Fitness Summit Trainer for stability. The (2) rear feet under the rear step should require no adjustment. The (1) middle leveler should be adjusted last and is only for support, not leveling. Check the (2) front levelers to determine which foot does not rest fully on the floor. Rotate the foot counter- clockwise to lower it. Recheck the stability and adjust again as needed until the unit is stable and no longer rocks. Lower the middle leveler until it contacts the floor. Lock the adjustment nut on both the
(2) front and middle levelers by tightening the jam nut with a 17 mm wrench.
8
