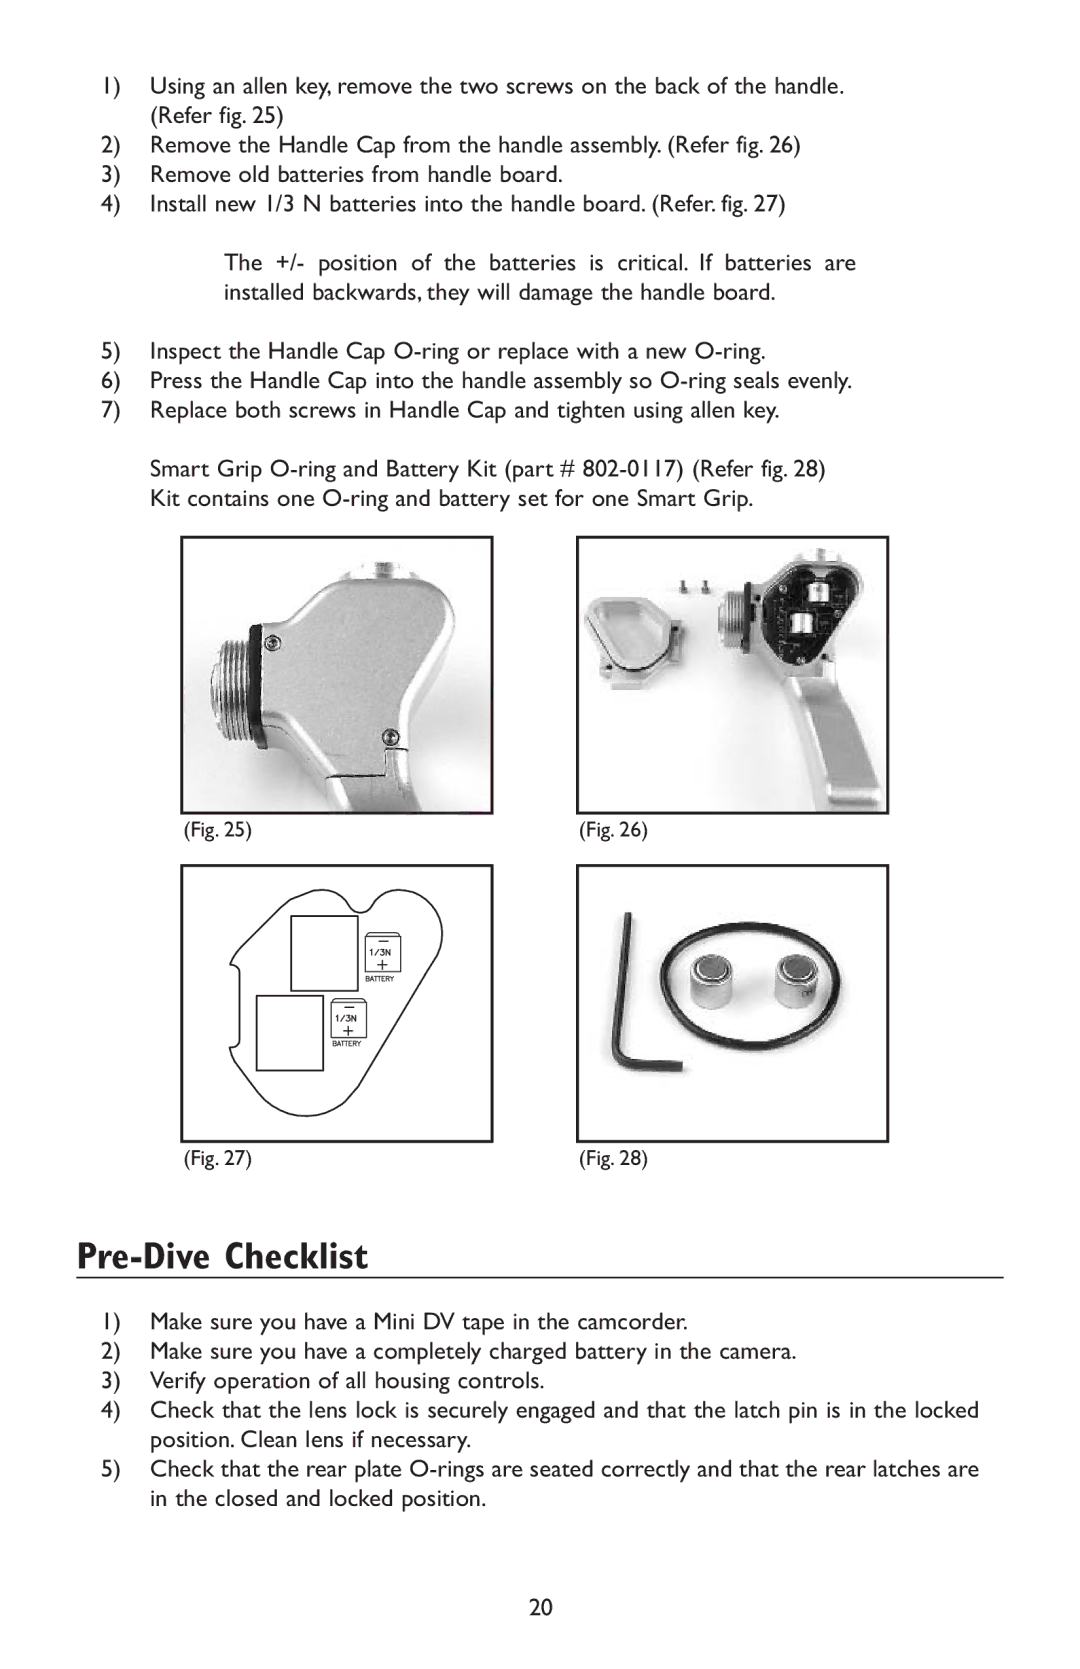
1)Using an allen key, remove the two screws on the back of the handle. (Refer fig. 25)
2)Remove the Handle Cap from the handle assembly. (Refer fig. 26)
3)Remove old batteries from handle board.
4)Install new 1/3 N batteries into the handle board. (Refer. fig. 27)
The +/- position of the batteries is critical. If batteries are installed backwards, they will damage the handle board.
5)Inspect the Handle Cap
6)Press the Handle Cap into the handle assembly so
7)Replace both screws in Handle Cap and tighten using allen key.
Smart Grip
(Fig. 25)
(Fig. 27)
(Fig. 26)
(Fig. 28)
Pre-Dive Checklist
1)Make sure you have a Mini DV tape in the camcorder.
2)Make sure you have a completely charged battery in the camera.
3)Verify operation of all housing controls.
4)Check that the lens lock is securely engaged and that the latch pin is in the locked position. Clean lens if necessary.
5)Check that the rear plate
20