Charging Batteries
Due to shipping, batteries charge states will vary. It is recommended that you charge your batteries when they are received.
1)The charger can accept an electrical range of 100 - 240v and 50 - 60hz.
2)The charger has two LED lights, one green and one yellow. Green LED illuminates when charger is receiving power.
Yellow LED is illuminated when charging and blinking when charge is complete.
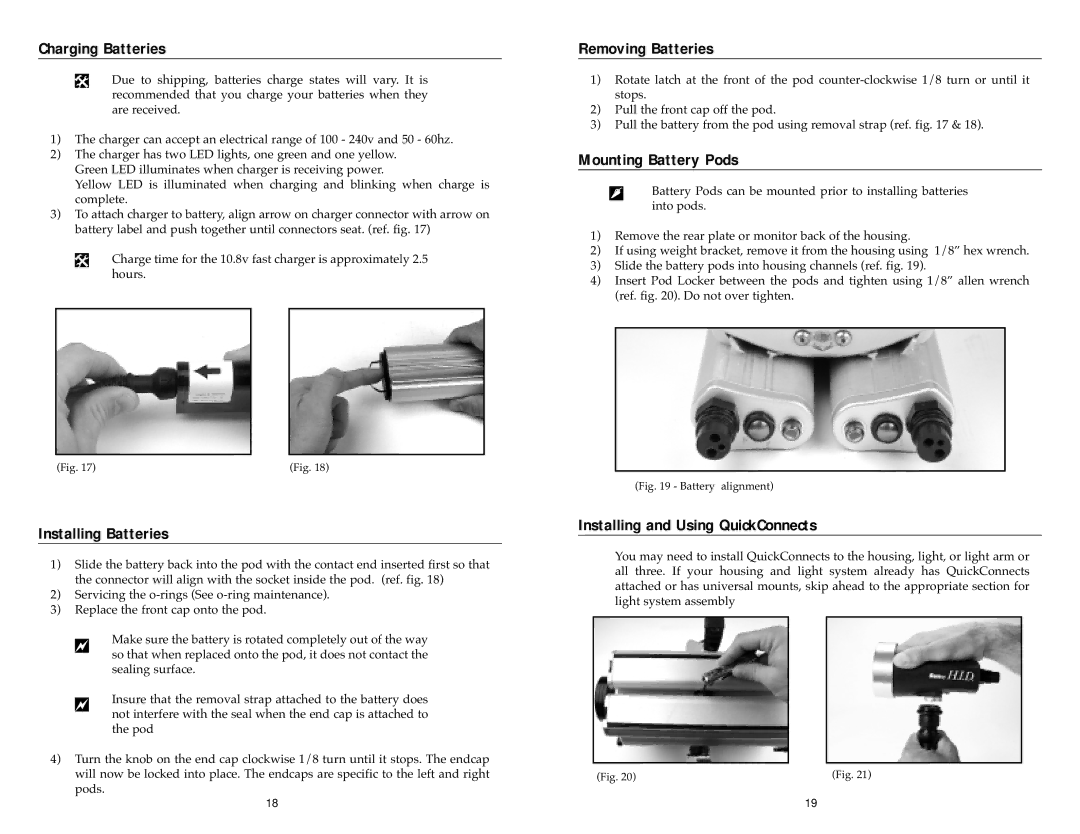
3)To attach charger to battery, align arrow on charger connector with arrow on battery label and push together until connectors seat. (ref. fig. 17)
Charge time for the 10.8v fast charger is approximately 2.5 hours.
(Fig. 17) | (Fig. 18) |
Installing Batteries
1)Slide the battery back into the pod with the contact end inserted first so that the connector will align with the socket inside the pod. (ref. fig. 18)
2)Servicing the
3)Replace the front cap onto the pod.
Make sure the battery is rotated completely out of the way so that when replaced onto the pod, it does not contact the sealing surface.
Insure that the removal strap attached to the battery does not interfere with the seal when the end cap is attached to the pod
4)Turn the knob on the end cap clockwise 1/8 turn until it stops. The endcap will now be locked into place. The endcaps are specific to the left and right
pods.
18
Removing Batteries
1)Rotate latch at the front of the pod
2)Pull the front cap off the pod.
3)Pull the battery from the pod using removal strap (ref. fig. 17 & 18).
Mounting Battery Pods
Battery Pods can be mounted prior to installing batteries into pods.
1)Remove the rear plate or monitor back of the housing.
2)If using weight bracket, remove it from the housing using 1/8” hex wrench.
3)Slide the battery pods into housing channels (ref. fig. 19).
4)Insert Pod Locker between the pods and tighten using 1/8” allen wrench (ref. fig. 20). Do not over tighten.
(Fig. 19 - Battery alignment)
Installing and Using QuickConnects
You may need to install QuickConnects to the housing, light, or light arm or all three. If your housing and light system already has QuickConnects attached or has universal mounts, skip ahead to the appropriate section for light system assembly
(Fig. 20) | (Fig. 21) |
19