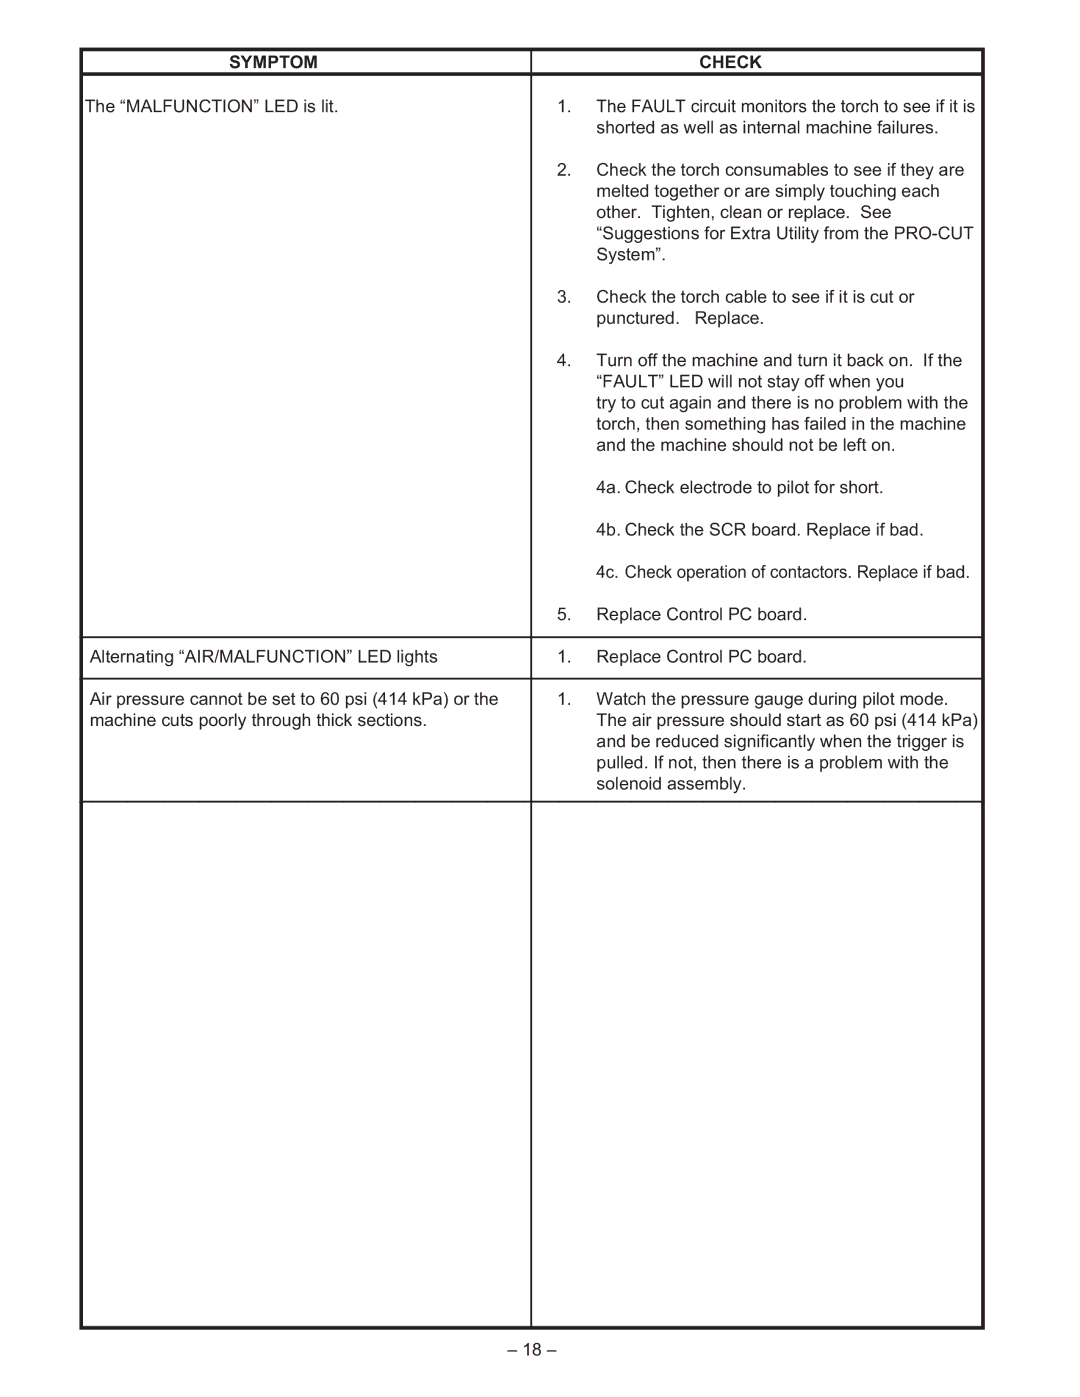
SYMPTOM |
| CHECK |
The “MALFUNCTION” LED is lit. | 1. | The FAULT circuit monitors the torch to see if it is |
|
| shorted as well as internal machine failures. |
| 2. | Check the torch consumables to see if they are |
|
| melted together or are simply touching each |
|
| other. Tighten, clean or replace. See |
|
| “Suggestions for Extra Utility from the |
|
| System”. |
| 3. | Check the torch cable to see if it is cut or |
|
| punctured. Replace. |
| 4. | Turn off the machine and turn it back on. If the |
|
| “FAULT” LED will not stay off when you |
|
| try to cut again and there is no problem with the |
|
| torch, then something has failed in the machine |
|
| and the machine should not be left on. |
|
| 4a. Check electrode to pilot for short. |
|
| 4b. Check the SCR board. Replace if bad. |
|
| 4c. Check operation of contactors. Replace if bad. |
| 5. | Replace Control PC board. |
|
|
|
Alternating “AIR/MALFUNCTION” LED lights | 1. | Replace Control PC board. |
|
|
|
Air pressure cannot be set to 60 psi (414 kPa) or the | 1. | Watch the pressure gauge during pilot mode. |
machine cuts poorly through thick sections. |
| The air pressure should start as 60 psi (414 kPa) |
|
| and be reduced significantly when the trigger is |
|
| pulled. If not, then there is a problem with the |
|
| solenoid assembly. |
|
|
|
|
|
|
– 18 –
