TOC

TOC

F-46

TROUBLESHOOTING AND REPAIR

F-46


POLARITY SWITCH

REMOVAL AND REPLACEMENT PROCEDURE (continued)

Return to Section

Return to Section TOC

Return to Section TOC

Return to Section TOC

Return to Master

Return to Master TOC

Return to Master TOC

Return to Master TOC

REMOVAL PROCEDURE

1.Remove the input power to the TIG 225 machine.

2.Using the 3/8” nutdriver remove the case wrap- around cover.

3.Using the 3/32” Allen type wrench remove the output control knob.

4.Using the Phillips head screwdriver remove the screw from the polarity switch handle.

5.With the 2 slot head screwdrivers carefully pry the polarity switch handle from the shaft.

6.Remove the five plastic snap rivets holding the name plate to the case front. These can be removed by gently prying at the rivet between the name plate and the case front.

7.Remove the name plate.

8.With the 1/2” wrench remove the “positive” flex lead from the polarity switch. See wiring dia- gram. Label lead and connection point for reassembly.

9.With the 1/2” wrench remove the “AC” flex lead from the polarity switch. This lead connects to the AC plate on the SCR bridge. See wiring diagram. Label lead and connection point for reassembly.

10.Using the 1/2” wrench remove the flex lead from the rear gang of the polarity switch. This lead connects to the D1 diode on the SCR bridge. See wiring diagram. Label lead and connection point for reassembly.

11.Using the 1/2” wrench remove the flat copper lead from the polarity switch. This lead con- nects to the high frequency transformer coil and the by-pass board. See wiring diagram. Label lead and connection point for reassembly.

12.Using the 1/2” wrench remove the other flat copper lead from the polarity switch. This lead connects to the lower terminal on the by-pass board and the “work” lead. See wiring dia- gram. Label lead and connection point for reassembly.

13.Using the 1/2” wrench remove the choke lead from the polarity switch. See wiring diagram. Label lead and connection point for reassem- bly.

14.With the 1/2” wrench remove the X1 sec- ondary lead from the polarity switch. See wiring diagram. Label lead and connection point for reassembly.

15.With the 7/16” wrench remove the two nuts and washers that hold the polarity switch to the front panel.

16.Carefully rotate the polarity switch assembly to gain access to the micro-switch.

17.Carefully unsolder the two leads (#311 and #312) from the micro-switch located on the polarity switch assembly. See wiring diagram. Label leads and connection points for reassembly.

18.Carefully remove the polarity switch assembly from the machine.

PRECISION TIG® 225

Page 86
Image 86
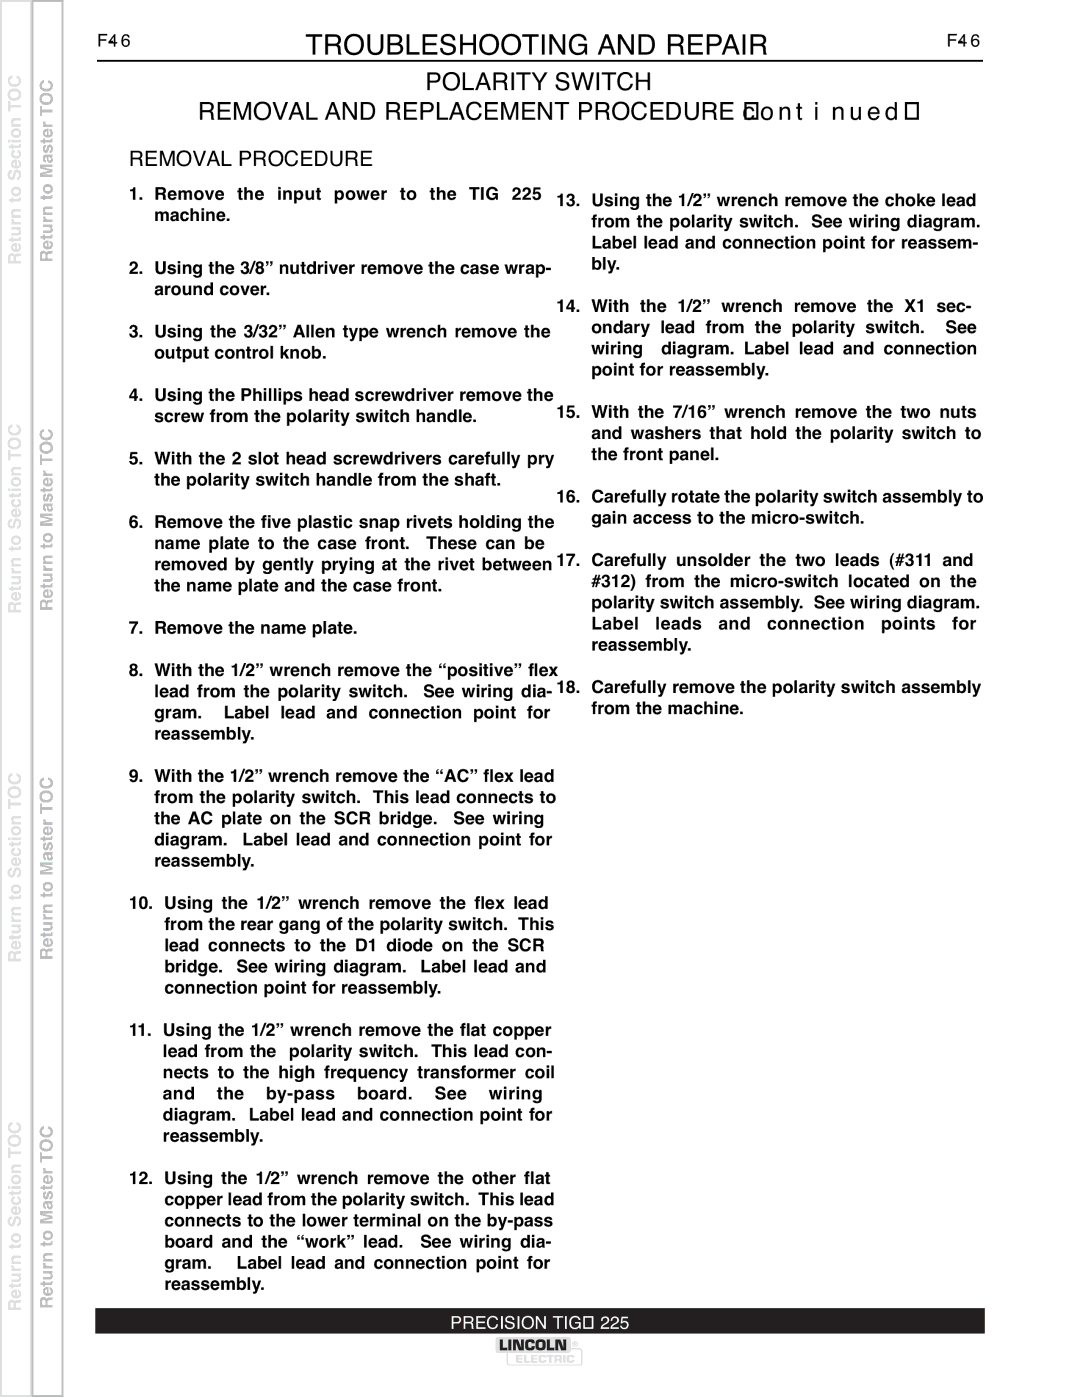
Lincoln Electric SVM186-A service manual Polarity Switch, Removal Procedure

SVM186-A specifications

The Lincoln Electric SVM186-A is a versatile and highly efficient welding machine that stands out in the competitive landscape of industrial welding equipment. Designed to meet the needs of both professionals and hobbyists, this machine combines advanced technology with robust construction, delivering outstanding performance in various welding applications.

One of the standout features of the SVM186-A is its multi-process capability. This welding machine can handle MIG, TIG, and Stick welding processes, making it suitable for a diverse range of projects, from light fabrication to heavy-duty work. This flexibility reduces the need for multiple machines, saving time and space for users who require versatility in their welding operations.

The SVM186-A is powered by a reliable and durable inverter technology, which ensures a stable arc and efficient operation across different materials, including stainless steel, aluminum, and mild steel. This inverter technology not only enhances performance but also reduces energy consumption, making it an environmentally friendly choice.

Another notable characteristic of the SVM186-A is its user-friendly interface. The digital display provides real-time information on voltage and wire feed speed, allowing welders to easily adjust settings for optimal results. This intuitive control panel design makes it accessible for both novice welders and seasoned professionals who value precision.

The machine is also built with safety features in mind. It comes equipped with overcurrent protection and thermal overload protection to prevent damage during operation. This ensures that users can work confidently, knowing that the equipment is designed to handle demanding tasks while prioritizing safety.

Portability is another advantage of the SVM186-A. Weighing in at a relatively light weight compared to other industrial welders, this machine is designed for ease of transport. Whether working on-site or in a workshop, welders can easily move the equipment as needed.

In summary, the Lincoln Electric SVM186-A is a sophisticated welding machine that merges technology and practicality. Its multi-process capability, inverter technology, user-friendly interface, safety features, and portability make it a top choice for those seeking dependable and efficient welding solutions. Whether for professional fabrication or personal projects, the SVM186-A is equipped to handle the demands of modern welding tasks with exceptional ease and effectiveness.