3.3Front panel keys and remote controller
|
| LINDY |
|
| LINDY |
|
| LINDY |
|
| LINDY |
| LINDY |
|
KEY |
| CPU 2 |
|
| CPU 4 |
|
| CPU 4 OSD |
|
| CPU 8 OSD |
| CPU 16 OSD |
|
|
|
|
|
|
|
|
|
|
|
|
|
|
|
|
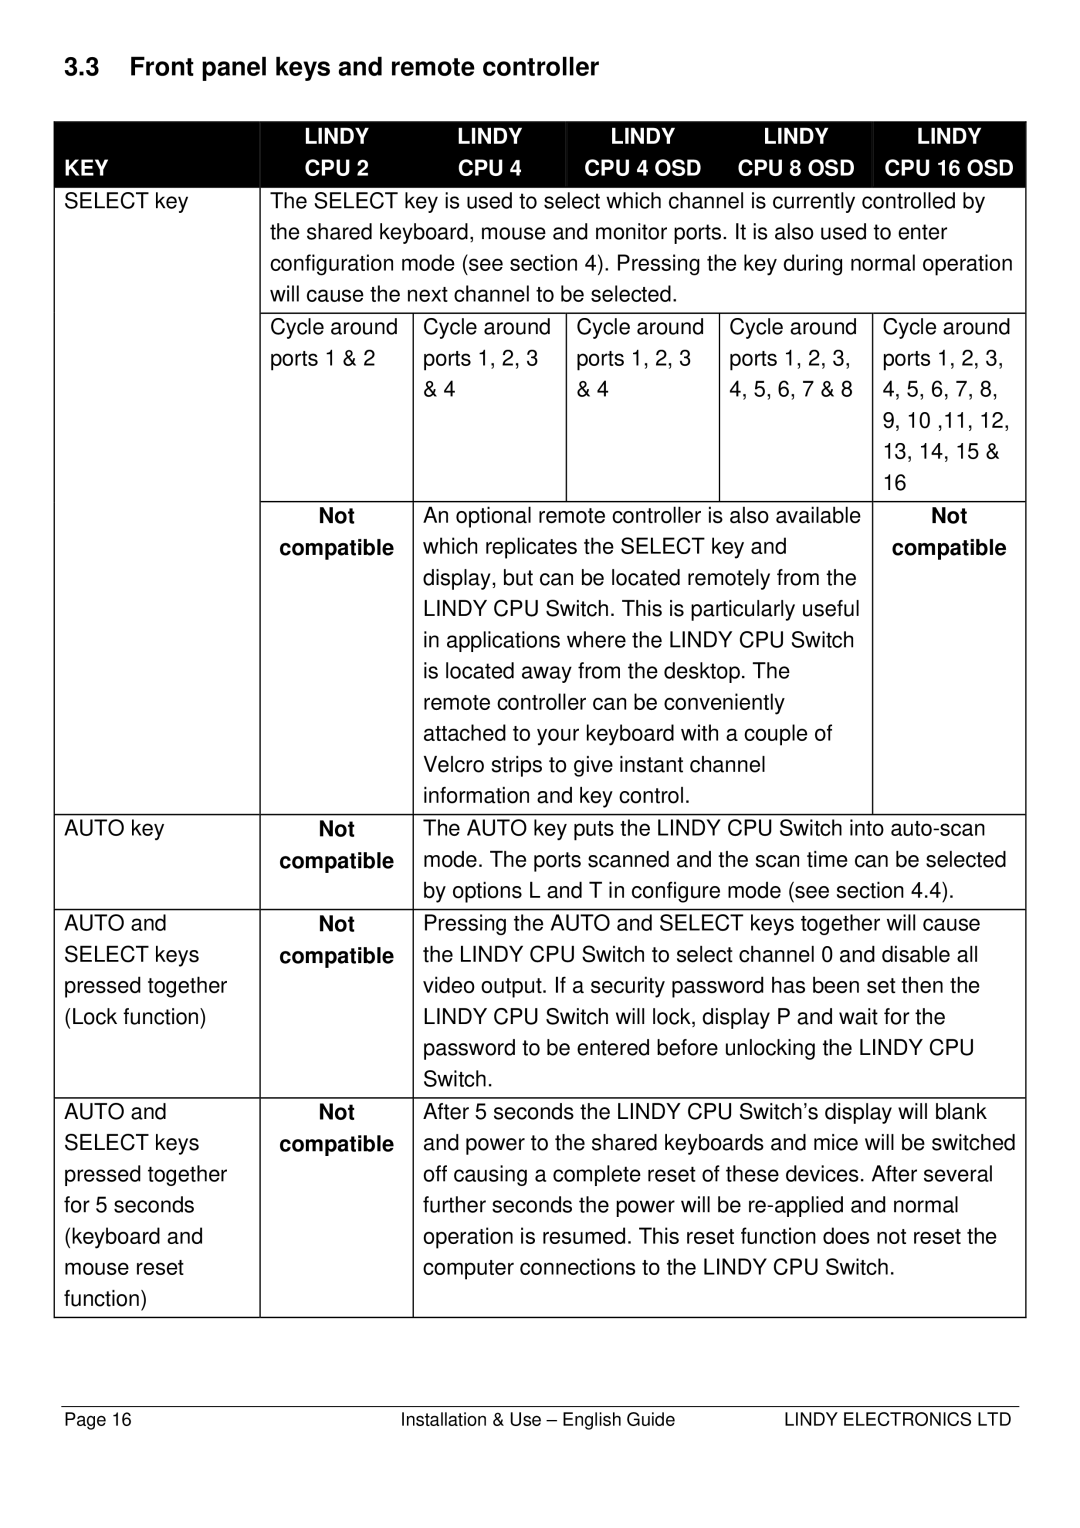
SELECT key |
| The SELECT key is used to select which channel is currently | controlled by | |||||||||||
|
| the shared keyboard, mouse and monitor ports. It is also used to enter | ||||||||||||
|
| configuration mode (see section 4). Pressing the key during normal operation | ||||||||||||
|
| will cause the next channel to be selected. |
|
|
|
|
| |||||||
|
|
|
|
|
|
|
| Cycle around |
|
| ||||
|
| Cycle around |
| Cycle around |
| Cycle around |
|
| Cycle around | |||||
|
| ports 1 & 2 |
| ports 1, 2, 3 |
| ports 1, 2, 3 |
| ports 1, 2, 3, |
| ports 1, 2, 3, | ||||
|
|
|
| & 4 |
| & 4 |
| 4, 5, 6, 7 & 8 | 4, 5, 6, 7, 8, |
| ||||
|
|
|
|
|
|
|
|
|
|
|
| 9, 10 ,11, 12, |
| |
|
|
|
|
|
|
|
|
|
|
|
| 13, 14, 15 & |
| |
|
|
|
|
|
|
|
|
|
|
|
| 16 |
| |
|
|
|
|
|
|
|
|
| ||||||
|
| Not |
| An optional remote controller is also available |
| Not | ||||||||
|
| compatible |
| which replicates the SELECT key and |
| compatible | ||||||||
|
|
|
|
| display, but can be located remotely from the |
|
|
| ||||||
|
|
|
|
| LINDY CPU Switch. This is particularly useful |
|
|
| ||||||
|
|
|
|
| in applications where the LINDY CPU Switch |
|
|
| ||||||
|
|
|
|
| is located away from the desktop. The |
|
|
| ||||||
|
|
|
|
| remote controller can be conveniently |
|
|
| ||||||
|
|
|
|
| attached to your keyboard with a couple of |
|
|
| ||||||
|
|
|
|
| Velcro strips to give instant channel |
|
|
| ||||||
|
|
|
|
| information and key control. |
|
|
|
|
| ||||
|
|
|
|
|
| |||||||||
AUTO key |
| Not |
| The AUTO key puts the LINDY CPU Switch into | ||||||||||
|
| compatible |
| mode. The ports scanned and the scan time can be selected | ||||||||||
|
|
|
|
| by options L and T in configure mode (see section 4.4). | |||||||||
|
|
|
| Pressing the AUTO and SELECT keys together will cause | ||||||||||
AUTO and |
| Not |
| |||||||||||
SELECT keys |
| compatible |
| the LINDY CPU Switch to select channel 0 and disable all | ||||||||||
pressed together |
|
|
|
| video output. If a security password has been set then the | |||||||||
(Lock function) |
|
|
|
| LINDY CPU Switch will lock, display P and wait for the | |||||||||
|
|
|
|
| password to be entered before unlocking the LINDY CPU | |||||||||
|
|
|
|
| Switch. |
|
|
|
|
|
|
|
| |
|
|
|
| After 5 seconds the LINDY CPU Switch’s display will blank | ||||||||||
AUTO and |
| Not |
| |||||||||||
SELECT keys |
| compatible |
| and power to the shared keyboards and mice will be switched | ||||||||||
pressed together |
|
|
|
| off causing a complete reset of these devices. After several | |||||||||
for 5 seconds |
|
|
|
| further seconds the power will be | |||||||||
(keyboard and |
|
|
|
| operation is resumed. This reset function does not reset the | |||||||||
mouse reset |
|
|
|
| computer connections to the LINDY CPU Switch. | |||||||||
function) |
|
|
|
|
|
|
|
|
|
|
|
|
|
|
|
|
|
|
|
|
|
|
|
|
|
|
|
|
|
Page 16 | Installation & Use – English Guide | LINDY ELECTRONICS LTD |
