Instant EtherFast® Series

6. At the server command line, type (for example):

LOAD c:\LNE100TX\NBI31X.NLM

LOAD c:\LNE100TX\MSM31X.NLM

LOAD c:\LNE100TX\ETHERTSM.NLM

LOAD c:\LNE100TX\LNE100.LAN FRAME = <frame type in use>

Fast Ethernet Switched 10/100 Network In a Box

Installing a 5.x Server

1.

On the PC in which you installed the EtherFast card, simultaneously press


CTRL and ESC.

2.

When the next screen pops up, select the number for System Console


and press Enter.

7.Bind a protocol to the driver. For example:

BIND IPX TO LNE100TX NET=XX

where XX is the logical network address for your network. It can be any logical number.

Note: You can save the LOAD command line parameters in a file with the name AUTOEX- EC.NCF so they execute auto- matically when the server starts. See the Novell NetWare 386 v3.12 Installation Manual for details on how to create the AUTOEXEC.NCF file.

3.

In the System Console prompt, load NWCONFIG by typing nwconfig


and hitting Enter.

4.

Highlight Driver Options. Press Enter.

5.

Highlight Configure network drivers. Press Enter.

The loading and binding are complete. The server is ready.

Installing a 4.x Server

1.At the NetWare prompt (indicated by the server name), run the INSTALL.NLM program by typing load install.

2.Select Maintenance/Selective Install and press Enter.

3.Select LAN Driver Options and press Enter.

4.Press the Insert or Ins key on your keyboard to insert a new driver. Put the EtherFast® 10/100 LAN Card Disk into drive A.

5.Press F3 and specify the driver path. If the EtherFast Card disk is in drive A, for example, type a:\netware\server\nw411 and press Enter. The pro- gram will locate the EtherFast Card’s LNE100TX.LAN and LNE100TX.LDI files on the disk.

6.The LNE100TX.LAN driver will appear as an option in the Select a LAN Driver field. Choose this driver to start the loading and binding procedure.

7.Add the LOAD and BIND statements to your server's AUTOEXEC.NCF file so that the LAN driver loads automatically each time your server is started up.

The loading and binding are complete. The server is ready.

6.

Highlight Select a driver. Press Enter.

7.

Press INS to Install an unlisted driver.

8.

Press F3 to Specify a different path.

9.

In the Specify a directory path box, type A:\NETWARE\SERVER\NW50


and press Enter.

10.

In the next box, ensure that LNE100TX.LAN EtherFast® 10/100 LAN


Card is highlighted. Press Enter.

11.

You will be asked Do you want to copy driver LNE100TX.LAN. Highlight


Yes, then press Enter.

12.

Files will begin copying to your hard drive. Afterwards, a Protocol and


Parameter screen will pop up. Highlight Select/Modify driver parame-


ters and protocol. Press Enter.

13. Arrow down the list that appears and choose which protocols you want to


install. Press F10 to save.

14.

Highlight Save Parameters and Load Driver. Press Enter.

37

38

Page 22
Image 22
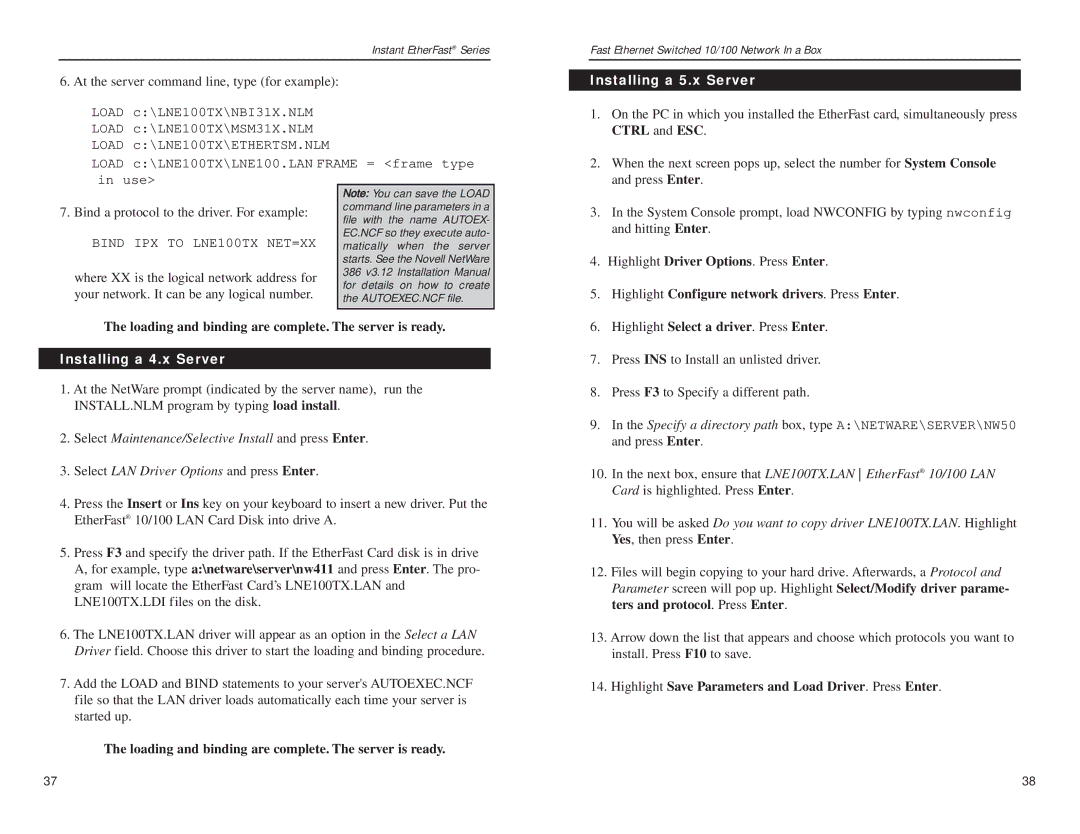
Linksys FESWSK05 v3, EZXS55W manual Installing a 5.x Server, Installing a 4.x Server

EZXS55W, FESWSK05 v3 specifications

The Linksys FESWSK05 v3 and the EZXS55W are both notable pieces of networking hardware designed to enhance connectivity in various environments, from small businesses to homes. These Ethernet switches offer crucial features that facilitate efficient data transfer and network management.

The Linksys FESWSK05 v3 is a 5-port Fast Ethernet switch, utilizing a non-blocking architecture that allows for full wire-speed performance. Each port supports 10/100Mbps connections, making it a versatile choice for environments requiring high-speed data transfer. The switch is designed with ease of use in mind; it features a plug-and-play setup, eliminating the need for complex configuration. This makes it suitable for users of all technical levels. Furthermore, it includes auto-sensing technology that detects the speed of connected devices and automatically adjusts to ensure optimal alignment.

The EZXS55W, on the other hand, is a smart switch with features that cater to growing networking demands. It also supports 5 ports, with similar 10/100Mbps capabilities, but offers additional functionalities, such as a built-in web management interface. This allows for advanced features like VLAN support and Quality of Service (QoS). These capabilities enable users to prioritize traffic for bandwidth-sensitive applications such as VoIP and video conferencing, ensuring a stable and reliable connection.

Both models support Auto-MDI/MDI-X functionality, which simplifies installation by automatically detecting and configuring the type of connection. This is particularly useful for network administrators managing multiple connections without the need for crossover cables. Additionally, they are equipped with IEEE 802.3, 802.3u, and 802.3x standards compliance, ensuring compatibility with a wide range of devices.

In terms of physical characteristics, the Linksys switches are compact and designed for desktop or wall-mounted installation, making them suitable for space-constrained environments. Their fanless design ensures silent operation, which is ideal for both home and office settings.

Overall, the Linksys FESWSK05 v3 and EZXS55W are excellent choices for users seeking reliable, efficient, and straightforward networking solutions. With their robust feature set and user-friendly design, they provide the necessary foundation for a well-functioning network, catering to the demands of modern connectivity. Whether for home use or in a small office, these switches deliver performance and reliability that users can count on.