Chapter 3
Advanced Configuration
Game Select the appropriate game. If you select Add a New Game, follow the Add a New Game instructions.
Priority Select the appropriate priority: High, Medium (Recommend), Normal, or Low.
Click Add to save your changes. Your new entry will appear in the Summary list.
Add a New Game
QoS > Add a New Game
Enter a Name Enter any name to indicate the name of the entry.
Port Range Enter the port range that the application will be using. For example, if you want to allocate bandwidth for FTP, you can enter
Select the protocol TCP, UDP, or Both.
Priority Select the appropriate priority: High, Medium (Recommend), Normal, or Low.
Click Add to save your changes. Your new entry will appear in the Summary list.
MAC Address
QoS > MAC Address
Enter a Name Enter a name for your device.
MAC Address Enter the MAC address of your device.
Priority Select the appropriate priority: High, Medium (Recommend), Normal, or Low.
Click Add to save your changes. Your new entry will appear in the Summary list.
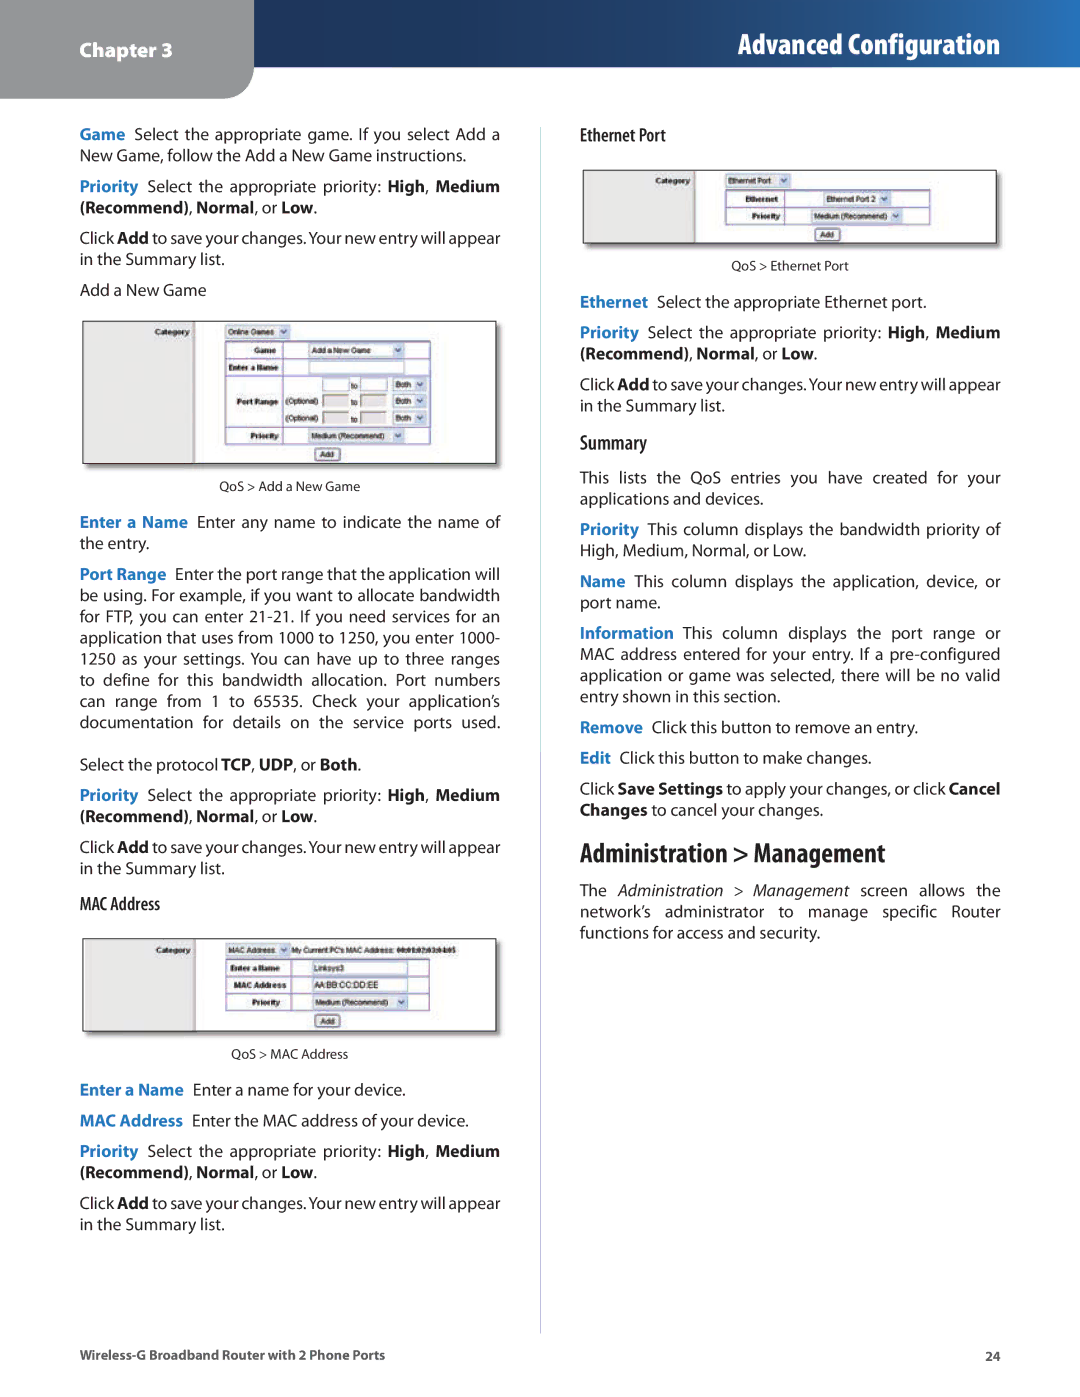
Ethernet Port
QoS > Ethernet Port
Ethernet Select the appropriate Ethernet port.
Priority Select the appropriate priority: High, Medium (Recommend), Normal, or Low.
Click Add to save your changes. Your new entry will appear in the Summary list.
Summary
This lists the QoS entries you have created for your applications and devices.
Priority This column displays the bandwidth priority of High, Medium, Normal, or Low.
Name This column displays the application, device, or port name.
Information This column displays the port range or MAC address entered for your entry. If a
Remove Click this button to remove an entry. Edit Click this button to make changes.
Click Save Settings to apply your changes, or click Cancel Changes to cancel your changes.
Administration > Management
The Administration > Management screen allows the network’s administrator to manage specific Router functions for access and security.
24 |
