Chapter 3
Advanced Configuration
Security This is the security method used by the network.
Wii Protected Setup Click the Wii Protected Setup button ![]() to connect to a router that supports Wii Protected Setup. Refer to the “Wii Protected Setup” instructions in the “Status” section at the beginning of this chapter.
to connect to a router that supports Wii Protected Setup. Refer to the “Wii Protected Setup” instructions in the “Status” section at the beginning of this chapter.
Refresh Click Refresh to perform a new search for wireless devices.
Connect To connect to one of the networks on the list, select the wireless network, and click Connect.
If the router does not support Wii Protected Setup, proceed to the section, “No Wii Protected Setup”. If the router supports Wii Protected Setup ![]() , proceed to the section, “Wii Protected Setup”.
, proceed to the section, “Wii Protected Setup”.
No Wii Protected Setup
If the router does not use Wii Protected Setup, proceed to the appropriate section, “Wireless Security Disabled” or “Wireless Security Enabled”.
Wireless Security Disabled
If you connect to a network whose wireless security is disabled, then you will view this screen:
Click Connect Anyway
1.Click Connect Anyway.
2.Click Finish.
Congratulations
Dualand Wirelessetwork Adapter
Congratulations! The Adapter is connected to
the network.
Wireless Security Enabled
If you connect to a network whose wireless security is enabled, then you will view one of three screens.
1.Proceed to the appropriate instructions.
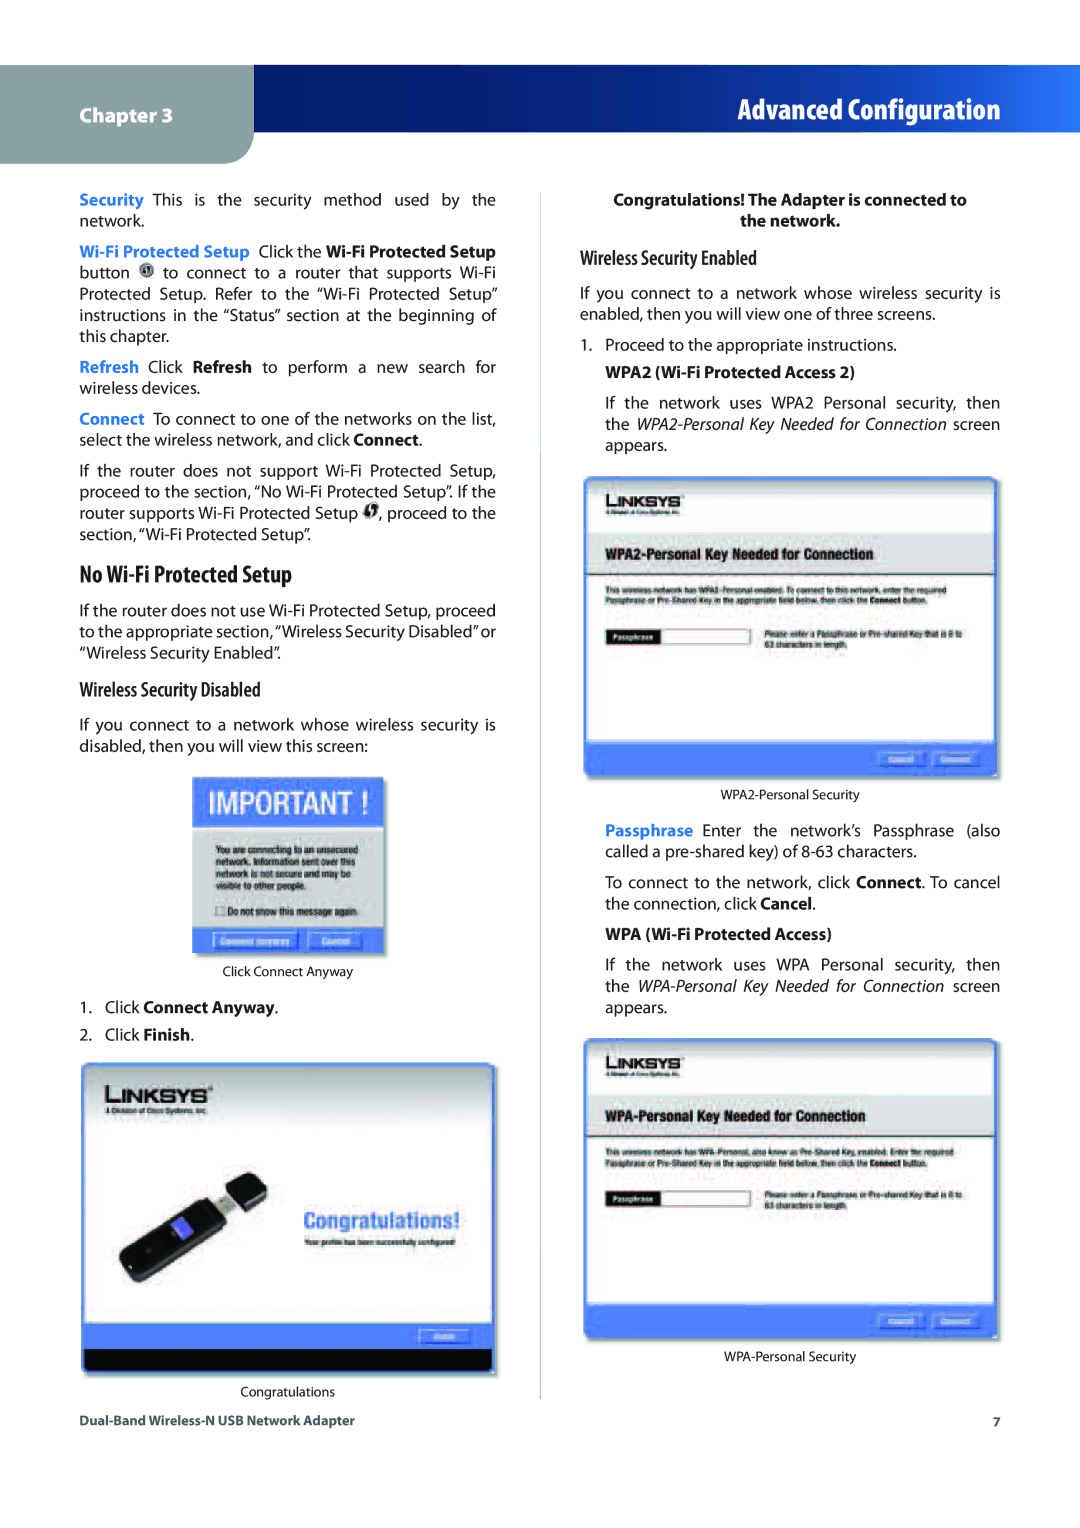
WPA2 (Wii Protected Access 2)
If the network uses WPA2 Personal security, then the
WPA2ersonal Security
Passphrase Enter the network’s Passphrase (also called a preed key) of 8acters.
To connect to the network, click Connect. To cancel the connection, click Cancel.
WPA (Wii Protected Access)
If the network uses WPA Personal security, then the
WPAersonal Security
7