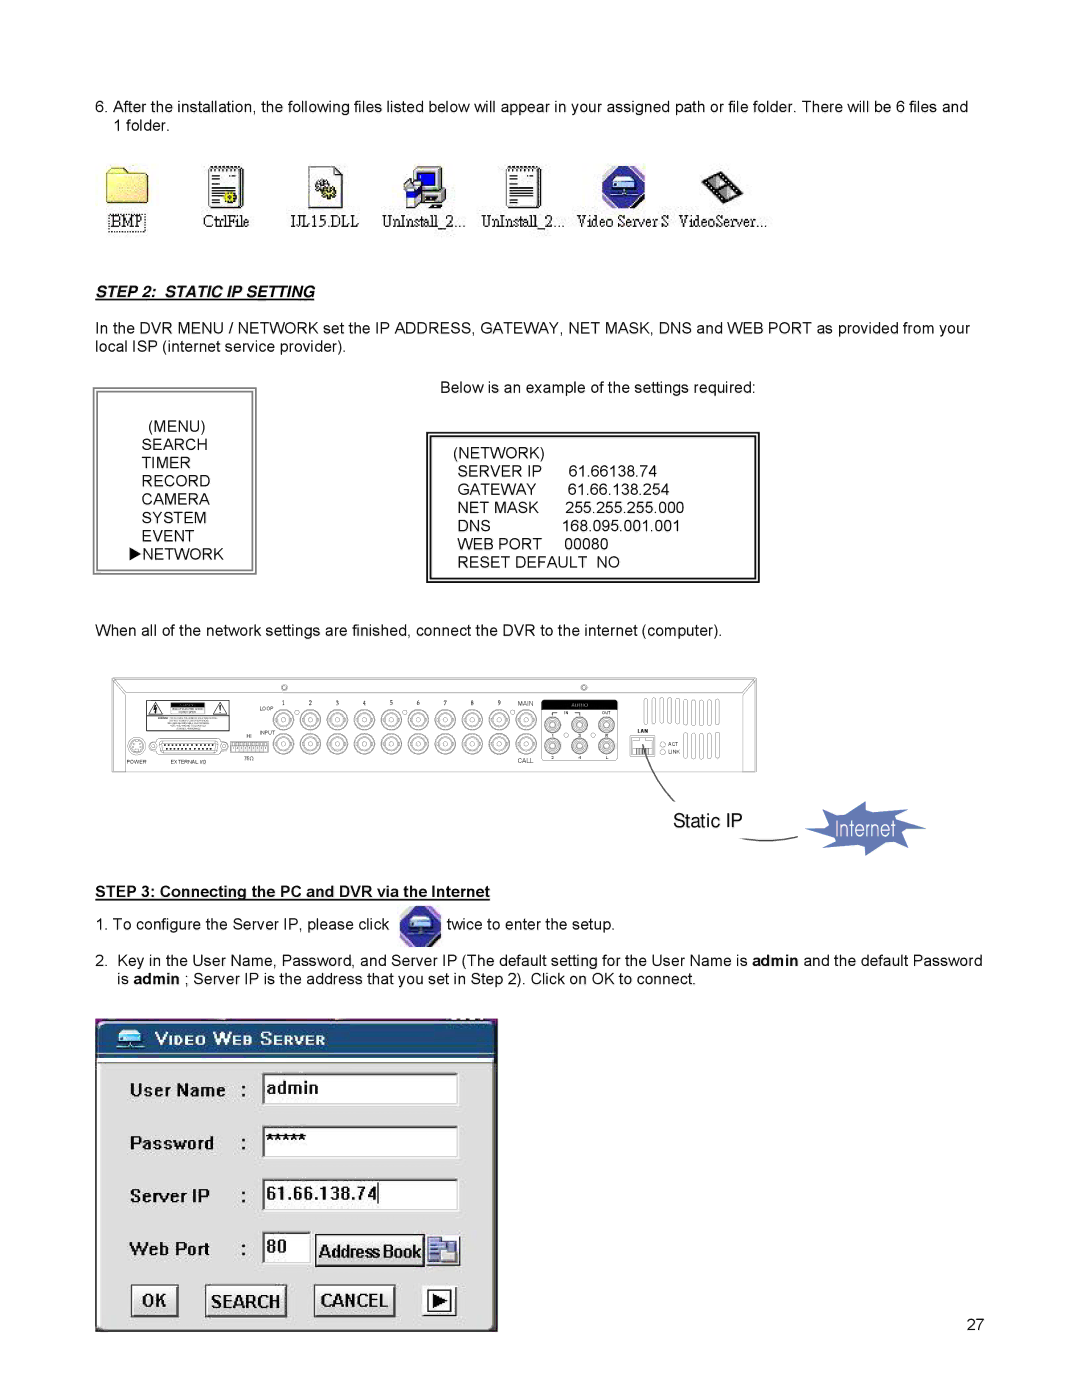
6.After the installation, the following files listed below will appear in your assigned path or file folder. There will be 6 files and 1 folder.
STEP 2: STATIC IP SETTING
In the DVR MENU / NETWORK set the IP ADDRESS, GATEWAY, NET MASK, DNS and WEB PORT as provided from your local ISP (internet service provider).
(MENU)
SEARCH
TIMER RECORD CAMERA SYSTEM EVENT
XNETWORK
Below is an example of the settings required:
(NETWORK)
SERVER IP 61.66138.74 GATEWAY 61.66.138.254 NET MASK 255.255.255.000
DNS 168.095.001.001 WEB PORT 00080 RESET DEFAULT NO
When all of the network settings are finished, connect the DVR to the internet (computer).
RISK OF ELECTRIC SHOCK
DO NOT OPEN
WARNING : TO REDUCE THE RISK OF ELECTRIC SHOCK,
DO NOT REMOVE COVER (OR BACK).
NO
REFER SERVICING TO QUALIFIED
SERVICE PERSONNEL.
POWER | EXTERNAL I/O |
LOOP
HI INPUT
75Ω
MAIN
INOUT
LAN
13R
ACT
LINK
CALL 24L
Static IP
STEP 3: Connecting the PC and DVR via the Internet
1.To configure the Server IP, please click ![]() twice to enter the setup.
twice to enter the setup.
2.Key in the User Name, Password, and Server IP (The default setting for the User Name is admin and the default Password is admin ; Server IP is the address that you set in Step 2). Click on OK to connect.
27