System Setup and Navigation
System Setup and Navigation
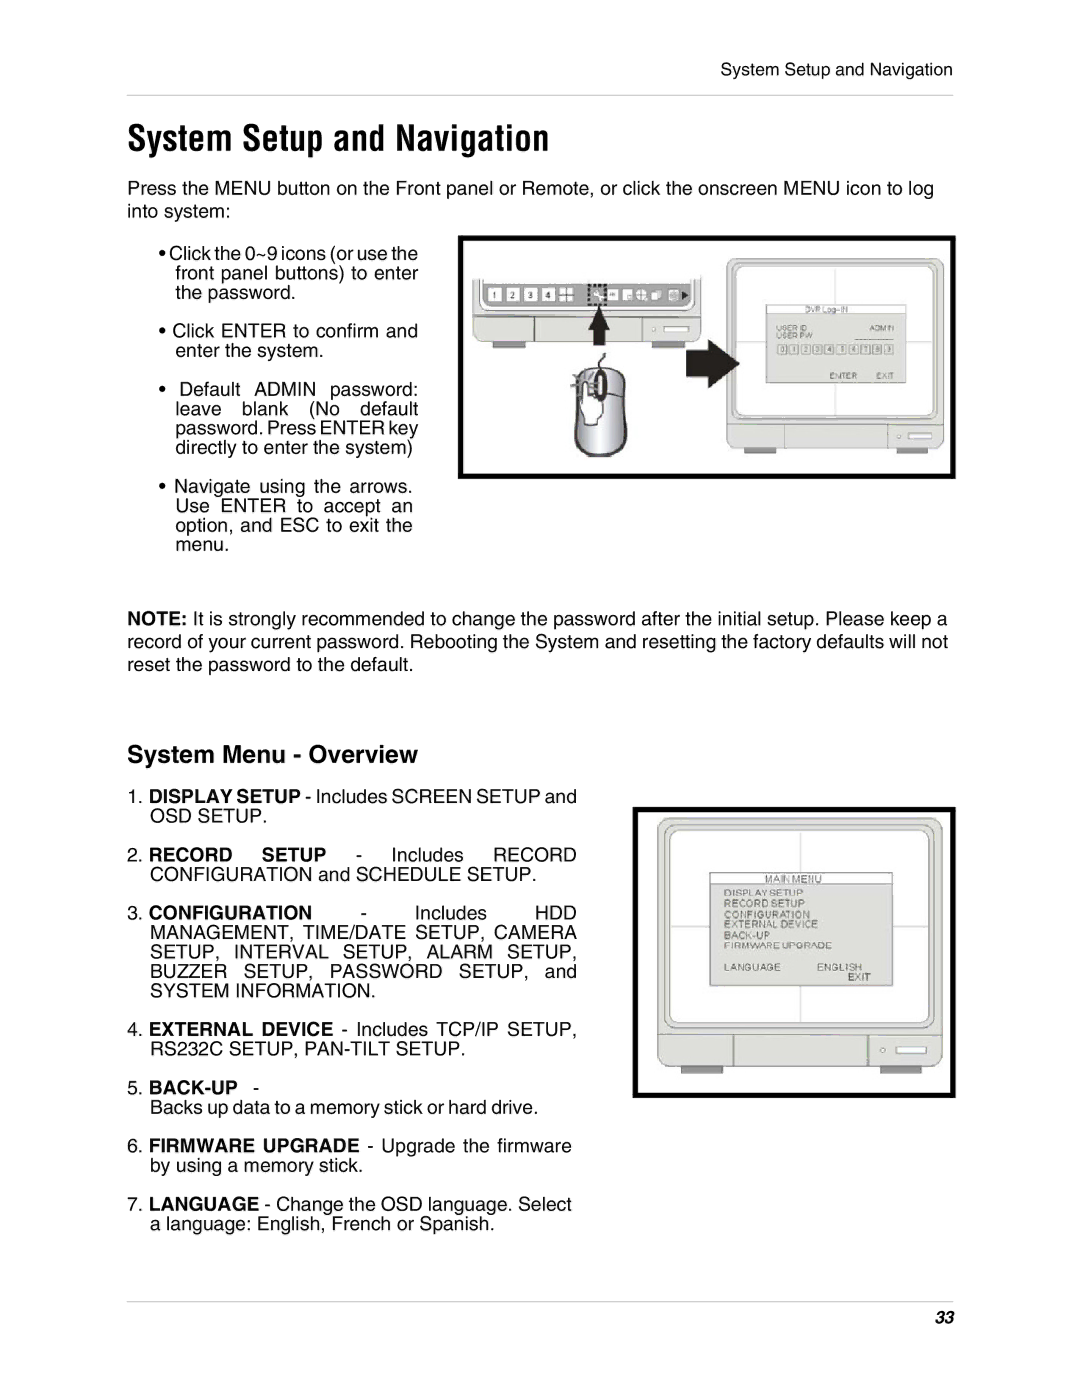
Press the MENU button on the Front panel or Remote, or click the onscreen MENU icon to log into system:
•Click the 0~9 icons (or use the front panel buttons) to enter the password.
•Click ENTER to confirm and enter the system.
•Default ADMIN password: leave blank (No default password. Press ENTER key directly to enter the system)
•Navigate using the arrows. Use ENTER to accept an option, and ESC to exit the menu.
NOTE: It is strongly recommended to change the password after the initial setup. Please keep a record of your current password. Rebooting the System and resetting the factory defaults will not reset the password to the default.
System Menu - Overview
1.DISPLAY SETUP - Includes SCREEN SETUP and
OSD SETUP.
2.RECORD SETUP - Includes RECORD CONFIGURATION and SCHEDULE SETUP.
3.CONFIGURATION - Includes HDD MANAGEMENT, TIME/DATE SETUP, CAMERA SETUP, INTERVAL SETUP, ALARM SETUP, BUZZER SETUP, PASSWORD SETUP, and
SYSTEM INFORMATION.
4.EXTERNAL DEVICE - Includes TCP/IP SETUP, RS232C SETUP,
5.BACK-UP -
Backs up data to a memory stick or hard drive.
6.FIRMWARE UPGRADE - Upgrade the firmware by using a memory stick.
7.LANGUAGE - Change the OSD language. Select a language: English, French or Spanish.
33