Controlling the rest of your system

11

Selecting preset codes directly

RECEIVER

SELECT


SYSTEM OFF


SOURCE


INPUT


SR+

DIMMER

MIDNIGHT/


LOUDNESS

AV PRE-PROGRAMMED AND LEARNING


DIALOG E


REMOTE CONTROL UNIT


D.ACCESS +10


CLASS DISC


ENTER


TOP MENU


MENU


TUNE


DVD

TV

DVR

TV CTRL

ST

ST

T.EDIT

ENTER


SETUP

RETURN


CD-R/TAPE

USB


CD

FM

AM

RECEIVER

TUNE


GUIDE PTYSEARCH


SLEEP

SB ch

ANALOG

TV CONTROL


ATT


TV VOL

INPUT

TV CH

VOL


SELECT


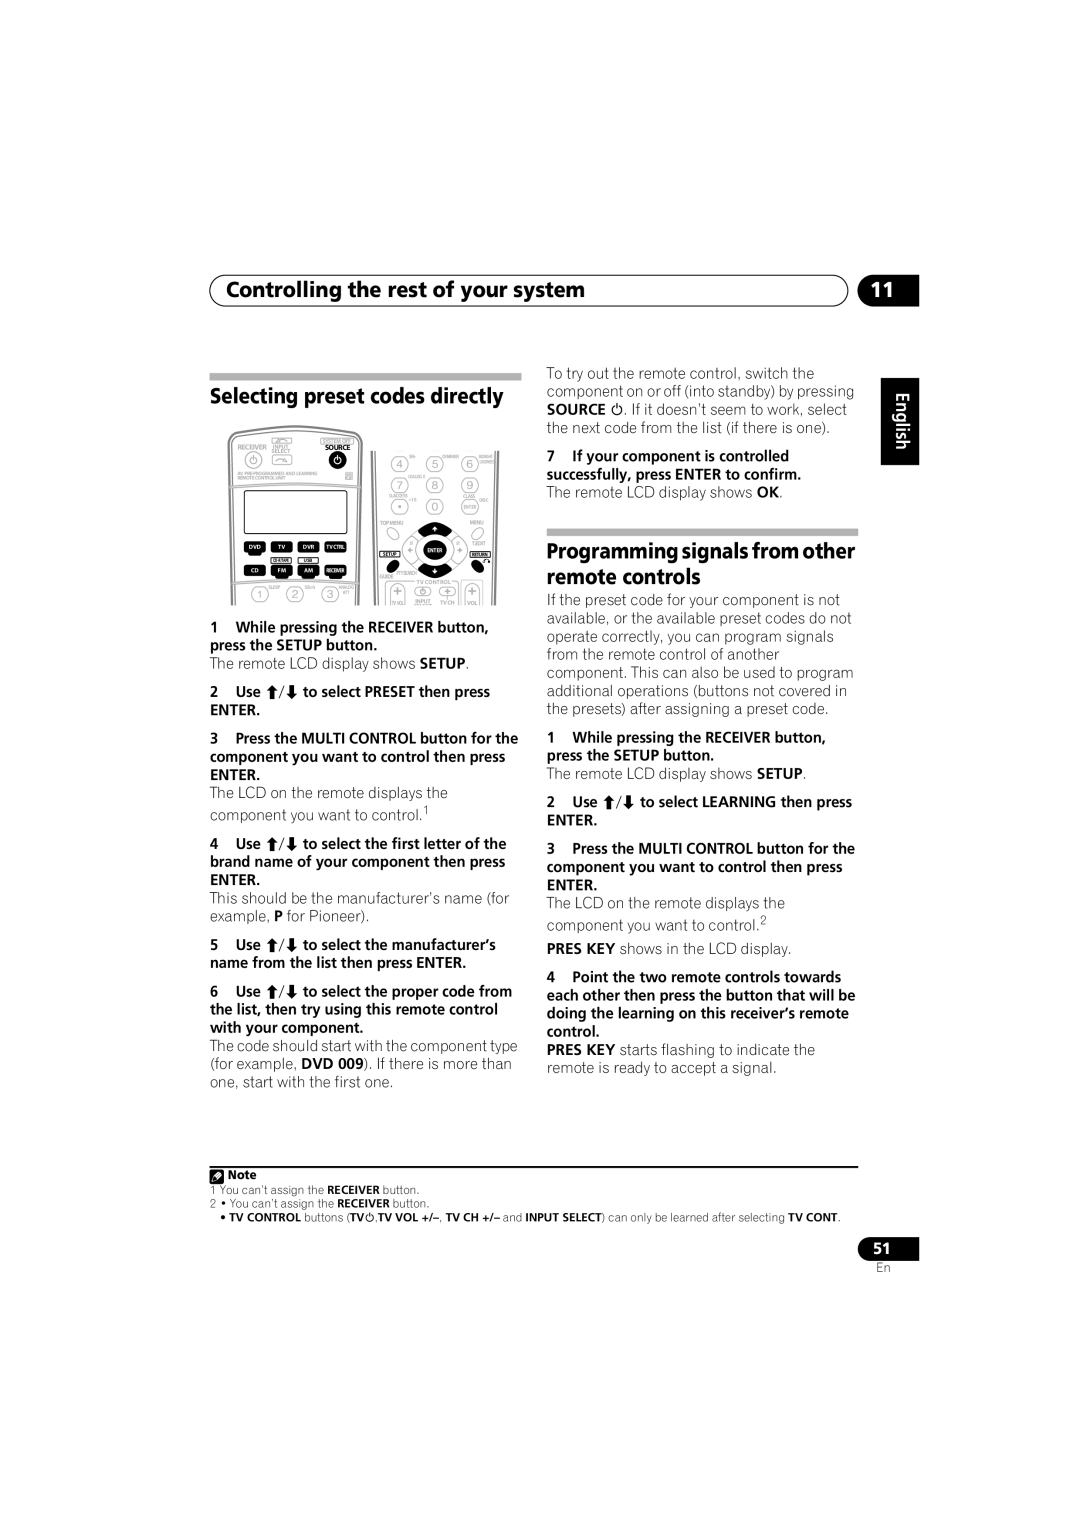
1While pressing the RECEIVER button, press the SETUP button.

The remote LCD display shows SETUP.

2 Use

to select PRESET then press

ENTER.


3Press the MULTI CONTROL button for the component you want to control then press

ENTER.

The LCD on the remote displays the component you want to control.1

4 Use to select the first letter of the brand name of your component then press

ENTER.

This should be the manufacturer’s name (for example, P for Pioneer).

5

Use

to select the manufacturer’s

name from the list then press ENTER.

6

Use

to select the proper code from

the list, then try using this remote control with your component.

The code should start with the component type (for example, DVD 009). If there is more than one, start with the first one.

To try out the remote control, switch the component on or off (into standby) by pressing SOURCE . If it doesn’t seem to work, select the next code from the list (if there is one).

7If your component is controlled successfully, press ENTER to confirm. The remote LCD display shows OK.

Programming signals from other remote controls

If the preset code for your component is not available, or the available preset codes do not operate correctly, you can program signals from the remote control of another component. This can also be used to program additional operations (buttons not covered in the presets) after assigning a preset code.

1While pressing the RECEIVER button, press the SETUP button.

The remote LCD display shows SETUP.

2 Use

to select LEARNING then press

ENTER.


3Press the MULTI CONTROL button for the component you want to control then press

ENTER.

The LCD on the remote displays the component you want to control.2

PRES KEY shows in the LCD display.

4Point the two remote controls towards each other then press the button that will be doing the learning on this receiver’s remote control.

PRES KEY starts flashing to indicate the remote is ready to accept a signal.

English Deutsch Français Italiano Nederlands Español

Note

1You can’t assign the RECEIVER button.

2• You can’t assign the RECEIVER button.

• TV CONTROL buttons (TV ,TV VOL +/–,TV CH +/– and INPUT SELECT) can only be learned after selecting TV CONT.

51

En

Page 51
Image 51
Pioneer VSX-916-K, VSX-916-S Programming signals from other remote controls, Remote LCD display shows Setup, Use

VSX-916-K, VSX-916-S specifications

The Pioneer VSX-916-K and VSX-916-S are well-regarded AV receivers that cater to home theater enthusiasts seeking robust performance and versatile features. These models stand out due to their combination of advanced audio processing, ample connectivity options, and user-friendly interface.

One of the key features of the VSX-916 series is its support for Dolby Digital EX and DTS ES surround sound formats. This allows users to experience cinema-like audio with incredible clarity and depth. The receivers are equipped with a powerful amplifier section that delivers dynamic sound reproduction, making them ideal for both movies and music.

The Pioneer VSX-916 also supports 7.1 channel surround sound, providing an immersive audio experience. It features multiple audio modes and DSP settings, allowing users to customize their listening experience according to the content being played. For audiophiles, the receiver includes technologies like Direct Energy HD amplification, which ensures high-fidelity audio reproduction with minimal distortion.

Another notable aspect of these models is their robust connectivity options. They come with numerous HDMI inputs, enabling users to connect multiple devices like Blu-ray players, gaming consoles, and streaming devices. This makes it easy to switch between devices without the hassle of reconnecting cables. The receivers also feature component and composite video inputs, allowing integration with older equipment.

The Pioneer VSX-916-K and VSX-916-S are equipped with the Advanced MCACC (Multi-Channel Acoustic Calibration System) feature. This technology analyzes your room's acoustics and calibrates the audio settings accordingly, ensuring an optimized sound experience tailored to your specific environment.

Additionally, the receivers include a front-mounted USB port for easy playback of audio files from USB flash drives. They support various audio formats, making it convenient to enjoy your music collection without needing additional equipment.

The user interface is also designed for ease of use. The on-screen display provides intuitive access to setup menus and audio settings, which simplifies the configuration process for users of all skill levels.

In summary, the Pioneer VSX-916-K and VSX-916-S are excellent choices for anyone looking to enhance their home audio experience. With their impressive audio capabilities, extensive connectivity options, and user-friendly features, these AV receivers deliver an exceptional combination of performance and convenience. Whether you're watching movies or enjoying your favorite music, the VSX-916 series ensures a superior auditory experience.