Capitolo 10:

Come fare le registrazioni

Come fare una registrazione audio o video

E’ possibile fare una registrazione audio o video dal sintonizzatore incorporato o da un’altra fonte audio o video collegata al ricevitore (ad esempio un lettore CD o un televisore).

Non dimenticare che non è possibile fare una registrazione digitale da una fonte analogica o viceversa, assicurarsi che i componenti usati per la registrazione siano collegati nella stessa maniera (vedi Collegamento a pagina 12 per ulteriori informazioni sui collegamenti).

Per registrare una fonte video, è necessario usare lo stesso tipo di collegamento sia per la fonte sia per il registratore. Per esempio, non è possibile effettuare una registrazione su un componente collegato alle prese S-video con un registratore collegato alle uscite video composte (vedi a pagina 16 per ulteriori informazioni sui collegamenti video).

2Selezionare il segnale d’ingresso (se necessario).

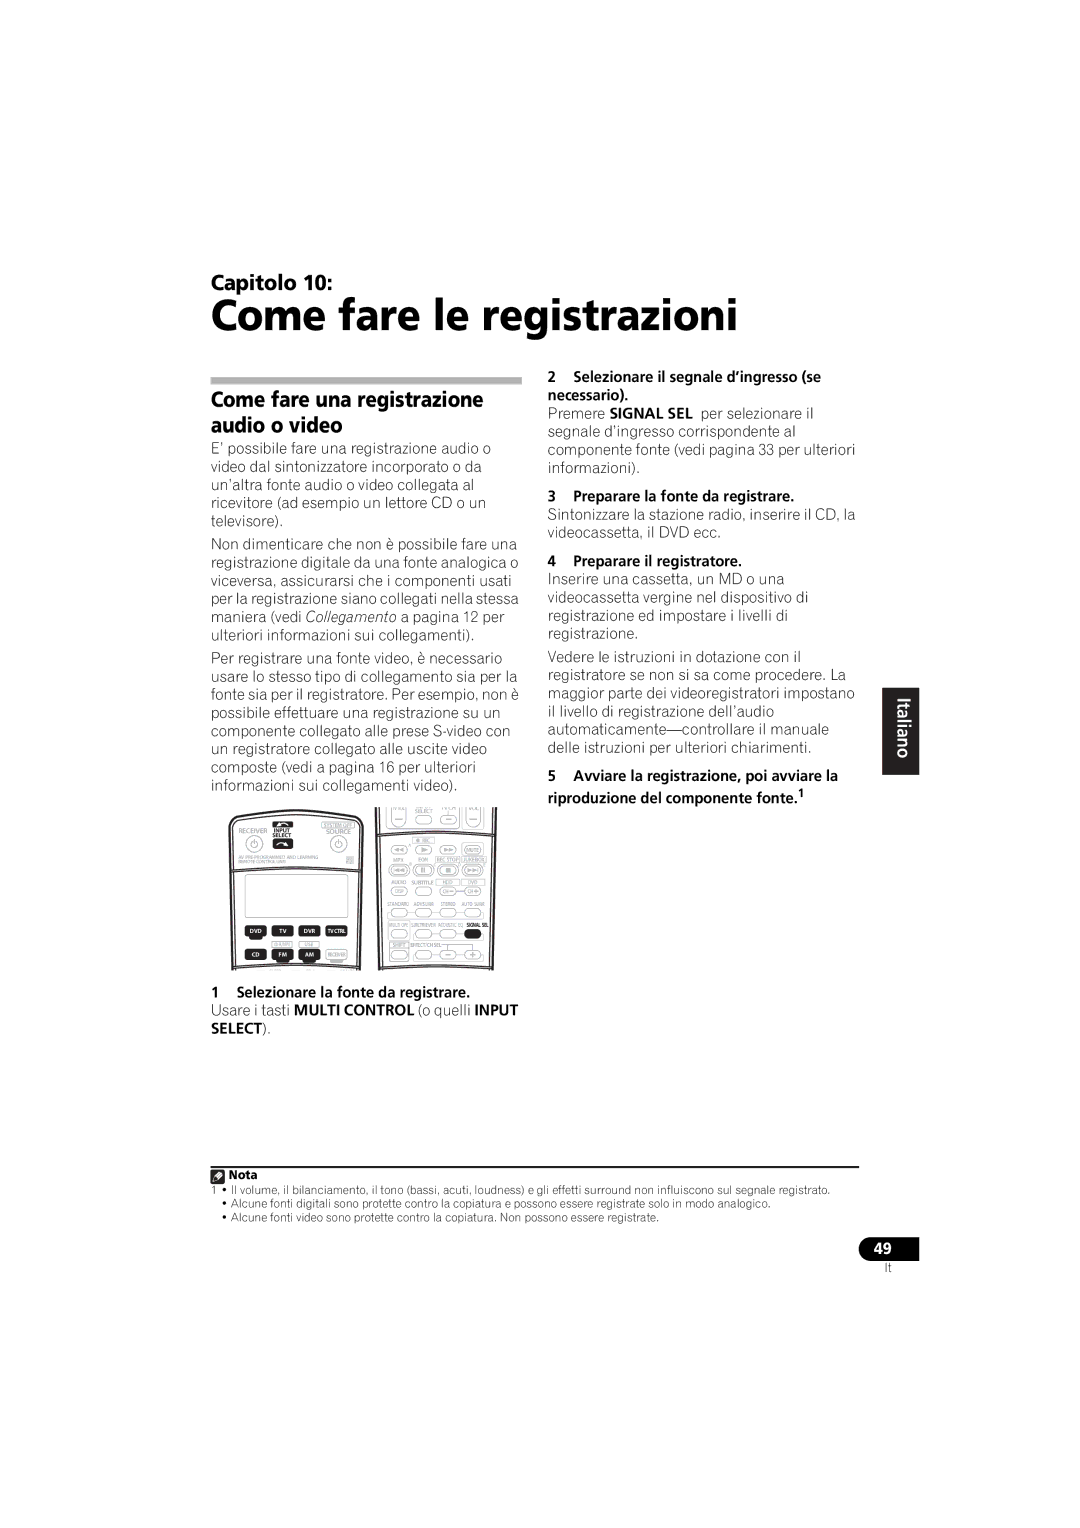
Premere SIGNAL SEL per selezionare il segnale d’ingresso corrispondente al componente fonte (vedi pagina 33 per ulteriori informazioni).

3Preparare la fonte da registrare. Sintonizzare la stazione radio, inserire il CD, la videocassetta, il DVD ecc.

4Preparare il registratore.

Inserire una cassetta, un MD o una videocassetta vergine nel dispositivo di registrazione ed impostare i livelli di registrazione.

Vedere le istruzioni in dotazione con il registratore se non si sa come procedere. La maggior parte dei videoregistratori impostano il livello di registrazione dell’audio automaticamente—controllare il manuale delle istruzioni per ulteriori chiarimenti.

5Avviare la registrazione, poi avviare la riproduzione del componente fonte.1

English Deutsch Français Italiano

RECEIVER

INPUT

SYSTEM OFF

SOURCE


SELECT


AV PRE-PROGRAMMED AND LEARNING


REMOTECONTROLUNIT


DVD TV DVR TVCTRL

CD-R/TAPE USB

CD FM AM RECEIVER

SLEEPANALOG

TVVOL

SELECT


TVCH

VOL


REC


A


MUTE


MPX

EON


REC STOP

JUKEBOX

B

C

D

E

AUDIO

SUBTITLE


HDD

DVD

DISP


CH

CH

STANDARD

ADV.SURR


STEREO AUTO SURR

MULTI OPE

S.RETRIEVER ACOUSTIC EQ

SIGNAL SEL

SHIFT EFFECT/CHSEL

Nederlands Español

1 Selezionare la fonte da registrare.

Usare i tasti MULTI CONTROL (o quelli INPUT SELECT).

Nota

1• Il volume, il bilanciamento, il tono (bassi, acuti, loudness) e gli effetti surround non influiscono sul segnale registrato.

Alcune fonti digitali sono protette contro la copiatura e possono essere registrate solo in modo analogico.

Alcune fonti video sono protette contro la copiatura. Non possono essere registrate.

49

It

Page 119
Image 119
Pioneer VSX-916-K, VSX-916-S operating instructions Come fare le registrazioni, Come fare una registrazione audio o video

VSX-916-K, VSX-916-S specifications

The Pioneer VSX-916-K and VSX-916-S are well-regarded AV receivers that cater to home theater enthusiasts seeking robust performance and versatile features. These models stand out due to their combination of advanced audio processing, ample connectivity options, and user-friendly interface.

One of the key features of the VSX-916 series is its support for Dolby Digital EX and DTS ES surround sound formats. This allows users to experience cinema-like audio with incredible clarity and depth. The receivers are equipped with a powerful amplifier section that delivers dynamic sound reproduction, making them ideal for both movies and music.

The Pioneer VSX-916 also supports 7.1 channel surround sound, providing an immersive audio experience. It features multiple audio modes and DSP settings, allowing users to customize their listening experience according to the content being played. For audiophiles, the receiver includes technologies like Direct Energy HD amplification, which ensures high-fidelity audio reproduction with minimal distortion.

Another notable aspect of these models is their robust connectivity options. They come with numerous HDMI inputs, enabling users to connect multiple devices like Blu-ray players, gaming consoles, and streaming devices. This makes it easy to switch between devices without the hassle of reconnecting cables. The receivers also feature component and composite video inputs, allowing integration with older equipment.

The Pioneer VSX-916-K and VSX-916-S are equipped with the Advanced MCACC (Multi-Channel Acoustic Calibration System) feature. This technology analyzes your room's acoustics and calibrates the audio settings accordingly, ensuring an optimized sound experience tailored to your specific environment.

Additionally, the receivers include a front-mounted USB port for easy playback of audio files from USB flash drives. They support various audio formats, making it convenient to enjoy your music collection without needing additional equipment.

The user interface is also designed for ease of use. The on-screen display provides intuitive access to setup menus and audio settings, which simplifies the configuration process for users of all skill levels.

In summary, the Pioneer VSX-916-K and VSX-916-S are excellent choices for anyone looking to enhance their home audio experience. With their impressive audio capabilities, extensive connectivity options, and user-friendly features, these AV receivers deliver an exceptional combination of performance and convenience. Whether you're watching movies or enjoying your favorite music, the VSX-916 series ensures a superior auditory experience.