NORMAL RECORDING
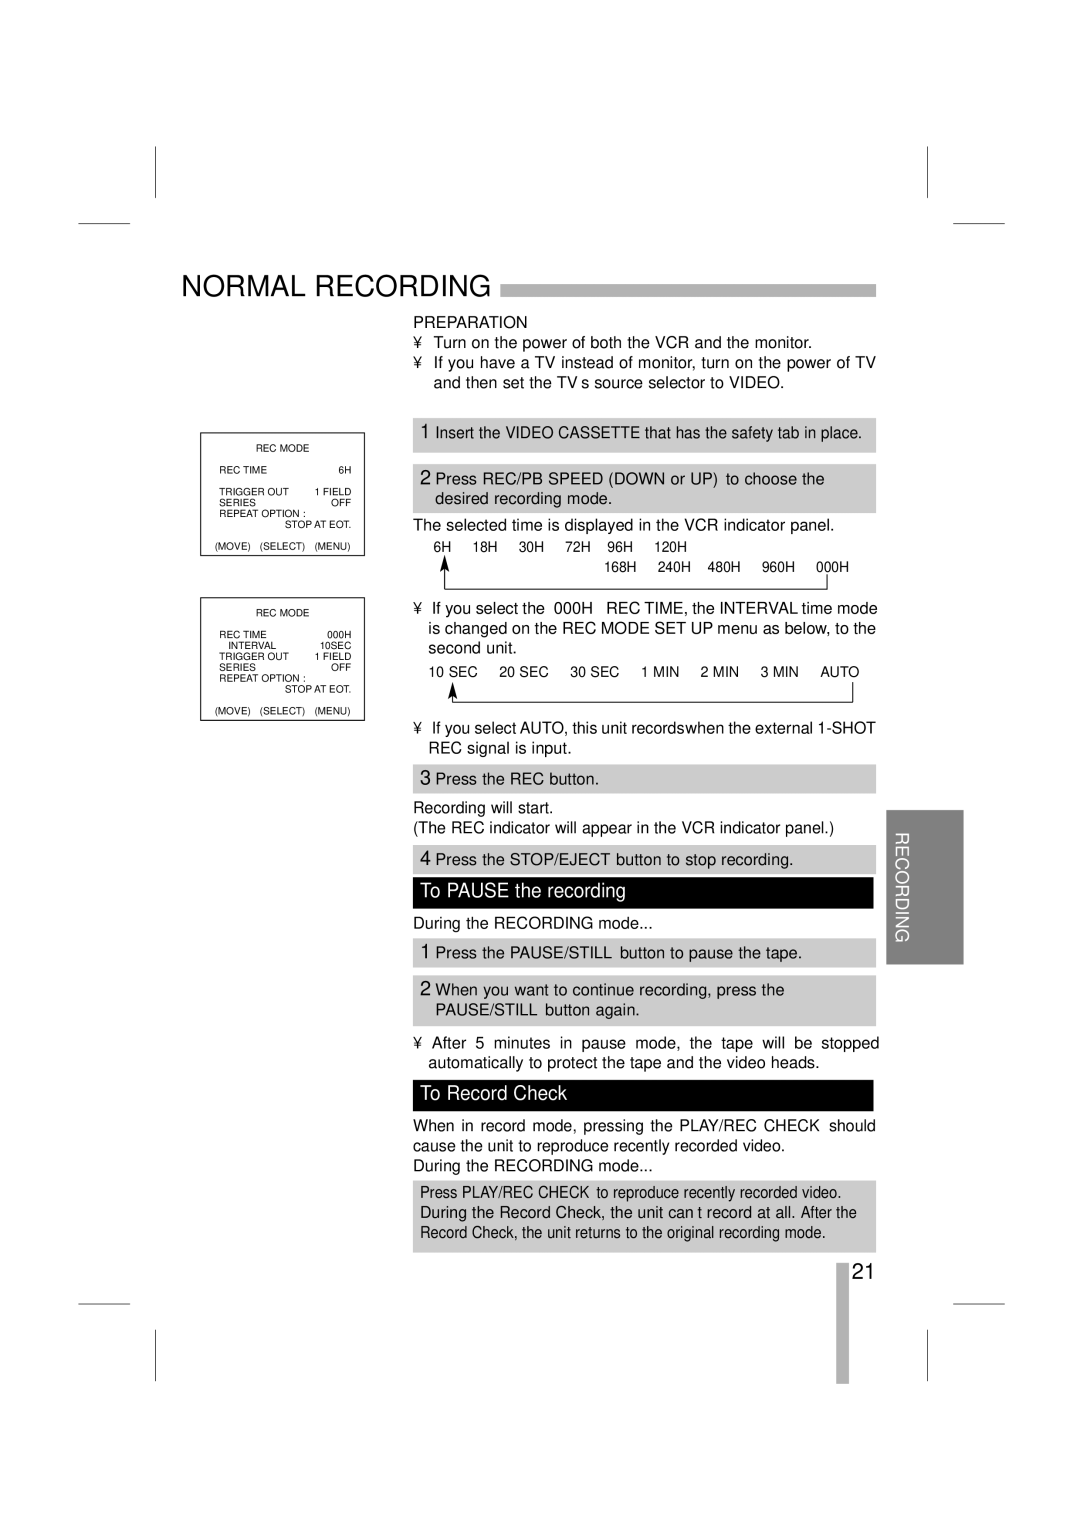
REC MODE |
|
G REC TIME | 6H |
TRIGGER OUT | 1 FIELD |
SERIES | OFF |
REPEAT OPTION : |
|
STOP AT EOT. | |
(MOVE) (SELECT) | (MENU) |
|
|
|
|
REC MODE |
|
REC TIME | 000H |
G INTERVAL | 10SEC |
TRIGGER OUT | 1 FIELD |
SERIES | OFF |
REPEAT OPTION :
STOP AT EOT. (MOVE) (SELECT) (MENU)
PREPARATION
•Turn on the power of both the VCR and the monitor.
•If you have a TV instead of monitor, turn on the power of TV and then set the TV’s source selector to VIDEO.
1 Insert the VIDEO CASSETTE that has the safety tab in place.
2 Press REC/PB SPEED (DOWN or UP) to choose the desired recording mode.
The selected time is displayed in the VCR indicator panel.
6H ➔ 18H ➔ 30H ➔ 72H➔ 96H ➔ 120H ➔
168H ➔ 240H➔ 480H ➔ 960H ➔ 000H
•If you select the “000H” REC TIME, the INTERVAL time mode is changed on the REC MODE SET UP menu as below, to the second unit.
10 SEC ➔ 20 SEC ➔ 30 SEC ➔ 1 MIN ➔ 2 MIN ➔ 3 MIN ➔ AUTO
•If you select AUTO, this unit records when the external
3 Press the REC button.
Recording will start.
(The REC indicator will appear in the VCR indicator panel.)
4 Press the STOP/EJECT button to stop recording.
To PAUSE the recording
RECORDING
During the RECORDING mode...
1 Press the PAUSE/STILL button to pause the tape.
2 When you want to continue recording, press the PAUSE/STILL button again.
•After 5 minutes in pause mode, the tape will be stopped automatically to protect the tape and the video heads.
To Record Check
When in record mode, pressing the PLAY/REC CHECK should cause the unit to reproduce recently recorded video.
During the RECORDING mode...
Press PLAY/REC CHECK to reproduce recently recorded video. During the Record Check, the unit can’t record at all. After the Record Check, the unit returns to the original recording mode.
21