ESU EROFE B P F O E MAN STRA IC SABVDEAC NA PUTEGS IN T OOHSEL BUORT AREPO N IO T AREPO N IO T
SRE HT O
BASIC OPERATION
CONCERNING CONNECTORS AND CABLES
TRIGGER CONNECTOR
The +12 TRIGGER IN/OUT jacks on the
+12V DC (Trigger Control)
N/C
Ground
REMOTE CONTROL
A remote controller is not packaged with this unit. This unit is controlled using the remote controller supplied with a
STANDBY |
|
| ON |
IRIS | LAMP | C.TEMP | GAMMA |
COMP.1 | COMP.2 | USER | |
C1 | C2 | S | G1 |
HDMI 1 | HDMI 2 | VIDEO |
|
H1 | H2 | V | G2 |
AUX 1 | AUX 2 |
|
|
A1 | A2 | RGB | G3 |
THTR | STD | DYN | G4 |
| BLANKING |
| |
B1 | B2 | B3 | OFF |
| MENU |
| |
|
| M |
|
| ENTER |
| INPUT |
A |
| I |
|
ASPECT |
| INFO. |
|
CINEMA | VCR MODE | BLACK LEVEL | PATTERN |
|
| BLACK |
|
FULL | NOR | ZOOM | THRU |
REMOTE CONTROLLER
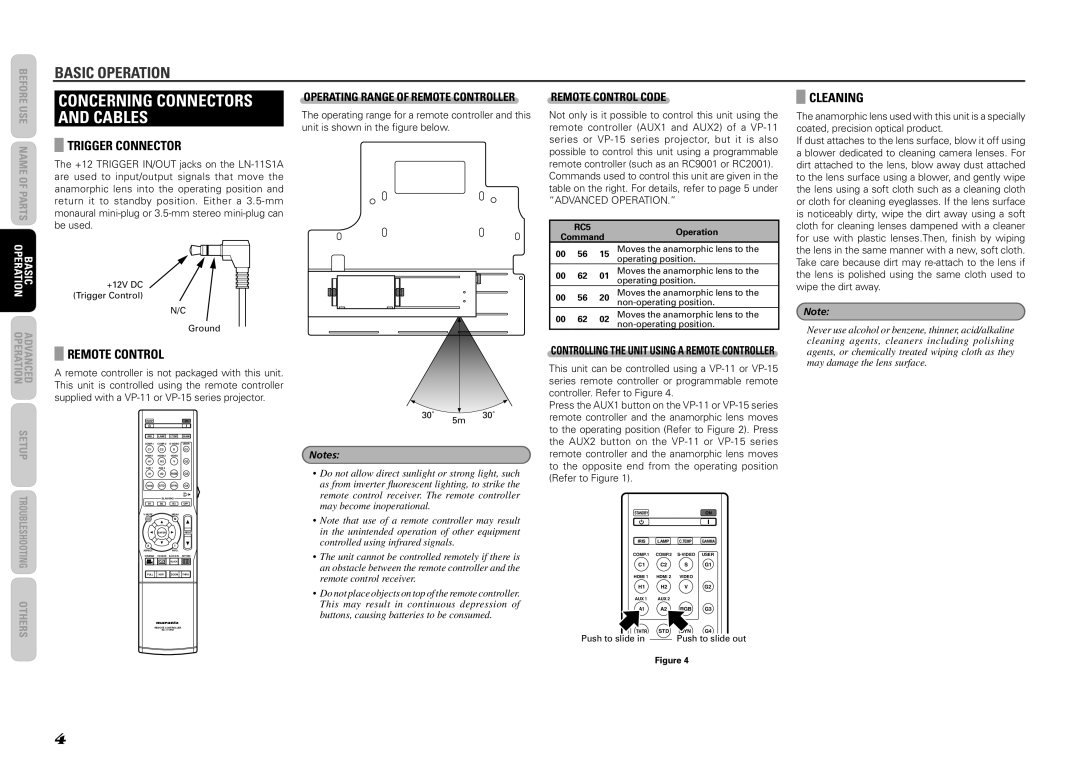
OPERATING RANGE OF REMOTE CONTROLLER
The operating range for a remote controller and this unit is shown in the figure below.
30˚ 5m 30˚
Notes:
•Do not allow direct sunlight or strong light, such as from inverter fluorescent lighting, to strike the remote control receiver. The remote controller may become inoperational.
•Note that use of a remote controller may result in the unintended operation of other equipment controlled using infrared signals.
•The unit cannot be controlled remotely if there is an obstacle between the remote controller and the remote control receiver.
•Do not place objects on top of the remote controller.
This may result in continuous depression of buttons, causing batteries to be consumed.
REMOTE CONTROL CODE
Not only is it possible to control this unit using the remote controller (AUX1 and AUX2) of a
“ADVANCED OPERATION.”
RC5Operation
Command
00 | 56 | 15 | Moves the anamorphic lens to the |
|
|
| operating position. |
00 | 62 | 01 | Moves the anamorphic lens to the |
|
|
| operating position. |
00 | 56 | 20 | Moves the anamorphic lens to the |
|
|
| |
00 | 62 | 02 | Moves the anamorphic lens to the |
|
|
|
CONTROLLING THE UNIT USING A REMOTE CONTROLLER
This unit can be controlled using a
Press the AUX1 button on the
STANDBY |
|
| ON |
IRIS | LAMP | C.TEMP | GAMMA |
COMP.1 | COMP.2 | USER | |
C1 | C2 | S | G1 |
HDMI 1 | HDMI 2 | VIDEO |
|
H1 | H2 | V | G2 |
AUX 1 | AUX 2 |
|
|
A1 | A2 | RGB | G3 |
THTR | STD |
| G4 |
Push to slide in |
| Push to slide out | |
Figure 4
CLEANING
The anamorphic lens used with this unit is a specially coated, precision optical product.
If dust attaches to the lens surface, blow it off using a blower dedicated to cleaning camera lenses. For dirt attached to the lens, blow away dust attached to the lens surface using a blower, and gently wipe the lens using a soft cloth such as a cleaning cloth or cloth for cleaning eyeglasses. If the lens surface is noticeably dirty, wipe the dirt away using a soft cloth for cleaning lenses dampened with a cleaner for use with plastic lenses.Then, finish by wiping the lens in the same manner with a new, soft cloth. Take care because dirt may
Note:
Never use alcohol or benzene, thinner, acid/alkaline cleaning agents, cleaners including polishing agents, or chemically treated wiping cloth as they may damage the lens surface.
4
